
Hi Everyone,
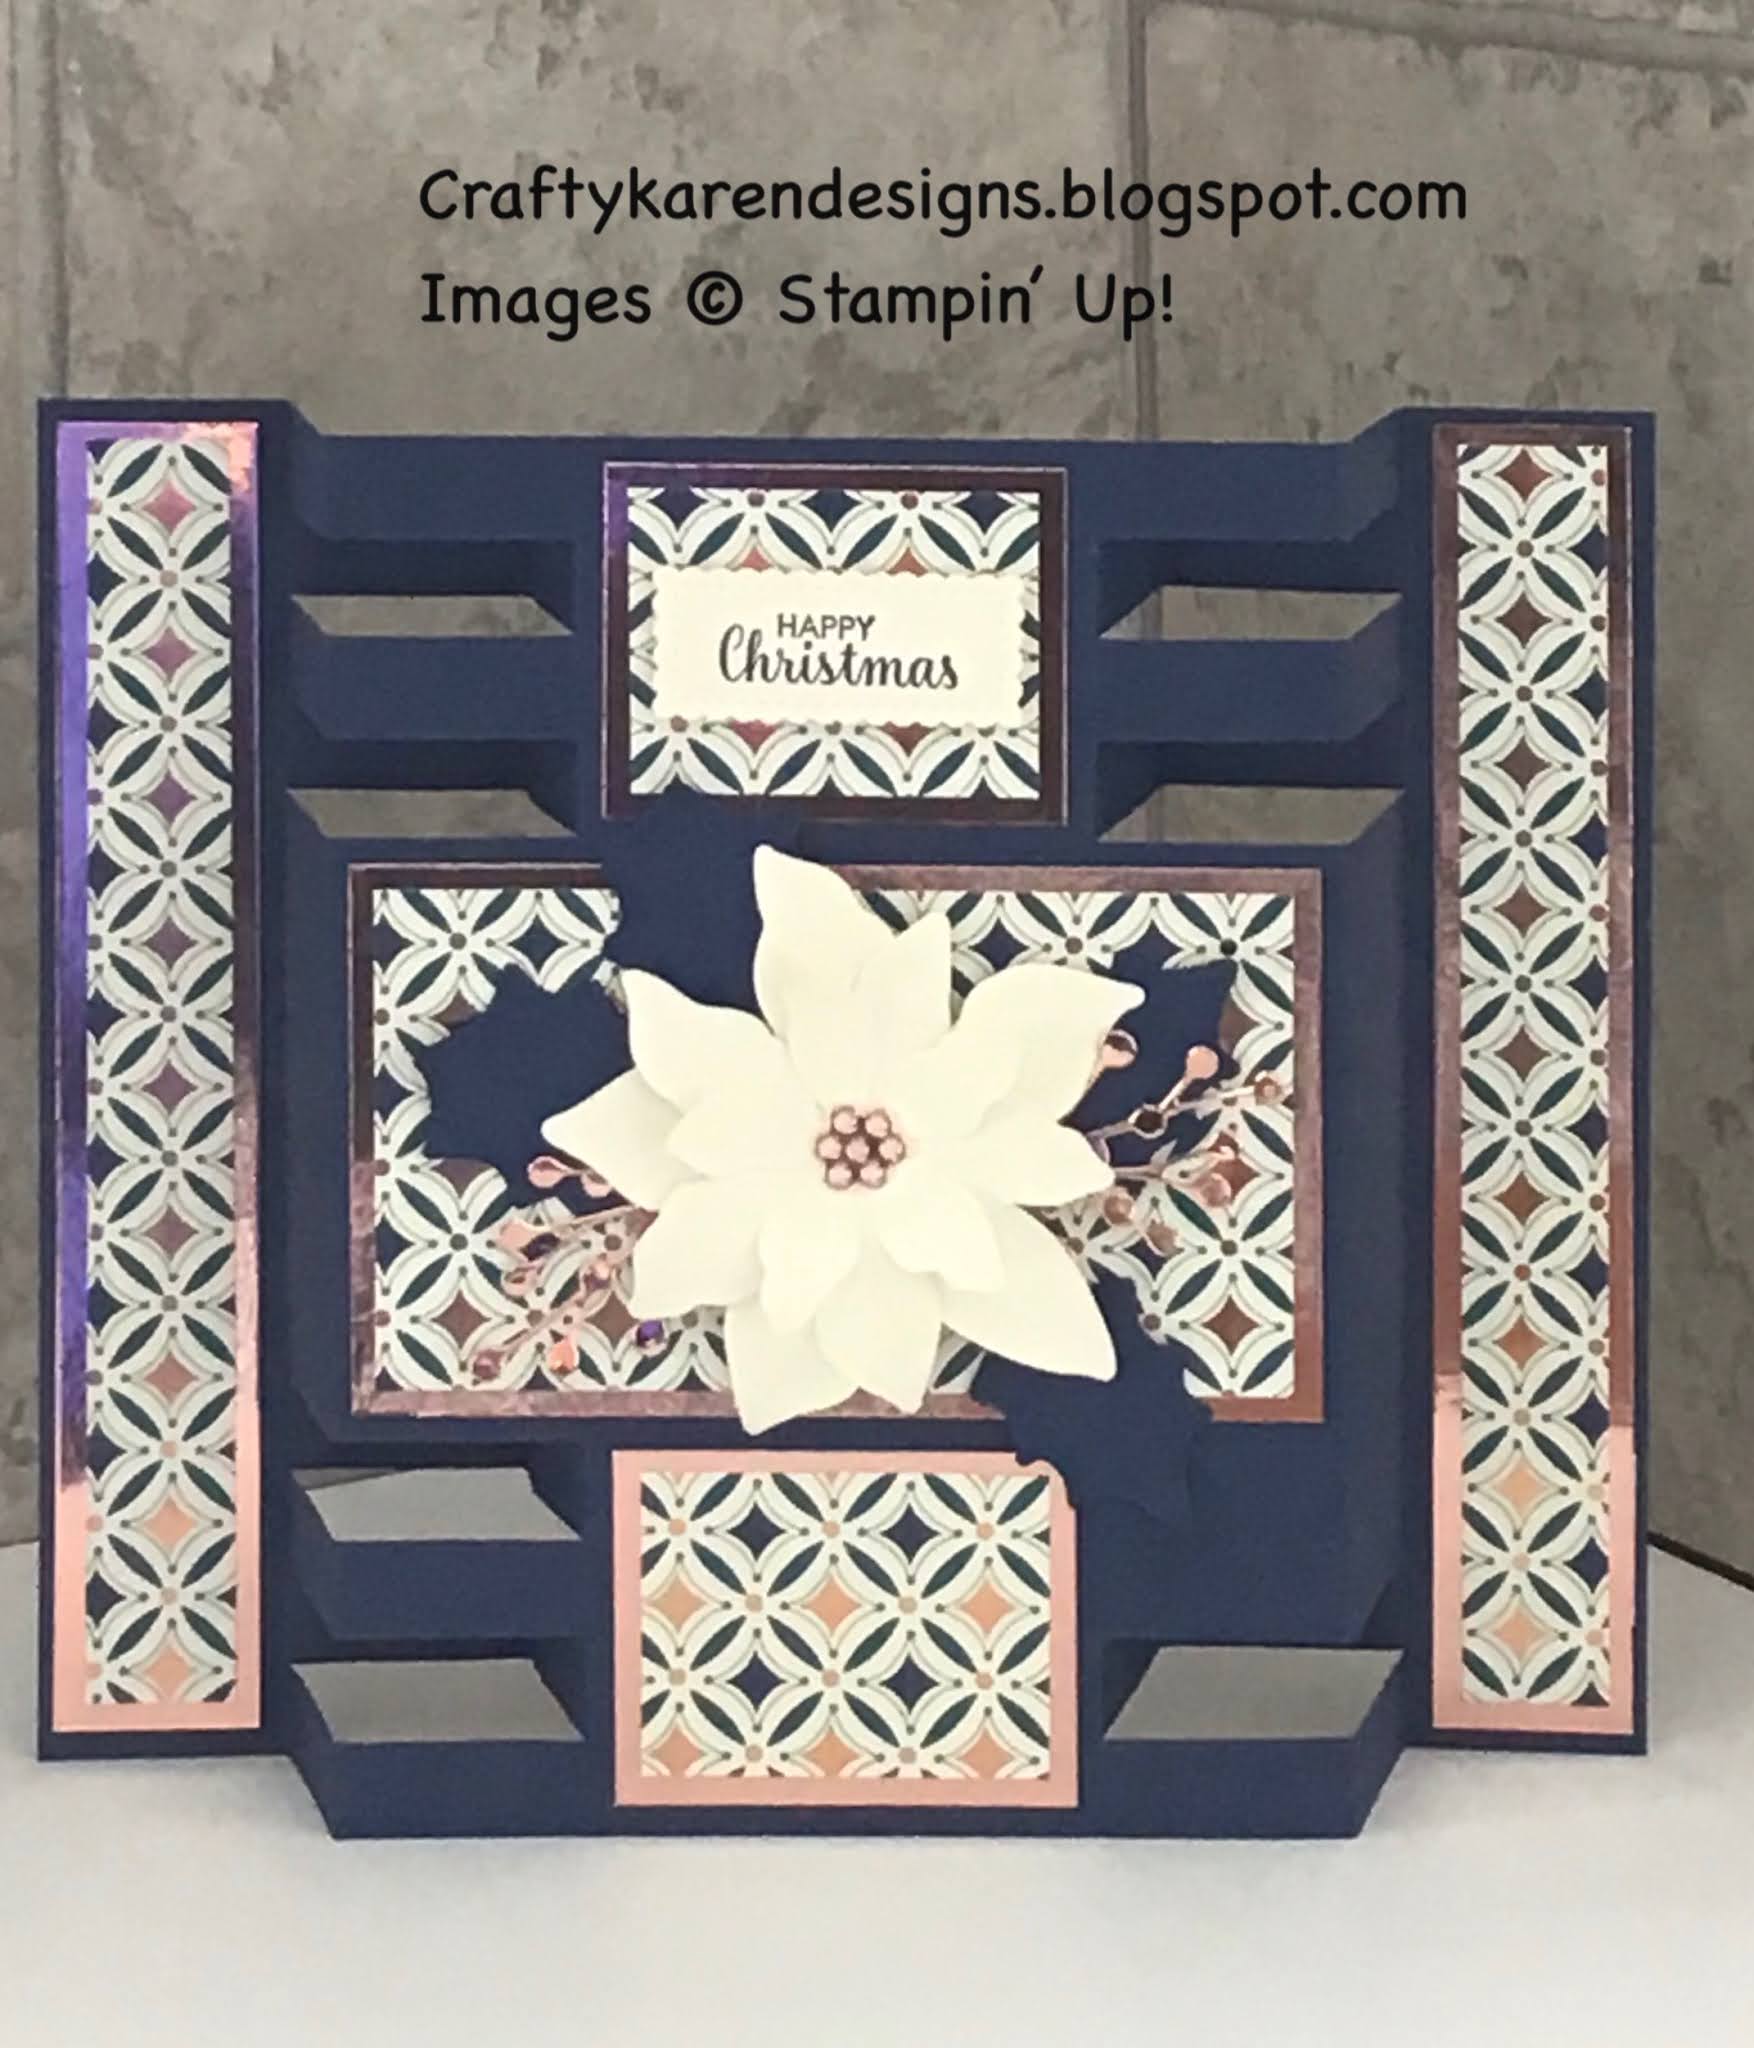
Welcome to my Fun Fold Friday series and this week I have made a Tower Fold card with a centre panel. My inspiration and the dimensions came from Sam on Mixed Up Crafts, I thought that this would be really difficult to do but it's not. I hope that you will give it a try. Let me show you how I made it, there is also a video tutorial over on my YouTube channel, just click on the link below:
Materials
1 piece of night of navy card stock 10" x 7" and some scraps
2 pieces of copper foil 2 3/4" x 4 3/4, 2 pieces 1 3/4" x 2 1/4", 2 pieces 6 3/4" x 1" and some scraps
1 piece of very vanilla card stock 2 1/2" x 4 1/2" and scraps for the flowers
2 pieces of Brightly Gleaming dsp 1 1/2" x 2", 2 pieces 6 1/2" x 3/4" and 1 piece 2 1/2" x 4 1/2"
Trimmer
Simply scored
Bone folder
Poinsettia dies
Stampin Cut and Emboss machine
Stitched So Sweetly dies
Night of navy ink
Itty Bitty Christmas stamp set
Multipurpose adhesive
Dimensionals
Mini glue dots
Paper snips
Instructions
On the long side score the night of navy card at 1 1/4" and 2 1/2", then turn and score the same from the other side.
Then place a ruler across the card at the 2" mark and score at 3 3/4" and 6 1/4" down to the 2" mark.
Fold and burnish the full score lines, the first is a valley and the second is a mountain, from both sides.
Fold the card on the second score line and put this fold to the top of the scoreboard and score at 1/2", 1", 1 1/2" and 2", then 5", 5 1/2", 6" and 6 1/2" down to the first score line. Flip the card 180 degrees and repeat along the other edge. (see template).

Now cut those score lines that you have just made up to the horizontal score line, take your time so that you get them straight and exact.
Open up the card and push the the 2nd and 4th strips to the back at each side and fold and burnish the score lines.

Adhere the dsp layers to the copper foil mats and fix in place on the card along with the very vanilla layer for the back of the card where you can write your message.
Die cut a set of poinsettia petals, leaves and berry sprigs from your scraps as well as a small stitched rectangle for the sentiment. Curl the petals and the leaves with your bone folder and fix them together as you like and arrange in the centre panel on the card front. using dimensionals and adhesive as required.
Stamp a sentiment on the stitched rectangle and fix to the card with dimensionals.
There you are - a pretty impressive looking Christmas card with very little effort, I will be making lots more of these I think, I really like them. Here is another one I made using old olive and whisper white with Brightly Gleaming dsp and copper foil.

If you would like to see more of my Blog Posts, sign up to the email alert over in the right hand side bar of the page.
If you would like to join my Team or become one of my Discount Shoppers, you can message me on my Facebook Page at www.facebook.com/craftykarendesigns or via the Contact Me box below this Blog.
If you are interested in taking part in some challenges and having crafty chats with like minded people and a bit of a laugh, pop over to Crafty and Banter on Facebook (link in the side bar). This is a new group that some crafty friends and I are trying to get up and running and we would love your company.
If you are interested in taking part in some challenges and having crafty chats with like minded people and a bit of a laugh, pop over to Crafty and Banter on Facebook (link in the side bar). This is a new group that some crafty friends and I are trying to get up and running and we would love your company.
Happy Crafting,
Karen XXX


Fabulous card Karen xx
ReplyDeleteThanks Emma x
DeleteOK! Now I need to know the name of that label die, you stamped, "Happy Christmas" on? These cards are GORGEOUS!!!! I want to make a dozen of them. Thank you, so much for sharing! What size envelope should I make for these cards?
ReplyDeleteThank you so much. The label die is from Stitched So Sweetly dies and the card fits in a 5" x 7" envelope x
Delete