Monday 27 February 2023

Favoured Flowers Get Well Card

 Hi Everyone,


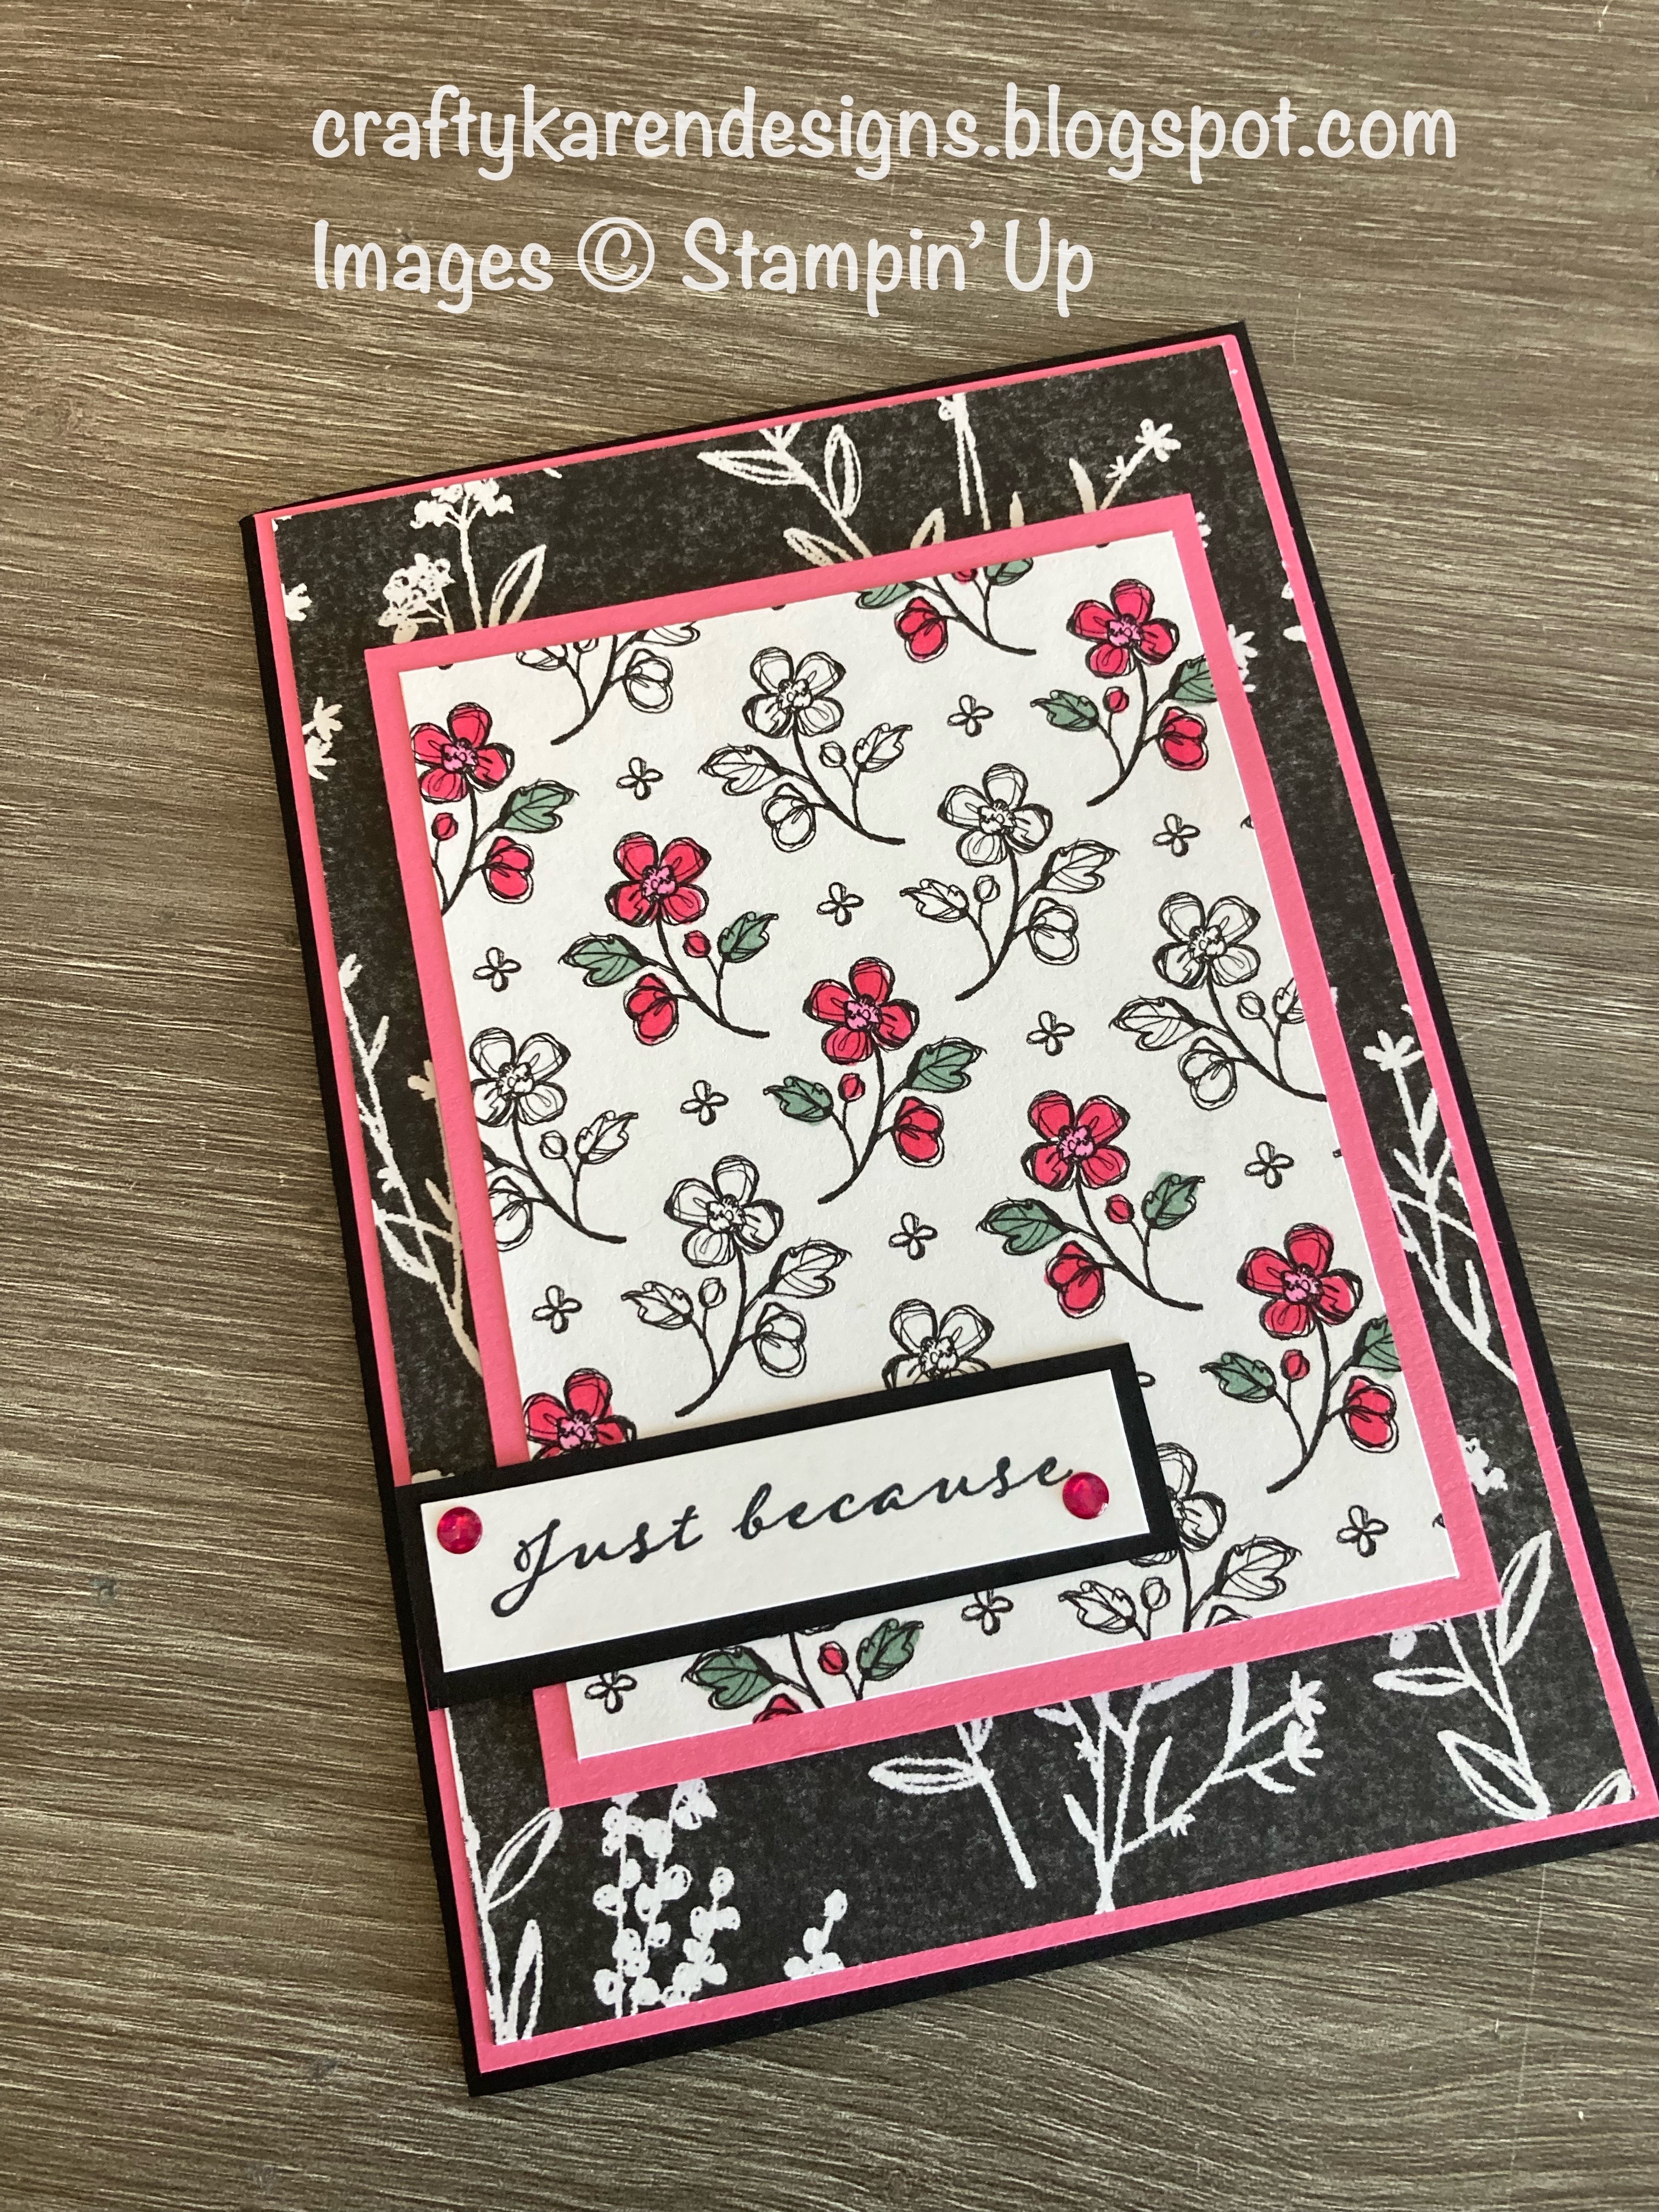
Another quick and easy card today to use some of the Sale-A-Bration designer series paper before it retires. There are some striking designs in this pack and some of them are just a bit too much for me so I have been fussy cutting some of the flowers to use with the other side which is much calmer. I'm using the Beautifully Happy stamp set for the sentiments, I just love it, it's such a pretty set.

Materials

1 piece of calypso coral card 5 7/8" x 8 1/4", scrap for the sentiment
1 piece of basic white card 4" x 5 3/4", 1 piece 3 7/8" x 5 5/8", scrap for the sentiment
1 piece of dsp 3 7/8" x 5 5/8", scraps to fussy cut flowers
Calypso Coral ink
Beautifully Happy stamp set
Double Oval Punch
Paper snips
Trimmer
Simply scored
Bone folder
Multipurpose adhesive
Dimensionals

Instructions

On the long side score the calypso coral card at 4 1/8" and fold and burnish to make a landscape card.

Adhere the larger of the two pieces of basic white and then add the dsp to the card front.

Fussy cut some of the flowers to match and arrange them on the card front using dimensionals.

Stamp a sentiment on the scrap of white and punch out with the straight sided oval and layer up on an oval punched from the calypso coral, add to the card front with dimensionals.

Stamp a sentiment on the remaining white layer and add to the inside of the card, add a fussy cut flower to finish it off.

Another quick and easy card, great for batch making and to use up your dsp.

If you would like to join my Team or become one of my Discount Shoppers, you can message me on my Facebook Page at www.facebook.com/craftykarendesigns or via the Contact Me box below this Blog.

If you are interested in taking part in some challenges and having crafty chats with like minded people and a bit of a laugh, pop over to Craft and Banter on Facebook (link in the side bar). This group is a collaboration with Taffy Crafting (Donna Lester) and Vickieloudesigns (Victoria Littlewood) and we would love you to join us.

Happy Crafting,


Karen X


Product List

Saturday 25 February 2023

Perfectly Pencilled Just Because - Ink, Stamp, Share Blog Hop - Colour Challenge

Hi Everyone,


The theme for this hop was a colour challenge - Black & White with a pop of colour - I'm using Polished Pink and a touch of Soft Succulent with the Perfectly Pencilled designer series papers.


Materials

1 piece of basic black card 5 7/8" x 8 1/4", scrap for the sentiment
1 piece of polished pink card 4" x 5 3/4", 1 piece 3 1/4" x 4 1/4"
1 piece of basic white card 3 7/8" x 5 5/8", scrap for the sentiment
1 piece of dsp 3 7/8" x 5 5/8", 1 piece 3" x 4"
True Beauty stamp set
Polished Pink Stampin' Blends
Soft Succulent Stampin' Blends
Memento Black ink
Trimmer
Simply Scored
Multipurpose adhesive
Dimensionals
Glossy Dots

Instructions

On the long side score the basic black card at 4 1/4" and fold and burnish to make the card base.

Add the polished pink mat layer and then the larger dsp layer to the card front.

Colour in some of the flowers in the dsp with Stampin' Blends and then add this piece to the polished pink mat and add to the card front using dimensionals.

Stamp a sentiment on the scrap of white and the remaining large piece of white for the inside. Add the sentiment to the scrap of basic black and then add to the card front with dimensionals and add the larger piece to the inside of the card.

Add a couple of glossy dots and the card is complete.  This is a very simple design which you can use to use up scraps of dsp for quick cards.

Please pop over and see what everyone else has made too.


If you would like to join my Team or become one of my Discount Shoppers, you can message me on my Facebook Page at www.facebook.com/craftykarendesigns or via the Contact Me box below this Blog.

If you are interested in taking part in some challenges and having crafty chats with like minded people and a bit of a laugh, pop over to Craft and Banter on Facebook (link in the side bar). This group is a collaboration with Taffy Crafting (Donna Lester) and Vickieloudesigns (Victoria Littlewood) and we would love you to join us.

Happy Crafting,


Karen X


Product List

Friday 24 February 2023

Two Tone Flora Flowerpot Easel Card

 Hi Everyone,


Today's card is one that I made for my daughter, she doesn't like big fussy cards so I thought I'd make her a plant instead haha. I was inspired by a card that I saw Jan B make quite a while ago and I love gingham so the Country Gingham dsp is ideal and my new favourite flower stamp is Two Tone Flora, I hope she likes how it turned out.

Materials

1 piece of mint macaron card stock 4 1/8" x 11 1/2", 1 piece 4 1/8" x 11 1/4", 1 piece 3/4" x 3 7/8"
3 pieces of basic white 3 7/8" x 5 3/8", 2 pieces 3 7/8" x 2 1/2", 1 piece 3 1/8" x 2 3/4", 1 piece 3/4" x 4 1/8", 1 piece 5/8" x 3 3/4"
2 pieces of Country Gingham dsp  3 3/4" x 5 1/4", 2 pieces 3 3/4" x 2 3/8"
Scrap basic white for stamping and to cover the back of the flowers
Gingham Embossing Folder
Stampin' Cut & Emboss Machine
Two Tone Flora stamp set
Two Tone Flora dies
Happiness Abounds stamp set
Fresh Freesia ink
Highland Heather ink
Pear Pizzazz ink
Mint Macaron ink
Basic Rhinestones
Soft Succulent Ribbon
Paper Snips
Trimmer
Simply Scored
Bone Folder
Multipurpose Adhesive
Dimensionals
Mini Glue Dots

Instructions

On the long side, score the 11 1/2" piece of mint macaron at 5 3/4"  and then 8 5/8" and the 11 1/4" piece at 5 5/8" and fold and burnish each piece. The slightly smaller one fits inside the other one and opens towards you.

Adhere the smaller one to the inside of the larger one making sure that the top will close over the bottom 

Add the basic white and dsp mats to both sides of the front drop down flap and the smaller section above the plain white mat where you can see the sentiment and the flower in the picture above. Stamp a sentiment on the remaining large piece of basic white and add this to the inside of the card as shown in the picture above.

Take the 3 1/8" x 2 3/4" piece of white and put a mark 1/2" in from both edges on the 3 1/8" side and then cut from this mark up to the top corner of the piece, effectively cutting a small triangle from each side to make the flowerpot shape.

Run this flowerpot shaped piece and the 3/4" x 4 1/8" piece through the machine in the embossing folder. The long thin strip goes across the front  flap of the easel and the pot tucks just underneath. The bottom of the pot needs to be level with the bottom of this front easel piece. I glued the top to the pot but NOT to the card at this point.

Stamp and cut out the flowers and leaves that you want to use. I didn't want the backs of the flowers to be visible, so I laid my flowerpot on top of a piece of scrap white card and arranged the flowers and leaves and glued in place on top of the scrap card. Then I cut around this so that you can't see the back of the flowers.


Now glue the flowerpot in place on the front of the easel and cut away the excess mint macaron card at either side so that the flowerpot stands up.


Stamp a sentiment on the remaining strip of white and then adhere it to the remaining strip of mint macaron, add dimensionals and stick to the front fold out piece to form a stopper so the flowerpot will stand up.  Add some rhinestones to either end.

Make a small bow with some ribbon (I only had soft succulent but it seems to match ok) and add below the sentiment with some mini glue dots. I had one flower left over so I added that to the inside of the card.

It's a very pretty card and Jan B does a lovely video of hers on her channel, here's a picture of the one that she made

Check out what Victoria has made this week too


If you would like to join my Team or become one of my Discount Shoppers, you can message me on my Facebook Page at www.facebook.com/craftykarendesigns or via the Contact Me box below this Blog.

If you are interested in taking part in some challenges and having crafty chats with like minded people and a bit of a laugh, pop over to Craft and Banter on Facebook (link in the side bar). This group is a collaboration with Taffy Crafting (Donna Lester) and Vickieloudesigns (Victoria Littlewood) and we would love you to join us.

Happy Crafting,


Karen X
 

Product List