Monday 18 March 2019

Hello Cupcake Card

Hi Everyone,

This morning I have a cute card featuring the Hello Cupcake stamp set which is a free Saleabration item until 31st March 2019. Super easy to do and as you will see from the photograph at the end, it looks great in any colour.

Happy Stamping!


Materials

1.  1 x 5" x 7" card base (I've used a pre-scored one) but if using a sheet of card stock, cut at 10" x 7" and score and fold at 5"
2.  Scraps of whisper white and a coloured card stock for the rectangles (I have used melon mambo in this example)
3.  Hello Cupcake stamp set
4.  Inks to co-ordinate with the card stock (I have used melon mambo, blushing bride, early expresso and crumb cake)
5.  Glue and dimensionals
6.  Stitched rectangle dies

Instructions

1.  Cut and fold your card base if using a sheet of card stock.


2.  Using the sprinkle stamp and ink of your choice, stamp all around the four edges of the card except for the area that will be covered by the coloured rectangle.


3.  Cut two rectangles, one in a colour of your choice and one in whisper white (I've used two of the larger dies).  Adhere the coloured one to the front of the card at an angle.


4.  Stamp the cupcake and the sentiment on to the whisper white rectangle (in this example, I have used early expresso for the cake case, crumb cake for the cake top, blushing bride for the icing and melon mambo for the sprinkles, heart and the sentiment).


5.  Add dimensionals to the back of the stamped image and adhere to the front of the card.


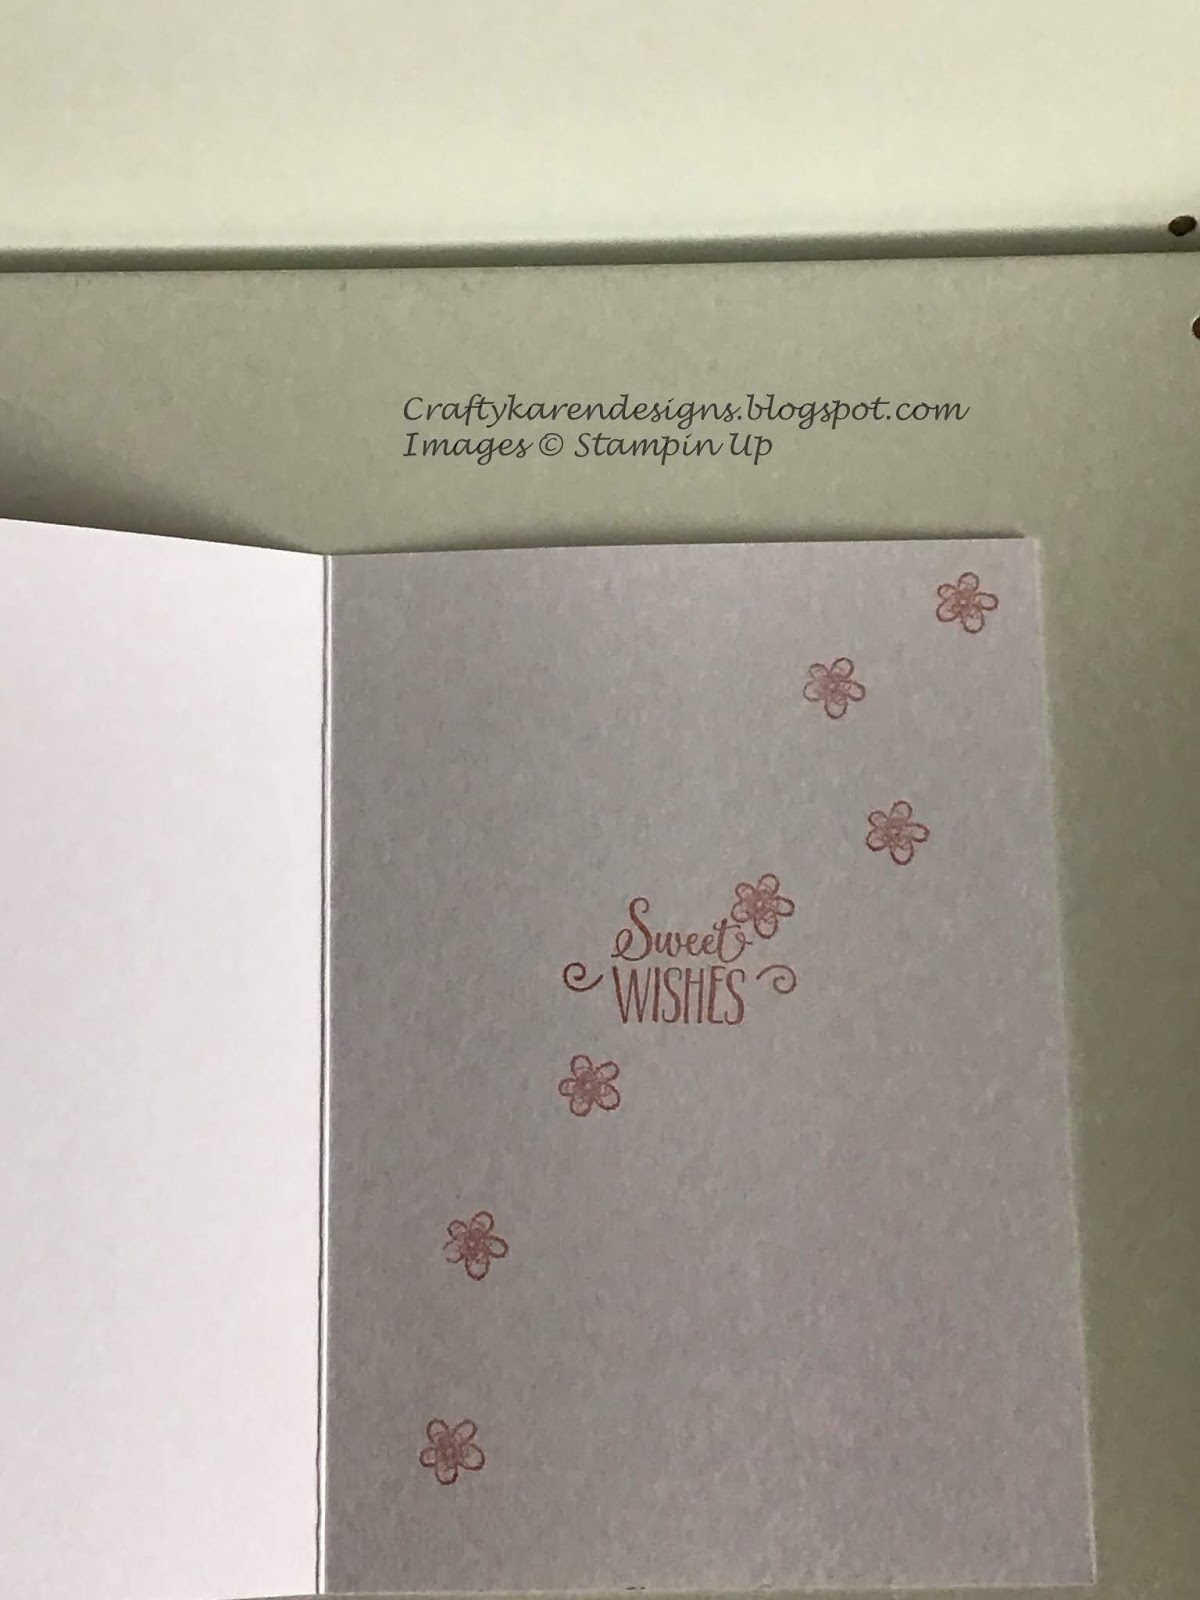
6.  Stamp a sentiment on the inside of the card and decorate.


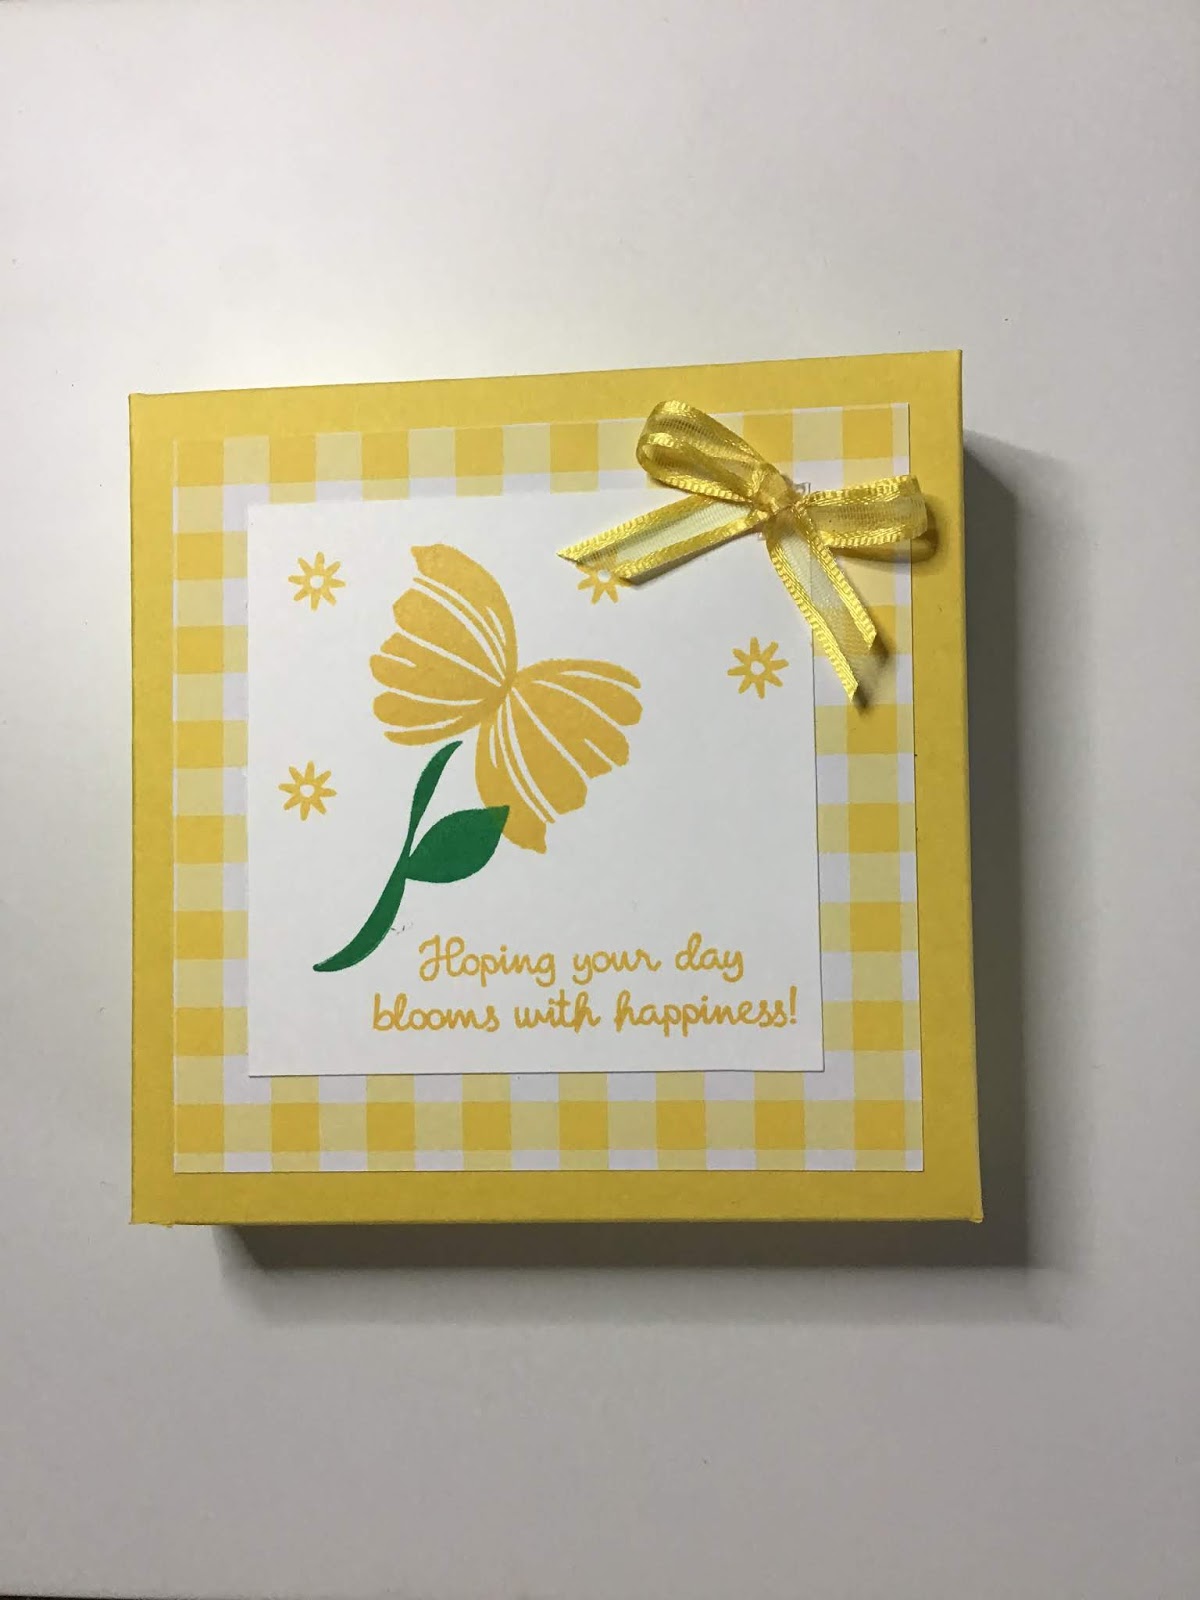
Here are some other examples of different colourways.

Have fun

Karen xx
Product List

Thursday 7 March 2019

Cute Handbag Card


Hi,

The inspiration for this card came from Sam Clayton over on Mixed Up Crafts and I just loved it when I saw it.  The possibilities are endless, it could be used for Mother's Day, birthdays, invitations for parties, children's cards, the only limit is your imagination.  Hope you enjoy the tutorial and have a go at this one yourself, I'd love to see the results.

Materials


1 x 12" x 5" card stock for the base (I have used Grapefruit Grove)
1 x 2 1/2" x 5 card stock for the flap
4 x 4 3/4" dsp for the inside and outside of the bag (I have used Petal Promenade)
1 x 1 3/4" x 4 3/4" dsp for the flap
Scrap of card stock for the handle and the sentiments
2 sizes of scalloped oval dies for the handle (I have used a set from The Works)
2 smaller scalloped oval dies for the sentiments
Ink to match (Memento Black and Grapefruit Grove)
Adhesive and red line tape
Velcro dot for the fastening
Dimensionals
Stamp set of your choice (I have used Needle and Thread)

Instructions

1.  Score the 12" x 5" card on the long side at 5" and 7", then flip it over and score at 6". Fold and burnish the score lines to make an M shape (mountain, valley, mountain), this is the base of the bag and how it stands.


2.  Adhere a piece of dsp to the front and two to the inside, leaving a small border all the way around. I have used the reverse of the dsp for the inside of the bag as a contrast.  Leave the back of the card for now.


3.  For the bag flap, score on the short side at 1/2", then fold and burnish.  Add red line tape (or glue) to the small fold and line it up so that the larger piece is folded over the front of the card and then stick the smaller flap to the back, this then forms the flap on the handbag. Add the small piece of dsp to the flap on the front of the bag.


4.  Die cut the handle by laying the larger dies inside each other so they will cut out a frame. Then, cut the frame in half to give you the handbag handle. You could cut the frame out twice and stick
them together to strengthen it and then cut in half and then you would have two handles.

5.  Line up the handle on the back of the card and adhere (I have used red line tape), then cover the back of the bag with the remaining piece of dsp.


6.  I have used the die cut from the centre of the handle section for the sentiment on the inside of my card and adhered it to the back section of the card.

7.  Add velcro dots to the underside of the handbag flap and the front of the bag to make the fastening.

8.  Cut out two more scalloped ovals using the smaller dies, I have matched the larger on to the same colour as the card stock I have used and the smaller, stamping layer is whisper white. Stamp the sentiment on the smaller one and adhere this layer to the larger oval.  Put dimensionals on the back, at the top and stick to the front of the bag flap, in the centre, so that it hangs off the flap.

9.  Decorate as much or as little as you like.


Have fun, happy crafting

Karen xx

Product List

Sunday 3 March 2019

Bloom By Bloom Mini Cards in a Box

Materials

1.  4 pieces of whisper white card stock 4" x 8" scored in the middle (or 4 x 4 ready made cards)
2.  Matching envelopes
3.  5 pieces of whisper white card stock 3" x 3" (for stamping)
4.  5 pieces of gingham gala designer series paper 3 3/4" square
5.  Inks to match dsp, I have used - lemon lime twist, daffodil delight, balmy blue, gorgeous grape (I       don't have highland heather), grapefruit grove and call me clover for the stem and leaves.
6.  Small piece of ribbon (I have used daffodil delight free sale-a-bration ribbon)
7.  A piece of thick whisper white card stock 6 1/4" square, scored at 1" on all 4 sides
8.  A piece of a contrasting card stock for the lid (I have used daffodil delight) 6 5/16" square, scored       at 1" on all 4 sides.
9.  Adhesive of choice (I have used Tombow) throughout.
10. Bloom by Bloom stamp set
11.  Varied vases stamp set
12.  1/2" circle punch

Instructions

Cut and score all your card base pieces if not using ready made so that you have 4 card bases.
Cut 5 pieces of whisper white 3" square for your stamping layers.

Using your main flower colour stamp two flower heads close to each other but facing in different directions. Then using call me clover, stamp the leaf and stem in between them.


Using your flower colour, stamp four of the tiny flowers as shown on the picture and put your sentiment in the bottom right corner.

Using the same colour stamp your other sentiment inside your card base.


Cut 5 pieces of gingham gala 3 3/4" square (I have used the same colour dsp as the flower I have stamped on the card). Adhere the dsp to the front of the card in the centre, leaving a small border all the way around, then adhere your stamped piece in the centre of that.


Repeat 4 times so that you have your four cards.

To make the box, cut a piece of thick whisper white to 6 1/4" square and score at 1" on all four sides. Fold and burnish all the score lines and then cut up to the score line to the left of each tab and notch in on both sides (see picture)


Put adhesive on the tabs and fold in to make your box, making sure that they line up square.

Cut a piece of contrasting card stock to 6 5/16" square and score at 1" on all four sides. Fold and burnish all the score lines and cut the tabs as on the base of the box.

Before you put the box together, adhere the dsp to the centre of the box lid and then add the stamped layer to the centre of that.  Adhere the tabs and 
fold in the make the lid.

Using the circle punch, punch a half circle on two opposite edges of the lid to help to get the lid on and off.


There you go 4 lovely cards in  a pretty box, easy.  Why don't you have a go, I'd love to see pictures of your versions.

Happy stamping 

Karen xx

Newsletter


Sign up to my newsletter to get all the latest deals and news  from Stampin'Up! and to see all my latest projects as they appear.  Everyone who signs up will receive a free exclusive PDF tutorial for a project that won't be listed elsewhere. 

Click the box in the top right side bar of this post.  Hope to hear from you soon.


Product List