Wednesday 30 March 2022

Floating Circle with New Horizons and Kite Delight

 Hi Everyone,


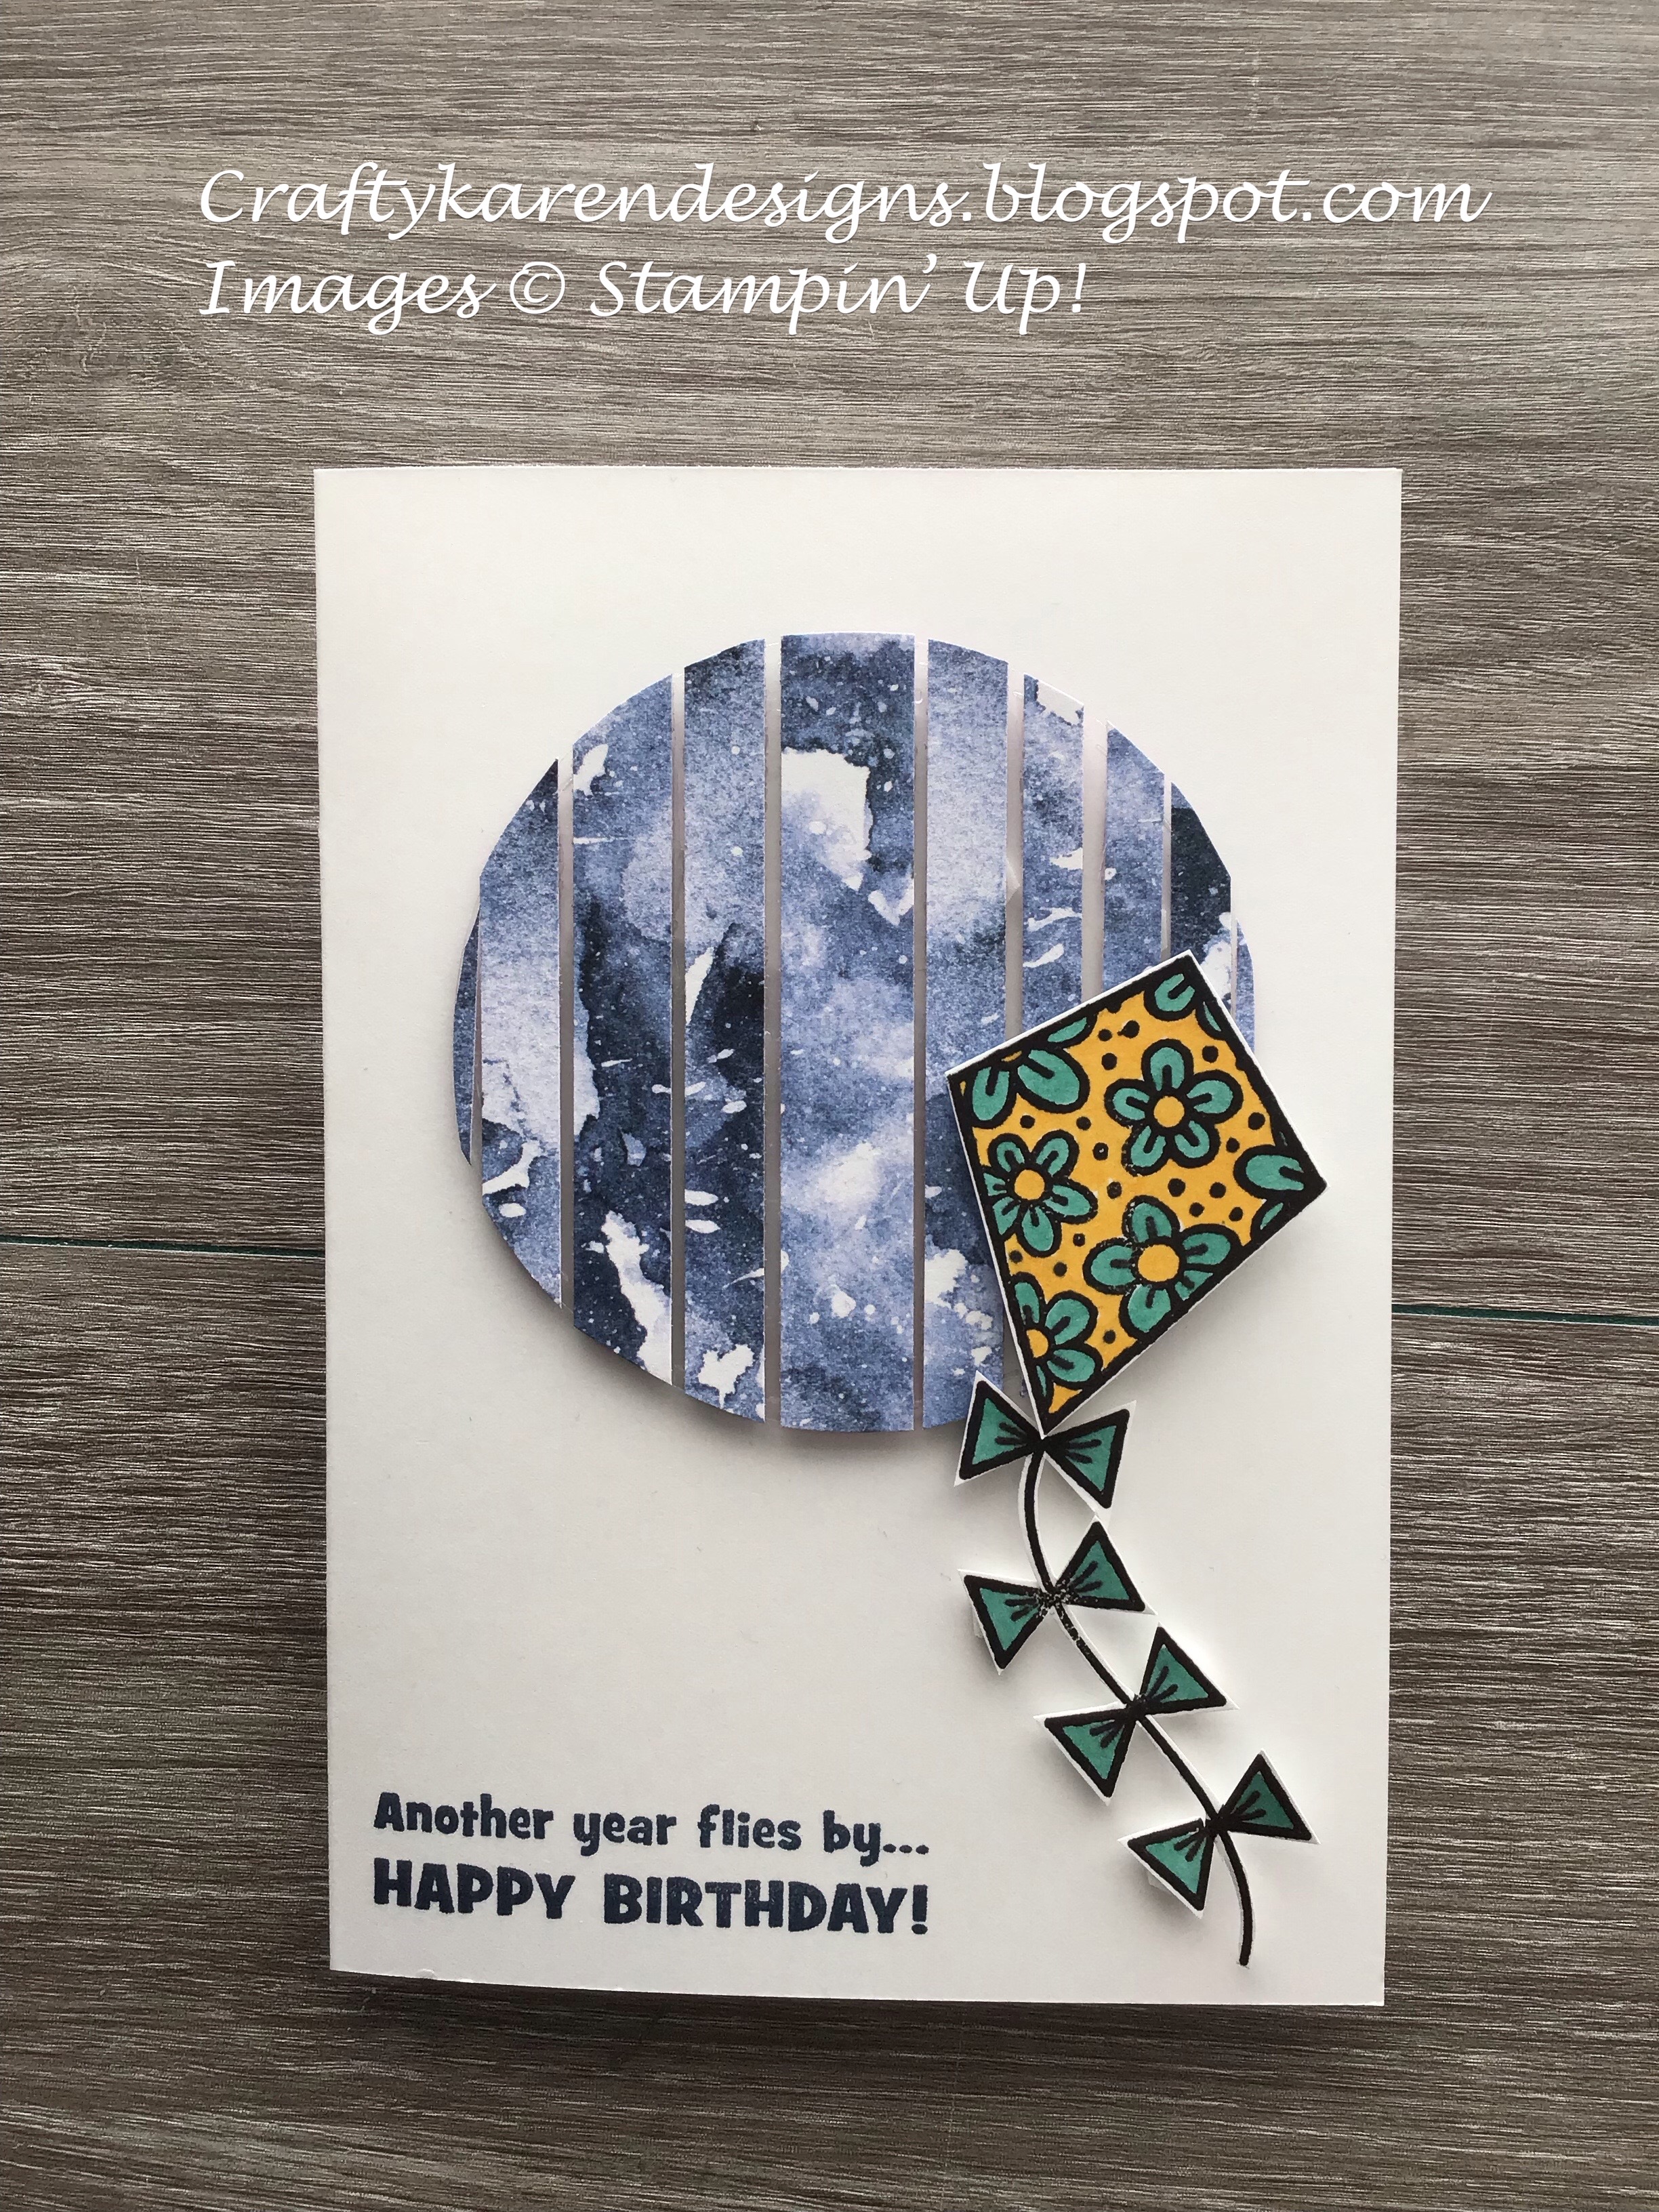
Today I am trying a technique that I've wanted to try for a long time, the floating image using acetate. I've watched a few videos and thought I would have a go myself. I've used the beautiful New Horizons dsp and the Kite Delight stamp set.

Materials

1 piece of thick basic white card 5 7/8" x 8 1/4"
Scraps of New Horizon dsp cut into thin strips
Scrap of basic white card for stamping
1 piece of acetate approx 4" square
Multipurpose adhesive
Paper snips
Dimensionals
Layering circle dies
Stampin' Cut & Emboss Machine
Bermuda Bay Stampin' Blends
Daffodil Delight Stampin' Blends
Memento Black Ink
Kite Delight stamp set
Misty Moonlight ink
Trimmer
Simply Scored
Bone Folder


Instructions

On the long side score the thick white card at 4 1/8" and fold and burnish to make the card base.

Now I am not sure if this is the best way to do this, but this is how I made the floating element:

I die cut a 3" circle from the acetate first.

Then I started adding the strips of dsp, I used multipurpose adhesive, just a very thin line and then added the dsp, a strip at a time, leaving a small gap between each layer until I had covered the circle. I chose the dark blue because I thought it looked a bit like the sky.  When I had covered the circle, I used the paper snips to trim around the circle. Then I added dimensionals on the back, behind the strips of dsp so they couldn't be seen and added the circle to the front of my card.

Stamp one of the kites and a tail on the scrap of white and colour them in with the blends and then fussy cut them with the paper snips and add dimensionals to the back.

Stamp a sentiment in the bottom left side of the card front and one on the inside using the misty moonlight ink.

Add the kite and the tail to the card front as shown.

I hope you like my card and will give this technique a try.

If you would like to see more of my Blog Posts, sign up to the email alert over in the right hand side bar of the page.

If you would like to join my Team or become one of my Discount Shoppers, you can message me on my Facebook Page at www.facebook.com/craftykarendesigns or via the Contact Me box below this Blog.

If you are interested in taking part in some challenges and having crafty chats with like minded people and a bit of a laugh, pop over to Crafty and Banter on Facebook (link in the side bar). This is a new group that some crafty friends and I are trying to get up and running and we would love your company.

Happy Crafting,


Karen X

Product List

Saturday 26 March 2022

Artfully Composed Pansy Patch Z Fold Card - Ink, Stamp, Share Blog Hop

 Hi Everyone,


Today I have made a leafy Z Fold card for the Ink, Stamp, Share Blog Hop as we are all showcasing fun folds this time.  A Z fold card was the first one I learnt how to do and I use it all the time, it's simple but you can dress it up or down as the mood takes you and embellish as much or as little as you like. I've used the Artfully Composed designer series papers for this one ands teamed it with a sentiment from the Pansy Patch stamp set.

Materials

1 piece of old olive card stock 5 7/8" x 8 1/4", 1 piece 3 1/4" x 4 1/4"
1 piece of basic white 1 7/8" x 5 3/4", 1 piece 3" x 4"
1 piece of dsp 4" x 5 3/4", 2 pieces 1 7/8" x 5 3/4"
Scraps of dsp to fussy cut the leaves
Stitched So Sweetly dies
Stampin' Cut & Emboss machine
Old Olive ink
Pansy Patch stamp set
Brass Brushed Butterflies
Multipurpose adhesive
Dimensionals
Paper snips
Trimmer
Simply Scored
Bone Folder

Instructions

On the long side score the old olive card at 4 1/8" and fold and burnish, then fold the front piece back on itself to make the Z and fold and burnish.

Add the largest dsp to the inside of the card and the two strips to the front as shown in the picture.

Add the white card to the inside of the front section to write your message.

Die cut the two largest rectangles, the larger in old olive and the smaller in basic white.

Stamp the sentiment on the basic white rectangle in old olive ink.

Fussy cut some of the large leaves from the dsp and arrange around the sentiment, I have used partial images from the sides of the dsp for 3 of them and just one full image which I have adhered to the front of the sentiment mat underneath the sentiment.  The others I have added to the old olive mat layer and then covered them with the white layer so they are sandwiched in between.  Add dimensionals to the card front where you want the sentiment layers to go and adhere in place.

Add some butterflies and the card is finished.

Please pop over and see what everyone else has been making too, there will be loads of inspiration and maybe some new fun folds that you haven't seen before.


If you would like to see more of my Blog Posts, sign up to the email alert over in the right hand side bar of the page.

If you would like to join my Team or become one of my Discount Shoppers, you can message me on my Facebook Page at www.facebook.com/craftykarendesigns or via the Contact Me box below this Blog.

If you are interested in taking part in some challenges and having crafty chats with like minded people and a bit of a laugh, pop over to Crafty and Banter on Facebook (link in the side bar). This is a new group that some crafty friends and I are trying to get up and running and we would love your company.

Happy Crafting,


Karen X


Product List

Abstract Beauty for the InspireINK Sketch Challenge

 Hi Everyone,


Today I am hopping with the lovely InspireINK group and we are using a sketch provided by the lovely Heather Forgan (Stamp With Nellie). I love a sketch challenge for getting my crafty mojo going and I've needed it recently as I've not been feeling great. I've used the gorgeous Abstract Beauty designer series papers and the hexagon dies with the Quiet Meadow and Lovely You stamp sets.

This is the sketch we were given

Materials

1 piece of just jade card stock 5 7/8" x 8 1/4"
1 piece of basic white card 3 7/8" x 5 5/8", scrap for the sentiment
1 piece of dsp 1 1/2" x 5 1/2", 1 piece 3" square, 1 piece 2" square, 1 piece 1 1/2" square
Scrap of gold shimmer ribbon
Just jade ink
Magenta Madness ink
Lovely You stamp set
Quiet Meadow stamp set
Beautiful Shapes dies
Stampin' Cut & Emboss Machine
Adhesive backed hexagons
Multipurpose adhesive
Dimensionals
Trimmer
Simply scored
Take Your Pick Tool
Paper snips

Instructions

On the long side score the just jade card at 4 1/8" and fold and burnish to make the card base.

Using the splatter stamp from Quiet Meadow randomly stamp all over the card front using just jade ink.

Adhere the long thin strip of dsp to the left hand side of the card front. Add the 3" square using dimensionals, then the 2" square and the 1 1/2" square using adhesive following the sketch for placement.

Die cut the smallest hexagon from the scrap of white card and then stamp the sentiment in just jade and the flowers in magenta madness from the Lovely You stamp set.

Cut a small piece of ribbon and flag the ends and add to the card front, then add the sentiment over the top using dimensionals.  Add some of the adhesive backed hexagons in just jade and pink.

Stamp another sentiment on the remaining basic white and I have also used the splatter stamp to opposite corners for some interest and then adhere to the inside of the card.

I hope you like my version of the sketch challenge, please pop over and see what everyone else has done with theirs too, loads of inspiration for you. Why don't you have a go too?

You are invited to the Inlinkz link party!

Click here to enter

If you would like to see more of my Blog Posts, sign up to the email alert over in the right hand side bar of the page.

If you would like to join my Team or become one of my Discount Shoppers, you can message me on my Facebook Page at www.facebook.com/craftykarendesigns or via the Contact Me box below this Blog.

If you are interested in taking part in some challenges and having crafty chats with like minded people and a bit of a laugh, pop over to Crafty and Banter on Facebook (link in the side bar). This is a new group that some crafty friends and I are trying to get up and running and we would love your company.

Happy Crafting,


Karen X


Product List