
Hi Everyone,
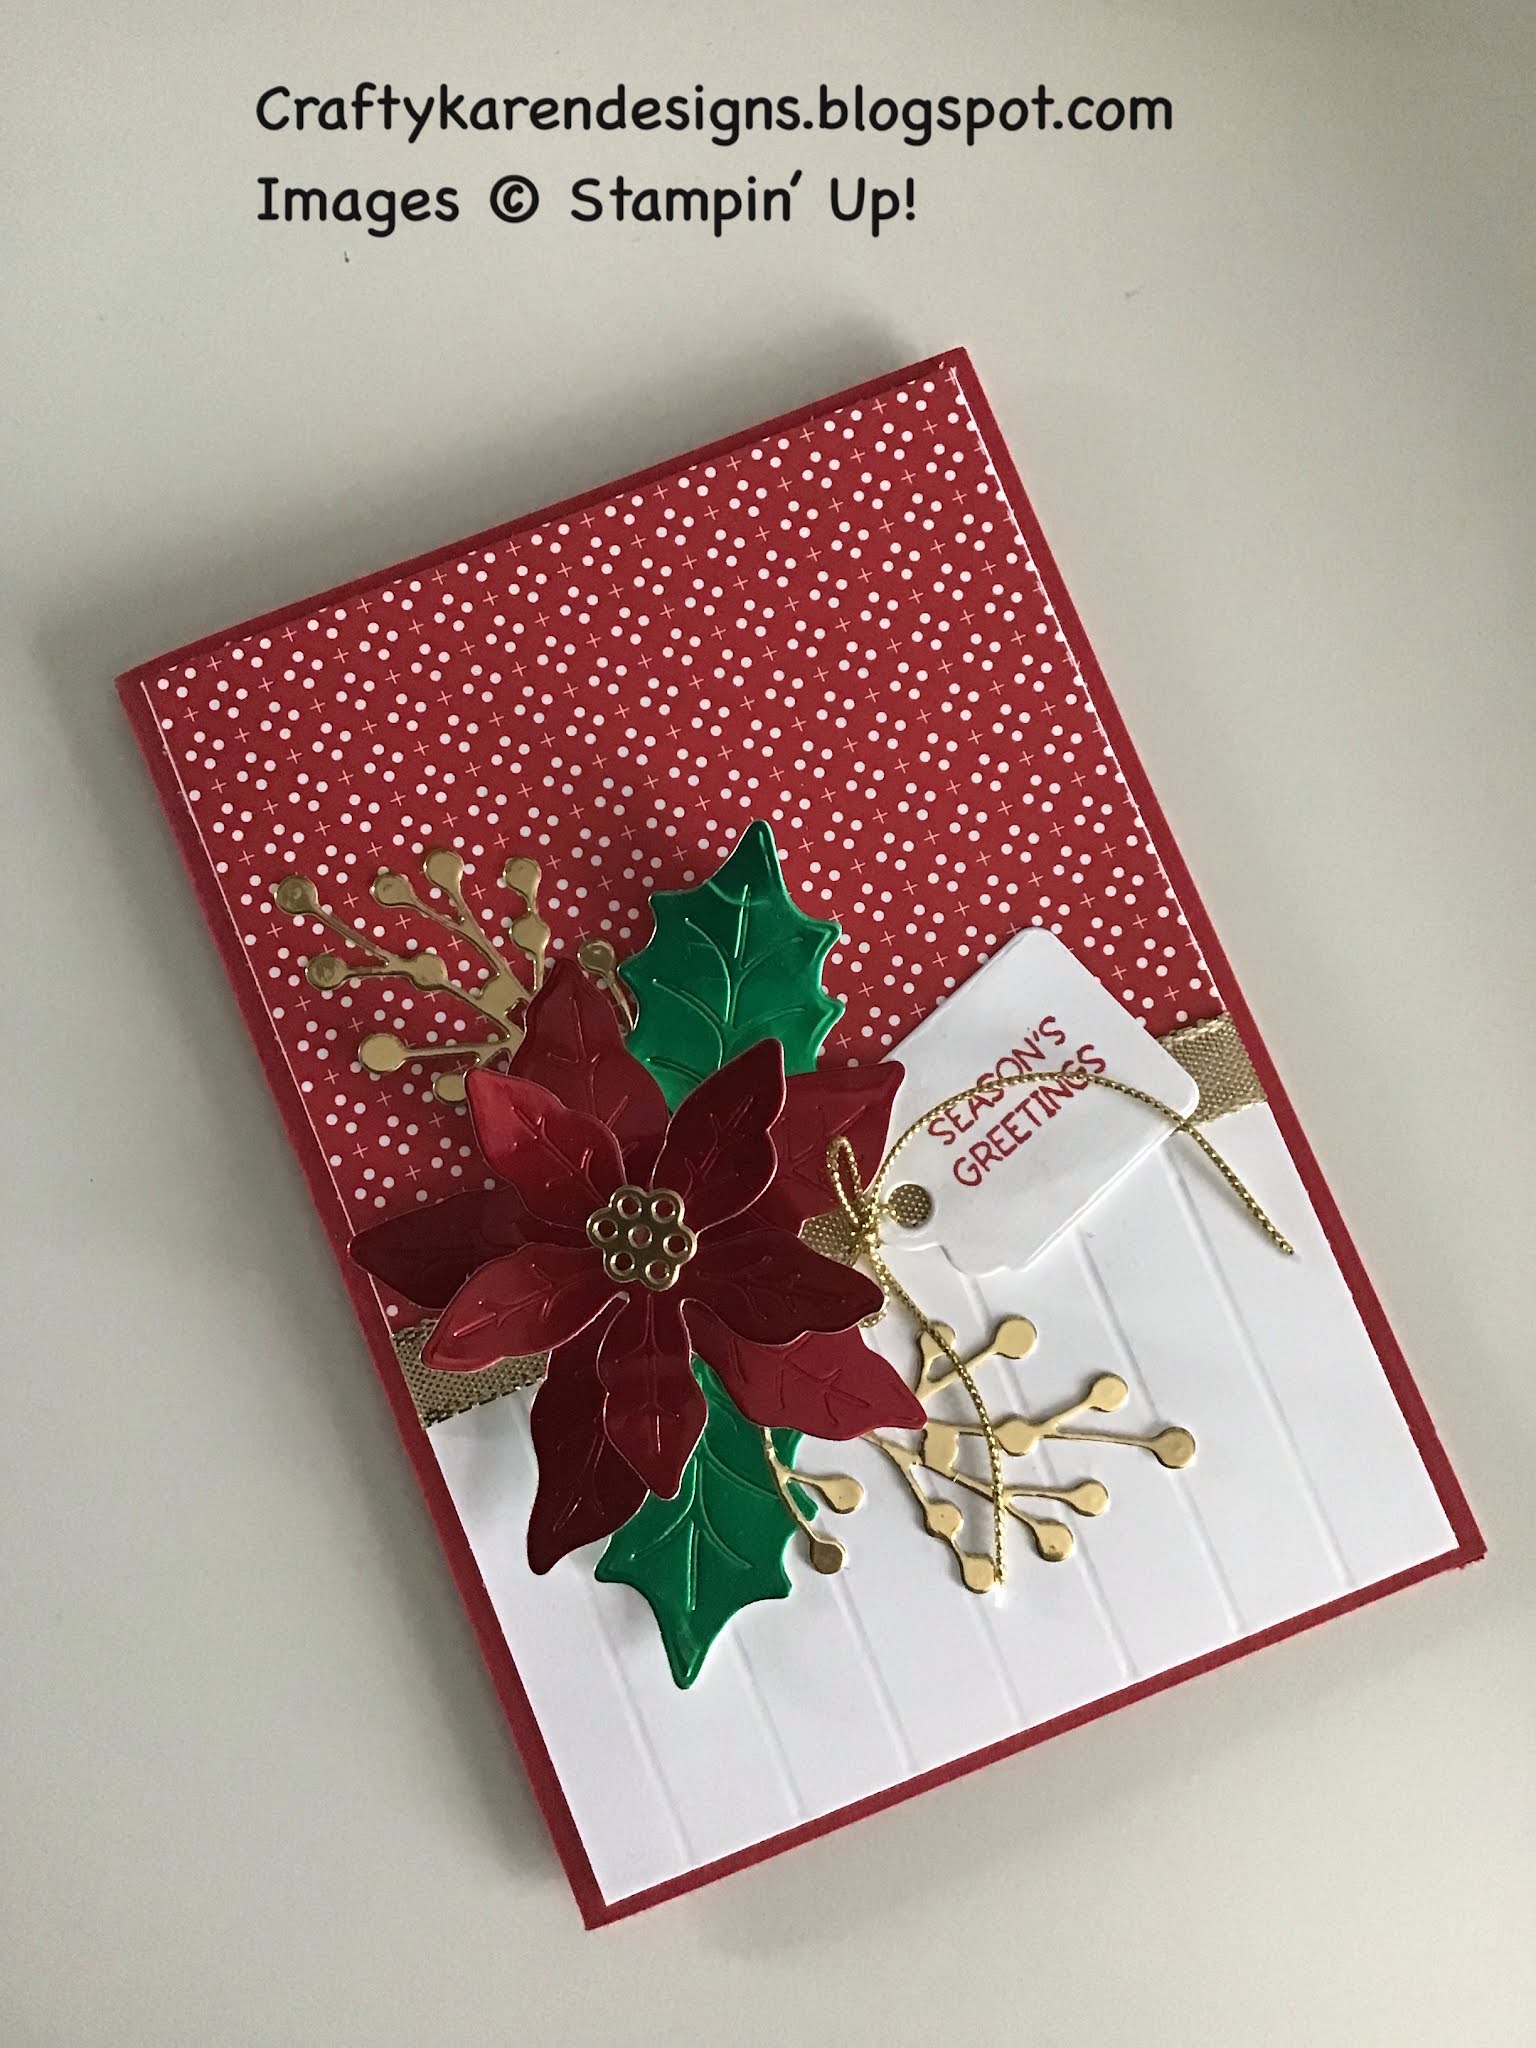

Hopping with my lovely Team Mates from the 'Stampin' Birds' today and we are showcasing what we are working on at the moment. I thought I would make a Christmas card this week, I need to build up my stash so I'm not running about in December like a mad person trying to make cards as well as everything else haha. I love these poinsettia dies and I have combined them with a technique I used for another blog hop - scoring the background, let me show you what I did.
Materials
1 piece of real red card stock 5 7/8" x 8 1/4"
2 pieces of basic white 3 7/8" x 5 5/8", scrap for the tag
1 piece of Heartwarming Hugs dsp 3 7/8" x 3 1/4"
Scrap of gold shimmer ribbon (6")
Scraps of red, green and gold foil for the decoration
Real red ink
Stampin' Cut & Emboss Machine
Poinsettia dies
Pretty Pillow Box dies
Penguin Place stamp set
Poinsettia Petals stamp set
Elegant Trim
Trimmer
Simply scored
Bone folder
Multipurpose adhesive
Dimensionals
Mini glue dots
Instructions
On the long side score the real red card at 4 1/8" and fold and burnish to make the card base.
Put one of the basic white pieces of card on your simply scored with the short end pushed up to the top. Score every 1/2" across the width, just down to about 2 1/2" then adhere the dsp to the other end of this piece, the dsp should just cover the end of the score lines so if they are not all completely level, it won't be seen. Wrap the ribbon around this layer covering the join between the two and fix on the back with some stick tape. Adhere this layer to the card front.
Die cut the medium and large flower in red foil, two leaves in green foil and two sprigs and the flower centre in gold foil. I've used a dimensional to layer the two sets of petals together to give some depth and then another one to add to the card front. Pull up the petals a bit to give them a bit of shape, or curl them with the bone folder. Shape the leaves and tuck them in underneath the flower and then add the sprigs.
Stamp the sentiment from the Penguin Place stamp set on a scrap of white card and then die cut with the tag die from the pillow box dies. Tie a piece of the gold elegant trim in a bow to the tag and then add to the card front, tucked under the edge of the flower.
Stamp another sentiment on the remaining white card and adhere to the inside.
I really like this design, I think I will make some more in different colourways.
Please click on the button below to see what my lovely team mate Tracy has made.

If you would like to see more of my Blog Posts, sign up on the pop up form and you will get my weekly Newsletter with all the details of my latest projects and news from Stampin' Up!
If you would like to join my Team or become one of my Discount Shoppers, you can message me on my Facebook Page at www.facebook.com/craftykarendesigns or via the Contact Me box below this Blog.
If you are interested in taking part in some challenges and having crafty chats with like minded people and a bit of a laugh, pop over to Craft and Banter on Facebook (link in the side bar), we would love your company.
If you are interested in taking part in some challenges and having crafty chats with like minded people and a bit of a laugh, pop over to Craft and Banter on Facebook (link in the side bar), we would love your company.
Happy crafting,
Karen X


")
")


Very pretty card Karen, love the Poinsettia x
ReplyDeleteThank you x
DeleteBeautiful card xx
ReplyDeleteThank you x
DeleteA beautiful card, love the design x
ReplyDeleteBeautiful! Thank you for the instructions ☺️
ReplyDeleteThank you x
DeleteYour card you has posted today, red cardstock with DSP and using the Poinsettia dies was beautiful. Have that set of dies and just love it. Loved your card.
ReplyDeleteThank you x
Delete