
Hi Everyone,
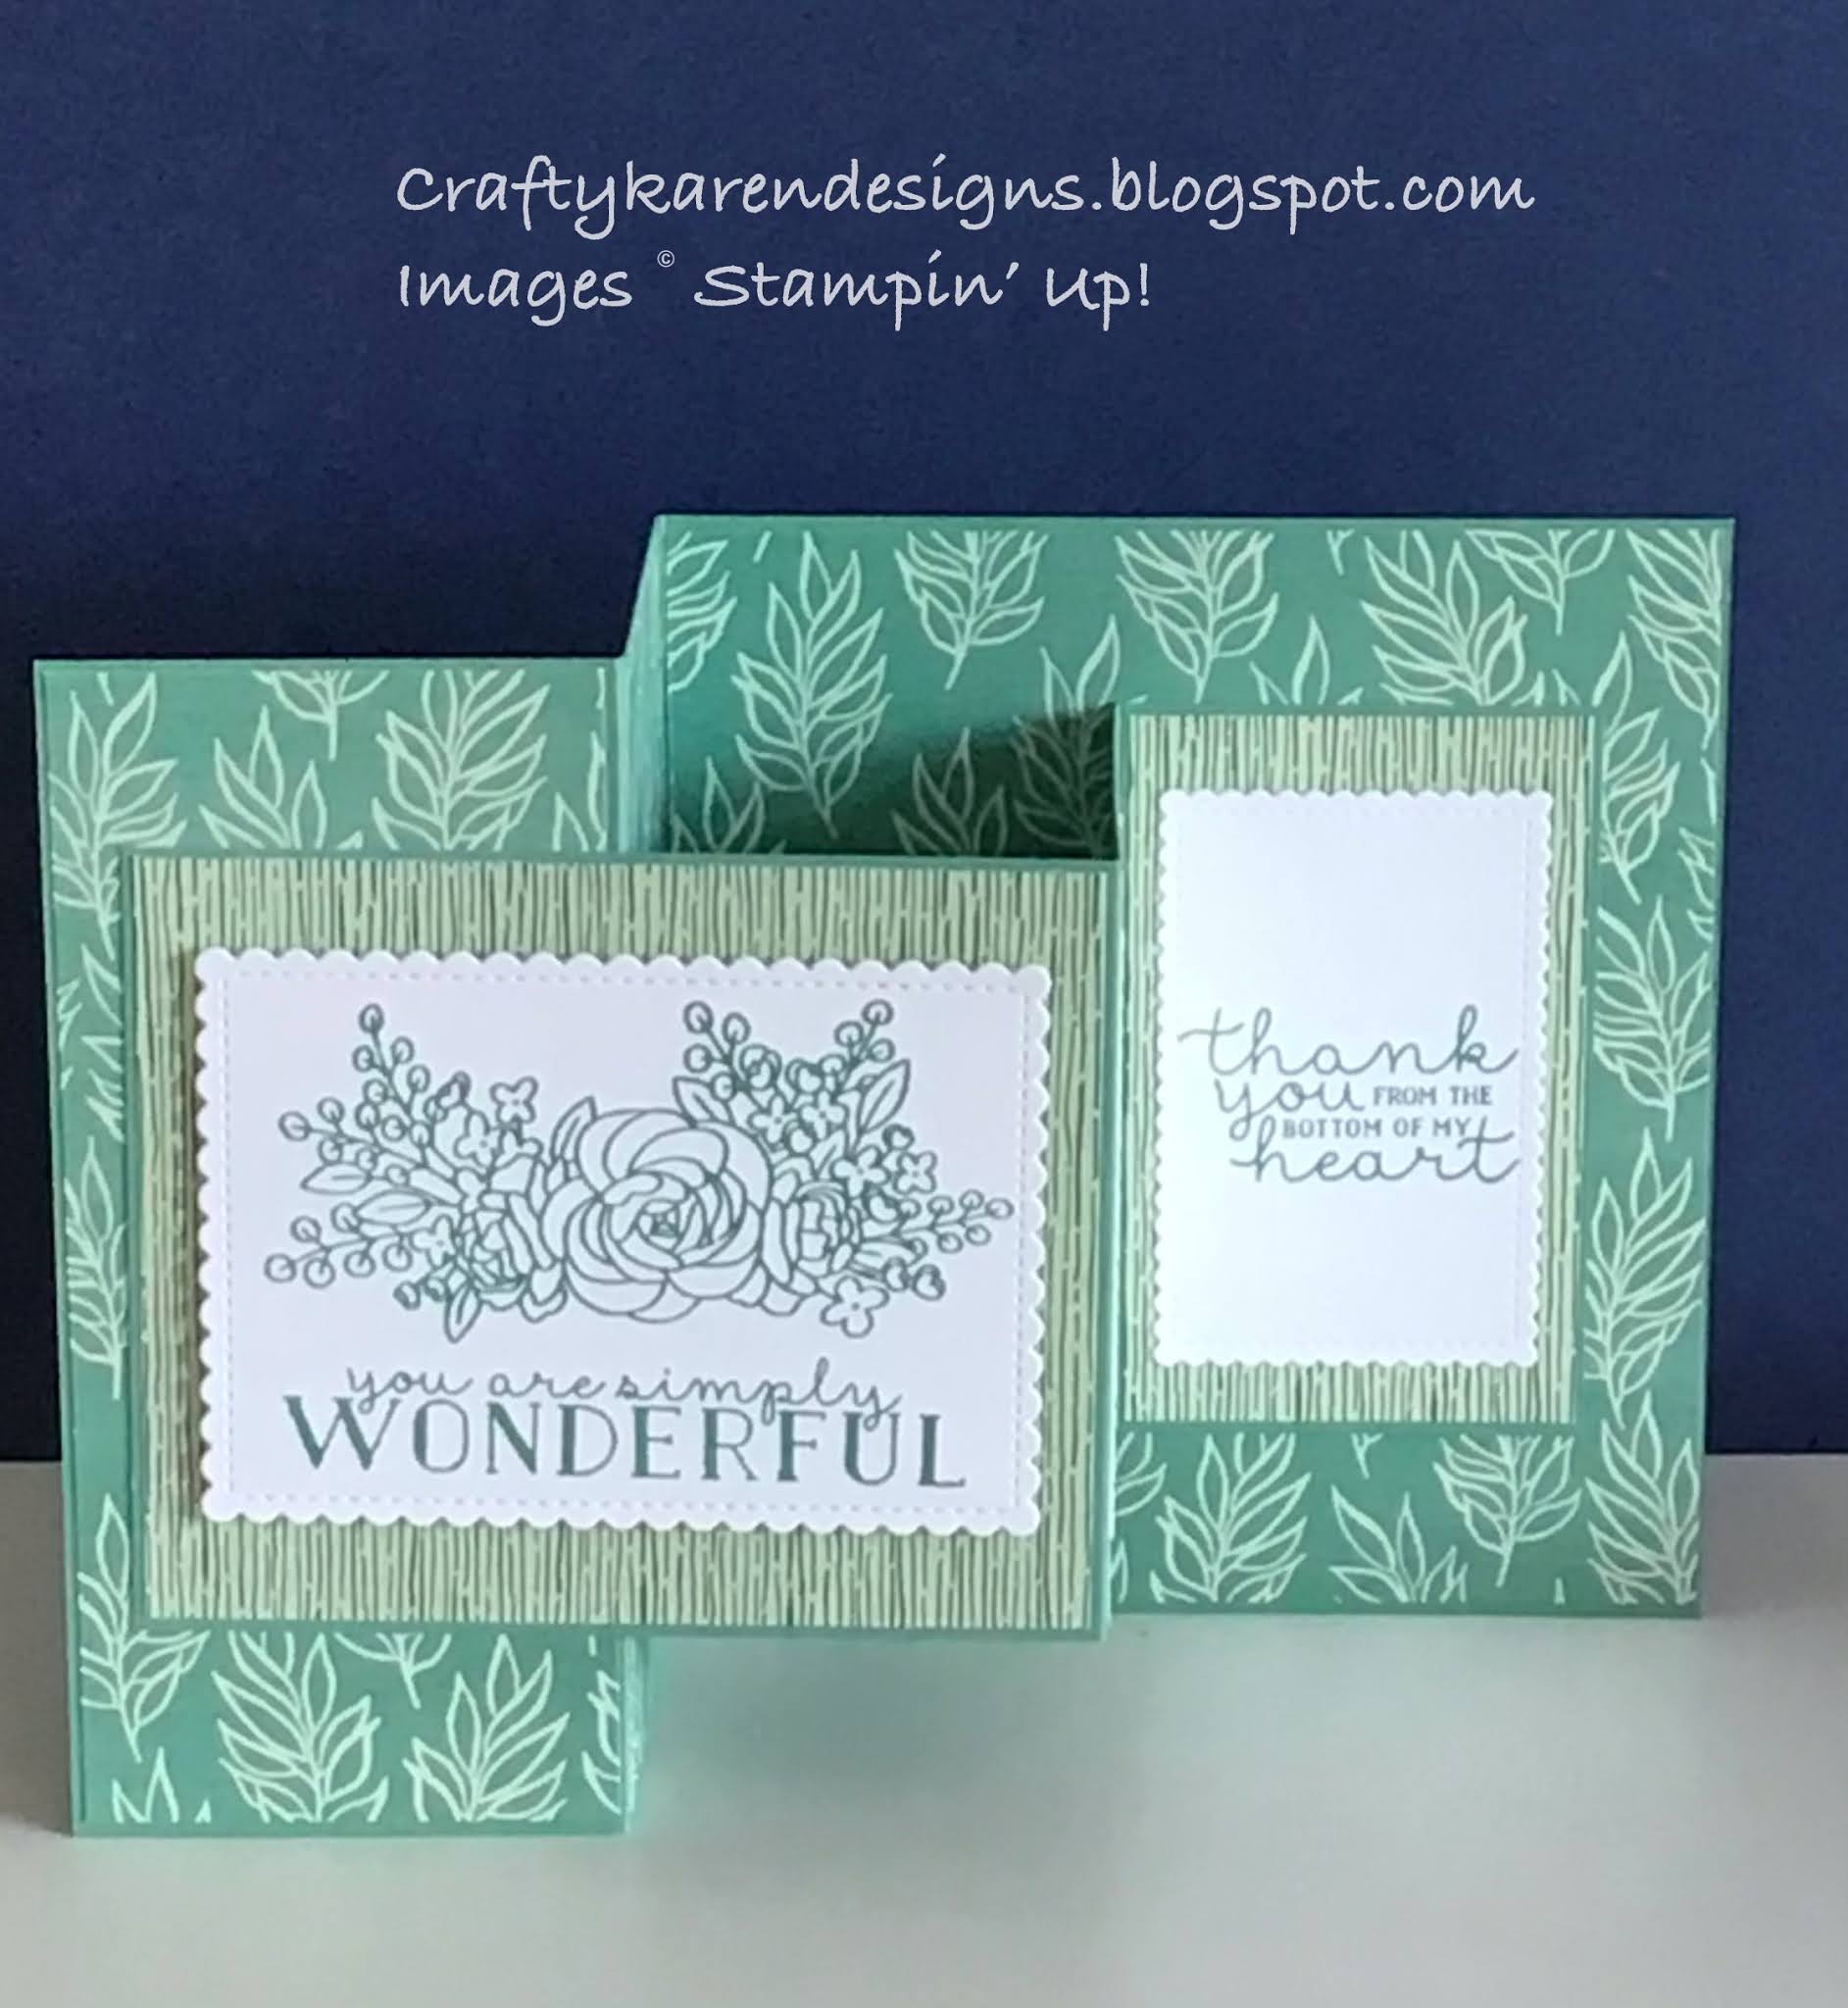
The theme for this weeks Share it on a Sunday is ‘Retiring Stamp Sets’, the new Annual Catalogue launches at the beginning of May and some of my old favourites are retiring. I made a double Z fold card with this stamp set a couple of years ago in a side by side crafting session with Donna from Taffycrafting. I thought I would make another but I have made it bigger and changed the designer series paper. Click on the link below for the video tutorial.
Materials
1 piece of just jade card stock 6” x 11” and 1 piece 4” x 10”
1 piece of Forever Greenery dsp 5 3/8" x 5 7/8" and 2 pieces 2 5/8" x 5 7/8"
1 piece of contrasting dsp 4 5/8" x 3 7/8", 1 piece 2 5/8" x 3 7/8" and 1 piece 2 3/8" x 3 7/8"
Scraps of basic white for die cutting 3 rectangles
Just jade ink
Bloom and grow stamp set
Stampin Cut and Emboss machine
Stitched So Sweetly dies
Multipurpose adhesive
Dimensionals
Trimmer
Simply scored
Bone folder
Instructions
On the long side score the larger piece of card at 2 3/4" and 5 1/2" and fold and burnish the score lines.
On the long side score the smaller piece at 4 3/4" and 7 1/2".
Adhere the dsp layers to all three sections on both pieces of card leaving a tiny border round the edges.
Fold the two sections, remembering that the biggest section in the smaller card will sit on the front section of the larger one, see picture. 
Add adhesive to the back of the smallest section of the smaller card and fix it so that the small card sits centrally on top of the larger one. Then add adhesive to the back of third of the larger section of the small card and fix it to the front section of the large card.

Add adhesive to the back of the smallest section of the smaller card and fix it so that the small card sits centrally on top of the larger one. Then add adhesive to the back of third of the larger section of the small card and fix it to the front section of the large card.

Die cut one of the largest (approx 4"across) scalloped rectangles and two of the smaller ones (approx 3" across).
Stamp the floral image and the sentiment it just jade ink on the largest rectangle widthways. Stamp another sentiment on one of the smaller ones and leave the third one blank for writing your message.
Add the two smaller rectangles longways on the two smaller sections of the small card and add the largest one widthways to the front on dimensionals.
I hope that you like my card and will give it a try.
Don’t forget to pop over and see what Donna and Victoria have made this week.
Donna Lester
Victoria Littlewood
If you would like to see more of my Blog Posts, sign up to the email alert over in the right hand side bar of the page.
If you would like to join my Team or become one of my Discount Shoppers, you can message me on my Facebook Page at www.facebook.com/craftykarendesigns or via the Contact Me box below this Blog.
If you are interested in taking part in some challenges and having crafty chats with like minded people and a bit of a laugh, pop over to Crafty and Banter on Facebook (link in the side bar). This is a new group that some crafty friends and I are trying to get up and running and we would love your company.
If you are interested in taking part in some challenges and having crafty chats with like minded people and a bit of a laugh, pop over to Crafty and Banter on Facebook (link in the side bar). This is a new group that some crafty friends and I are trying to get up and running and we would love your company.
Free Tutorial Bundle
I have joined together with a group of Stampin' Up! Demonstrators from around the world to compile a selection of 38 tutorials to give to my customers. The Tutorial Bundle comes as a PDF file complete with pictures and instructions for all of the projects. You can get this great resource FREE with any order over £10.

Happy Crafting,
Karen X


No comments:
Post a Comment