
Hi Everyone,


For this week's Fun Fold Friday I am trying a Multi Bend Card - another one of Sam Calcott's creations, such a talented lady! I have used the Butterfly Kisses designer series papers and the Charming Sentiments bundle. It's much easier than it may look, give it a go. I'm glad that I did and I think I may use this style for my family Christmas cards this year. This one is a 6" x 6" card and folds flat. Sam has also made some 5" x 7" examples, check out her channel on YouTube at Mixed Up Crafts.
Materials
4 pieces of parakeet party card stock 6" x 6", 1 piece 5" x 5", 1 piece 6" x 5", 1 piece 3 1/2" x 1"
8 pieces of dsp 2 3/4" x 5 3/4", scrap to die cut for the centre and decoration
1 piece of acetate/window sheet 6" x 7"
1 piece of basic white 3 3/4" x 4 3/4" to write your message, scrap for the sentiment
Trimmer
Simply Scored
Bone Folder
Paper snips
Stampin' Cut & Emboss Machine
Stylish Shapes dies
Charming Sentiments bundle
Multipurpose adhesive
Dimensionals
Red Line tape (strong double sided tape)
Night of navy ink
Instructions
Score the 4 x 6" square pieces of parakeet party on one side at 3" and fold and burnish to make the card base.
Add the dsp layers to the piece which will be the front of the card making sure the two sides are level with each other.
Score the 6" x 5" piece of parakeet party at 1/2" and 5 1/2" and fold and burnish, then curl the centre with a bone folder to put a curve in it between the score lines.
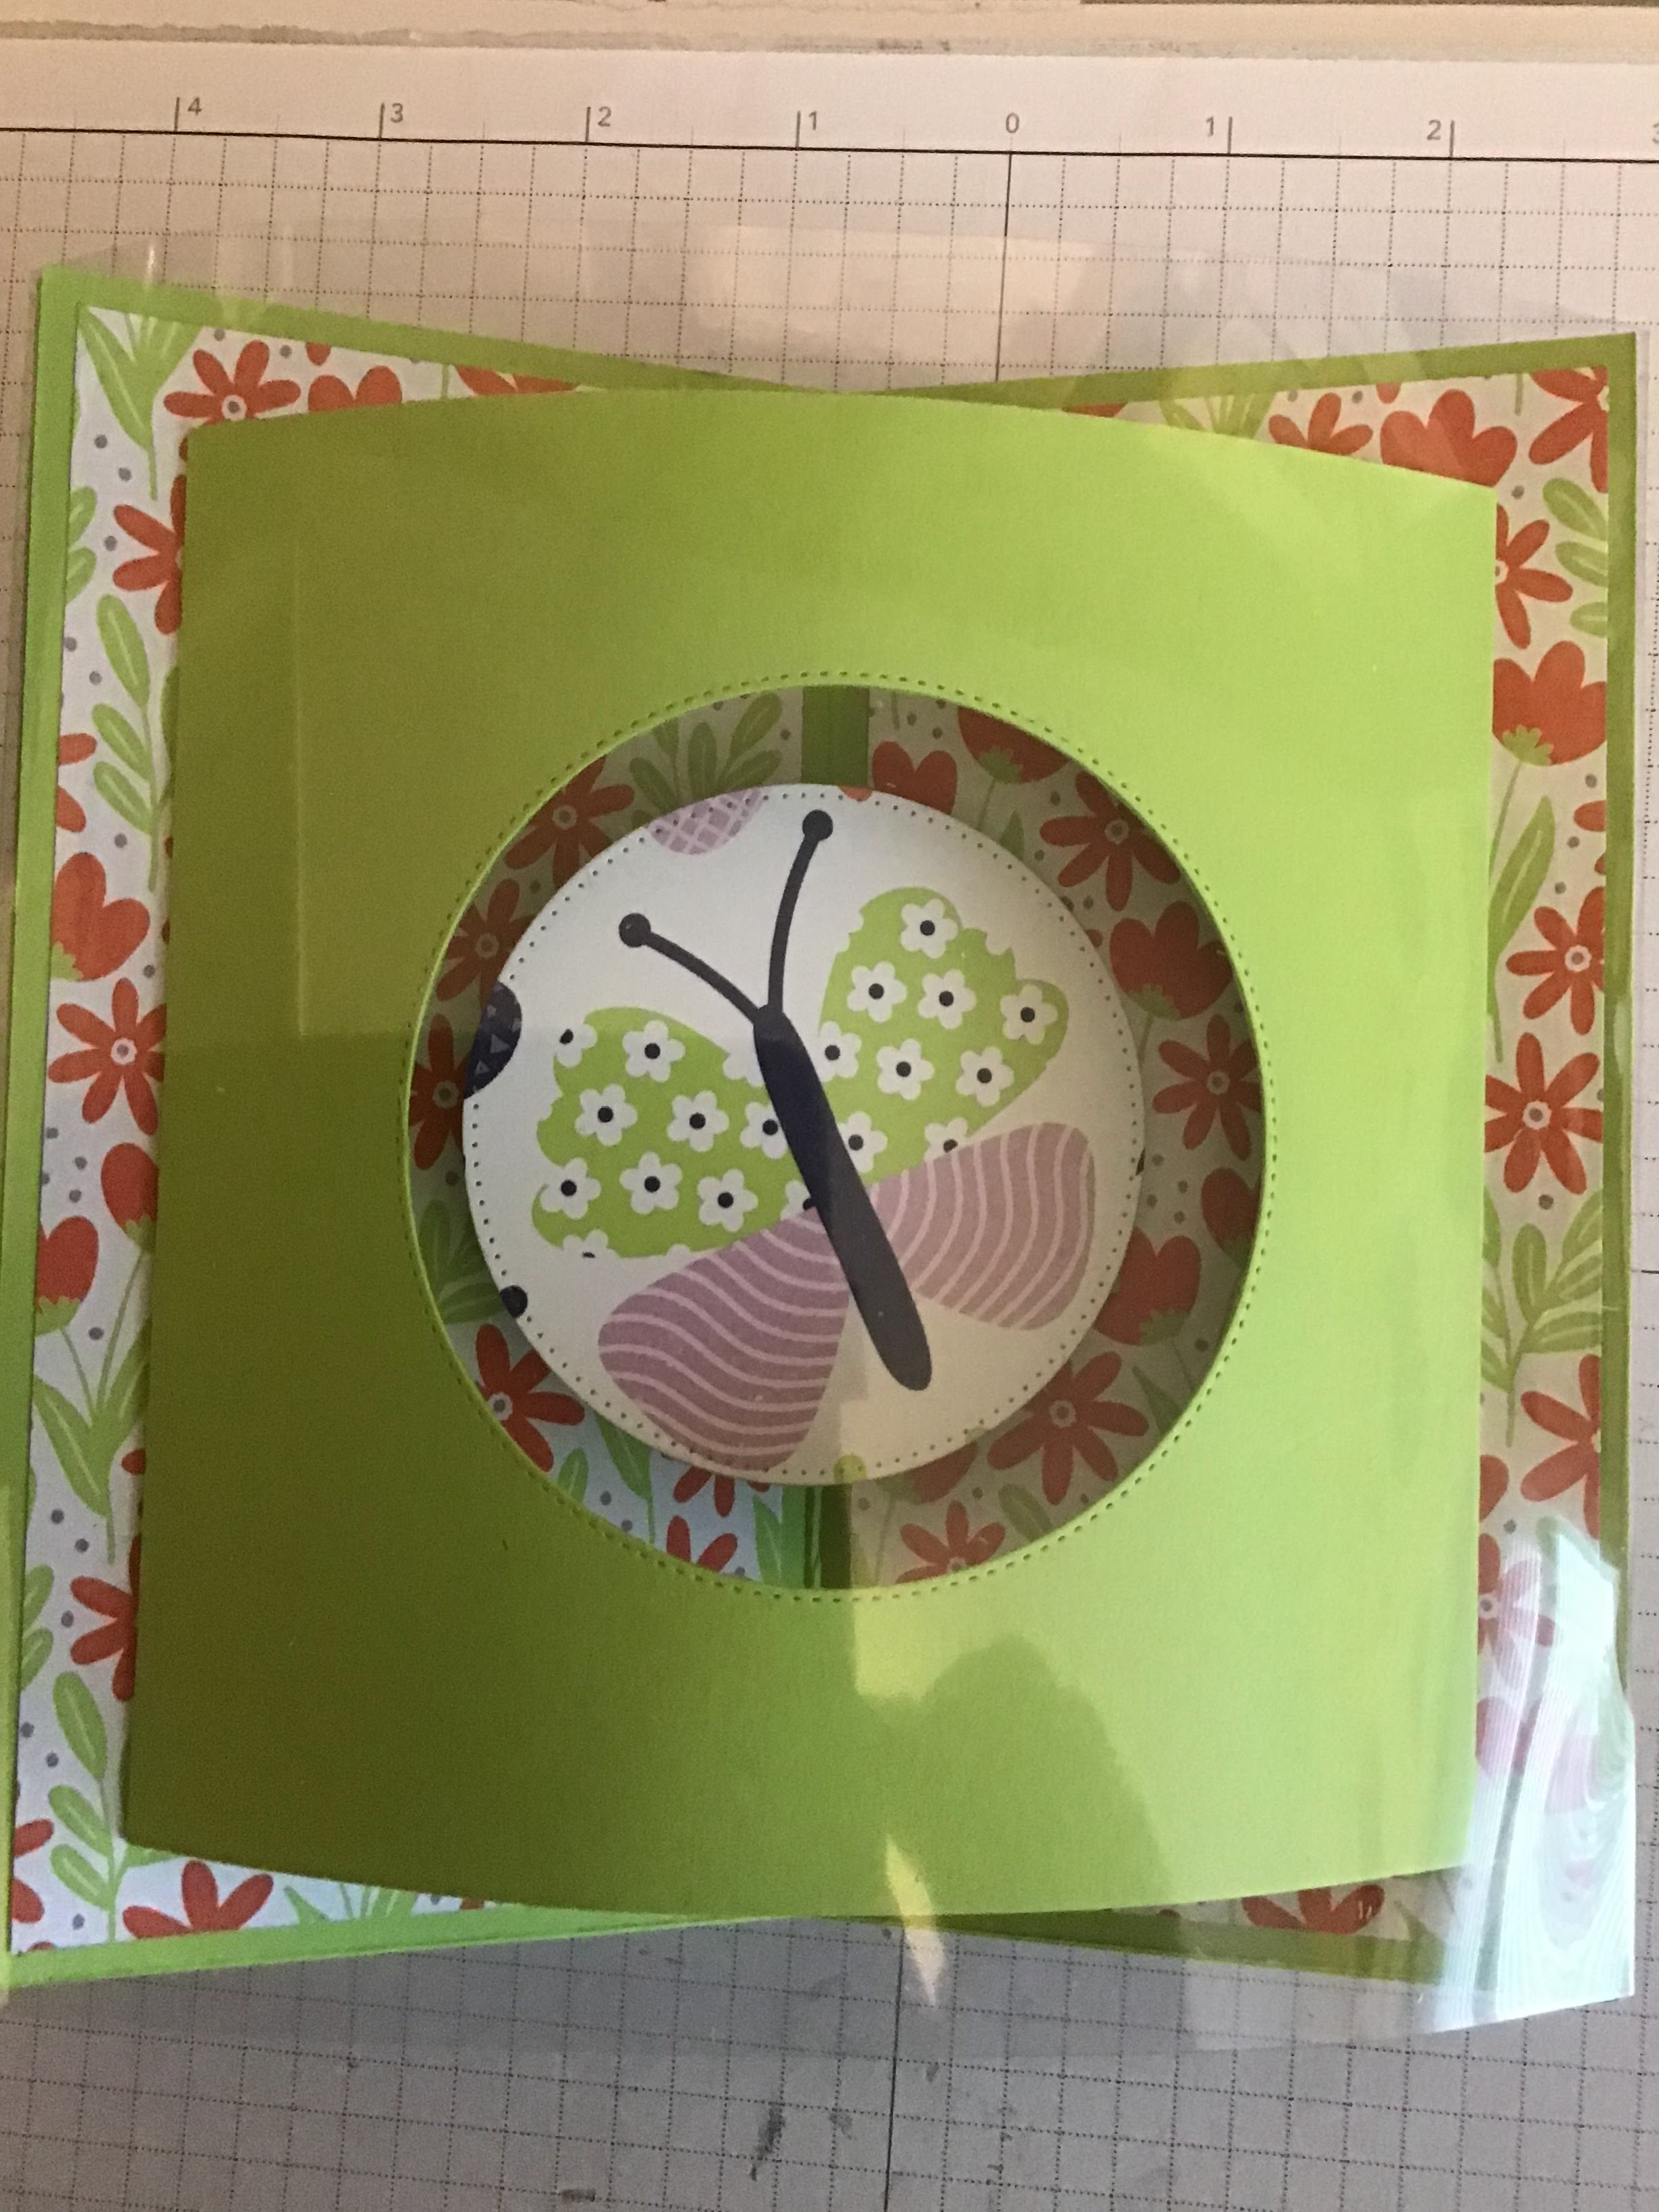
Using the largest of the circle dies, die cut a circle from the centre of this piece and cut a circle using the second largest to be the focal point within the circle (mine is one of the butterflies).
Add glue to the two side tabs of the 6" x 5" piece with the circle cut out and lay it on the card front so that it has an equal border all the way around.
Score the 3 1/2" x 1" piece at 1/2" and 3" and fold and burnish, then curl as before, add glue to the tabs and fix in the centre of the aperture for your focal point. Add the focal point using dimensionals to fix to this strip. I then fussy cut a small butterfly to add to the bottom right hand corner ad adhered in place.
Score the acetate/window sheet at 1/2" and 6 1/2" and fold and burnish. Add red line tape to the inside of the tabs on this and then fold the ends over the sides of the card front to enclose it within the acetate, peel off the backing and stick down.
The three remaining pieces of 6" x 6" card form the back of the card and need to be stuck together as shown. Add the dsp panels and then stick the whole thing to the back of the card front.


Score the remaining piece of green card at 1/2" and 4 1/2" and curl as before, then add adhesive to the side tabs and add to the back of the card. Stamp a sentiment on the remaining piece of white, curl that and then adhere to the green layer on the back.


Stamp a sentiment for the front and die cut, I also die cut a green layer to sit behind the stamped one for a bit more strength. Add to the card front using dimensionals.

I hope that you like my card, I see many more of these in my future, I really like it. It uses lots of card and dsp but I think it's worth it.
Please pop over and see what Victoria has made this week.
Victoria Littlewood
If you would like to see more of my Blog Posts, follow me on Facebook or sign up for a copy of my Weekly Newsletter (emailed out every Monday morning and link copied to my Facebook Pages).
If you would like to join my Team or become one of my Discount Shoppers, you can message me on my Facebook Page at www.facebook.com/craftykarendesigns or via the Contact Me box below this Blog.
f you are interested in taking part in some challenges and having crafty chats with like minded people and a bit of a laugh, pop over to Crafty and Banter on Facebook (link in the side bar). This is a new group that some crafty friends and I are trying to get up and running and we would love your company.
Happy Crafting,
Karen X
No comments:
Post a Comment