


Today I've made a pop out card filled with pretty flowers. It's a bit fiddly but if you take your time and do it one step at a time, you will be ok with it. I made this card for a challenge in a Facebook Group that I belong to, which was to make a fun fold card for an 'avid' crafter (so one who has experience and probably lots of supplies). Here's how I made it.
Materials
1 piece of very vanilla card stock 9 1/2" x 6 3/8"
1 piece of rococco rose card stock 10" x 7"
1 piece of dsp (I've used pressed petals) 4 7/8" x 6 7/8"
Scraps of very vanilla and rococco rose for the flowers and the sentiment
Scraps of old olive card stock for the leaves
Daisy Lane stamp set
Thoughtful Blooms stamp set
Beautiful Friendship stamp set
Happy Birthday to you stamp set
Small Bloom punch
Medium daisy punch
Leaf punch
2" circle punch
Starburst punch
Piece of contrasting ribbon to go around the card and tie in a bow
Tear and tape
Multipurpose adhesive
Dimensionals
Trimmer
Simply Scored
Ruler and pencil
Rococco rose ink
Instructions
Fold the large piece of very vanilla card stock in half and burnish it.
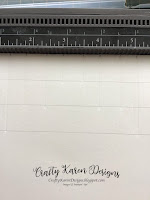
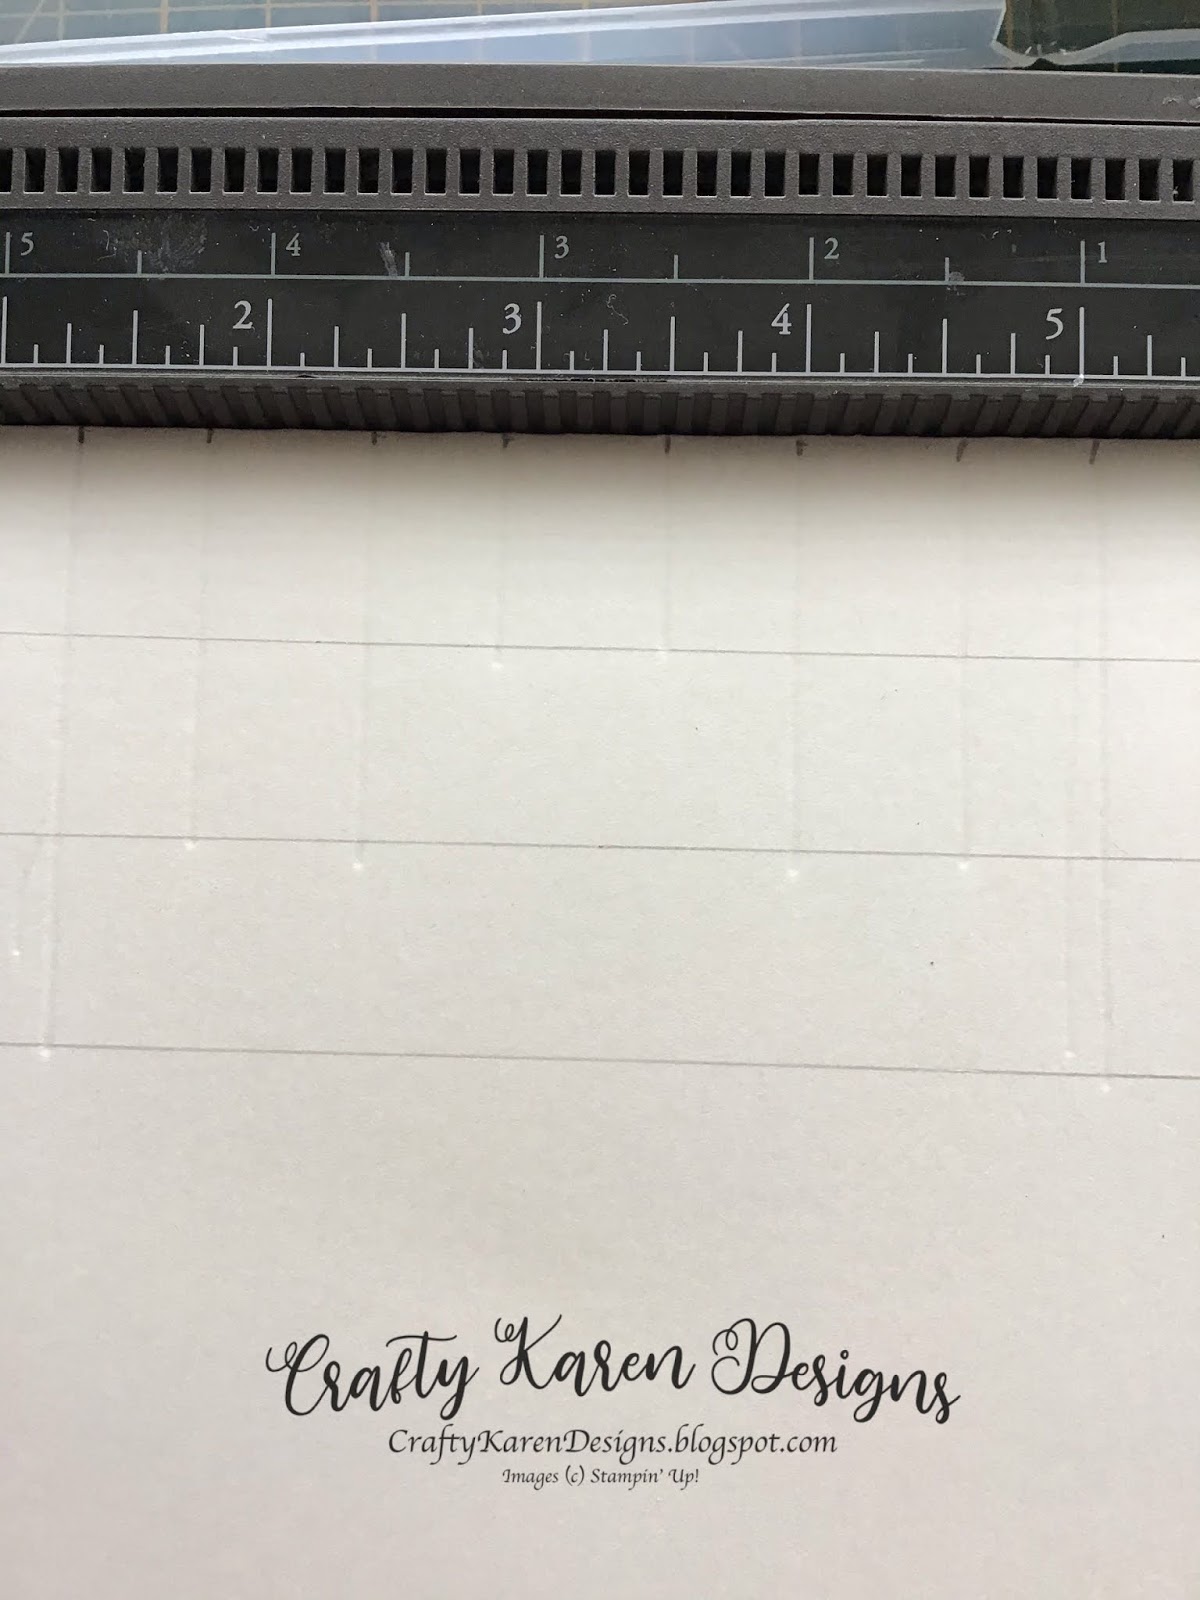
Put the folded edge to the top of the scoreboard and make pencil marks at: 5/8", 1 1/4", 1 3/4", 2 3/8", 2 7/8", 3 1/2", 4", 4 5/8", 5 1/8" and 5 3/4"
With the folded card still in the scoreboard,place a ruler across the card at 7/8", 1 5/8" and 2 3/8" and draw lines across the card


 Put the folded card in the trimmer with the folded edge at the top and cut down each of the scorelines you have just made, making sure that you stagger them as above to the 1st, 2nd and 3rd positions.

 Turn the card over and push out the cut sections as in the picture and fold and burnish


Product List 
Keeping the folded edge to the top of the scoreboard, now score down from the pencil marks to the pencil lines going across the card in the following order:
1st and 2nd to 3rd line
3rd and 4th to 2nd line
5th and 6th to 1st line
7th and 8th to 2nd line
9th and 10th to 3rd line
Turn the card 90 degrees so that the folded edge is to the right on the scoreboard and make score marks at the end of the scores that you have just made.

 Put the folded card in the trimmer with the folded edge at the top and cut down each of the scorelines you have just made, making sure that you stagger them as above to the 1st, 2nd and 3rd positions.
When you have finished it should look like the picture on the right above.

 Turn the card over and push out the cut sections as in the picture and fold and burnish
Take the large piece of coloured card and fold in half and burnish and add the dsp layer to the card front.

Adhere the very vanilla layer on the inside of the card making sure that you match the score lines on the inner piece and the outer card base.

Now comes the fun part, stamp and punch out flowers and leaves to decorate the inside of the card, make sure that they don't interfere with the mechanism when its closing and they don't overhang the edges of the card.

Stamp the sentiment and any additional decoration on the inside.
Stamp a sentiment on the scrap of very vanilla and punch out with 2" circle punch, then punch out a starburst in the card base colour.
Add some tear and tape to the centre back of the piece of ribbon, remove the backing and adhere it around the fold of the card so that it will fasten on the right hand side when closed.
Add dimensionals to the back of the sentiment layer and add to the card front straddling the ribbon.

I hope that you will give this card a try.
If you would like to see more of my Blog Posts, sign up to the email alert over in the right hand side bar of the page.
If you would like to join my Team or become one of my Discount Shoppers, you can message me on my Facebook Page at www.facebook.com/craftykarendesigns or via the Contact Me box below this Blog.
Happy Crafting,
Karen XX


 Circle Punch")


")
 Subtle Stripes Satin Ribbon")


Just love this card, and the pretty petals paper is so apt. Stay well xx
ReplyDeleteAbsolutely beautiful card Karen. The instructions are perfect to follow thankyou. Will be giving this a go x
ReplyDeleteBeautiful, this is stunning Karen, great step by step xx
ReplyDelete