

Welcome to week 15 of Fun Fold Friday and today I have made a Twisted Easel Card and I have combined the Ornate Garden designer series paper with poppies from the Painted Poppies stamp set and dies. There is also a video tutorial for this card and in the video, I have used Perennial Essence as my designer series paper, click on the link below to see the video:
https://youtu.be/uGOQusfQ_fU
Materials
1 piece of terracotta tile card stock 6" x 12"
1 piece of whisper white 5 7/8" square and 1 piece 5 5/8" square
1 piece of designer series paper 5 5/8" square
Scraps of terracotta tile for the sentiment layers
Scraps of old olive for the leaves
Scrap of silver foil for the words
1 sheet of A4 whisper white for the stamping
Well Written dies
Painted Labels dies
Stitched square dies
Die cutting machine
Painted Poppies stamp set
Terracotta tile ink
Sponge or dauber
Multipurpose adhesive
Stamping dimensionals
Trimmer
Simply scored scoreboard
Bone folder
Paper snips
Instructions
Score the card stock on the long side at 6" and fold and burnish to make the card base. Then lay the base flat again and score from the top left of the left hand side to the bottom right at the centre score line. Fold the triangular piece up towards the middle and burnish, this should now stand up with the bottom of the fold at the bottom left of the card, see picture.


Add the 5 7/8" square whisper white layer to the card base and then lay the dsp layer on the top of that.
Put the 5 5/8" piece of whisper white in the trimmer so that two of the points are in the track, you need to cut this piece in half diagonally. Then add these two triangles to the top of the folded side of the card base with adhesive. If you close up the card, this is the piece that you can see on the top which we are now going to decorate.


Stamp 12 of the large poppies from the Painted Poppies stamp set in terracotta ink on the sheet of A4 whisper white and either die cut them out of you can fussy cut them.
Die cut some leaves from the old olive scraps (the die that I used is one from my stash because I don't have any Stampin' Up! ones that were large enough), use whatever you have.
Die cut the words 'happy' 'birthday' and 'wishes' from the Well Written dies in the silver foil.
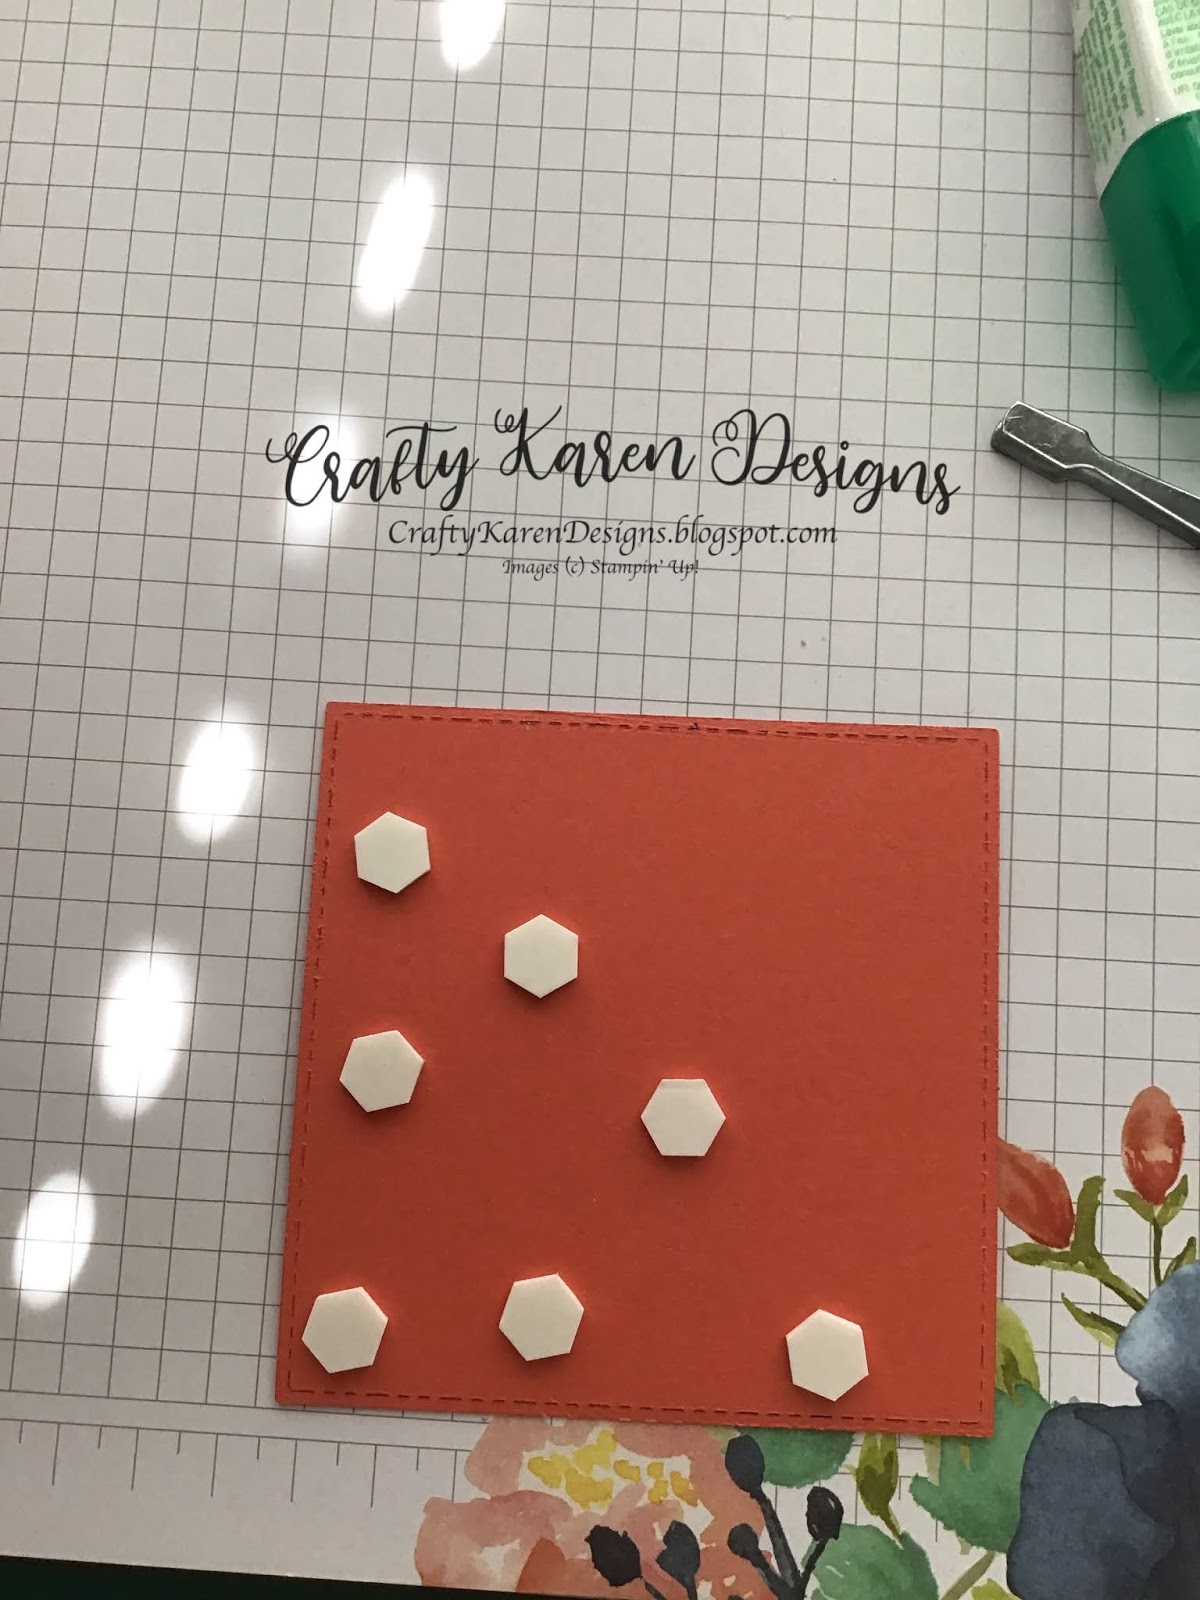
Die cut a large square (approx 3 1/2") from the terracotta tile scraps and also a label shape for the stopper (I have used one from the Painted Label dies but you could use a punch).
Adhere the words to the square layer and the label stopper and then add these two layers to the card base. Add dimensionals to one half of the square (diagonally) and lay it on the top of the card, over the diagonal line so that the bottom half sticks to the right hand side of the triangle and when standing up, the other half is standing clear (see the picture). Stand this piece up and judge where to place the stopper layer so that the card has a nice profile.

Sponge around the edges of the flowers using either a piece of sponge or a dauber with the terracotta tile ink, this takes away the starkness of the white edge of the flower and gives some dimension to it. Then, with 6 of the flowers, cut around the outline of the petals towards the centre of the flower to release the petals. Then add one of these flowers to one you haven't cut to make a double layered flower. Once dry, you can manipulate the cut petals to give the flower dimension.
Arrange the flowers around the square panel on the front of the card using dimensionals and then add in groups of leaves around them.
I hope that you like this card and will give it a try, it's easy if you take it step by step. Have a look at the video too and see the Perennial Essence version.


If you would like to see more of my Blog Posts, sign up to the email alert over in the right hand side bar of the page.
If you would like to join my Team or become one of my Discount Shoppers, you can message me on my Facebook Page at www.facebook.com/craftykarendesigns or via the Contact Me box below this Blog.
Happy Crafting,
Karen XX
 Cardstock")


No comments:
Post a Comment