

Today's card is one that I have made for a colour challenge in a Facebook Group that I belong to. The colours are: Mango Melody, Balmy Blue and Petal Pink - again not colours that I would normally put together but a challenge is a challenge!! I've combined it with a technique that I saw on Inspirin' Inkin with Amanda Fowler and more or less CASEd (copied and shared everywhere) her card. I love the technique which she called inlaid embossing and I will be trying it again.
Materials
1 piece of petal pink card stock 4 1/8" x 11 3/4"
1 piece of balmy blue card stock 4" x 5 3/4"
2 pieces of whisper white 3 3/4" x 5 1/2"
Scraps of whisper white, petal pink, balmy blue and mango melody
Balmy blue ink
Mango melody ink
Basic Gray ink
Country Floral Embossing Folder
Die cutting machine
1/2" circle punch
1" circle punch
Butterfly duet punch
Butterfly Gala stamp set
Multipurpose adhesive
Dimensionals
Paper snips
Instructions
Fold the petal pink cardstock in half (tent fold) and burnish to make the card base.
Adhere the balmy blue layer to the card front and add one of the whisper white pieces on the inside.
Punch out lots of circles with both size punches in all three colours and then glue them to the other piece of whisper white in a random pattern with some of them overhanging the sides. Give it a couple of minutes to dry.


Turn the piece over and trim off any overhanging bits of circle from the back.
Put this piece in the embossing folder and run it through your die cutting machine, this will press the circles into the whisper white and give you a pattern all over the card.

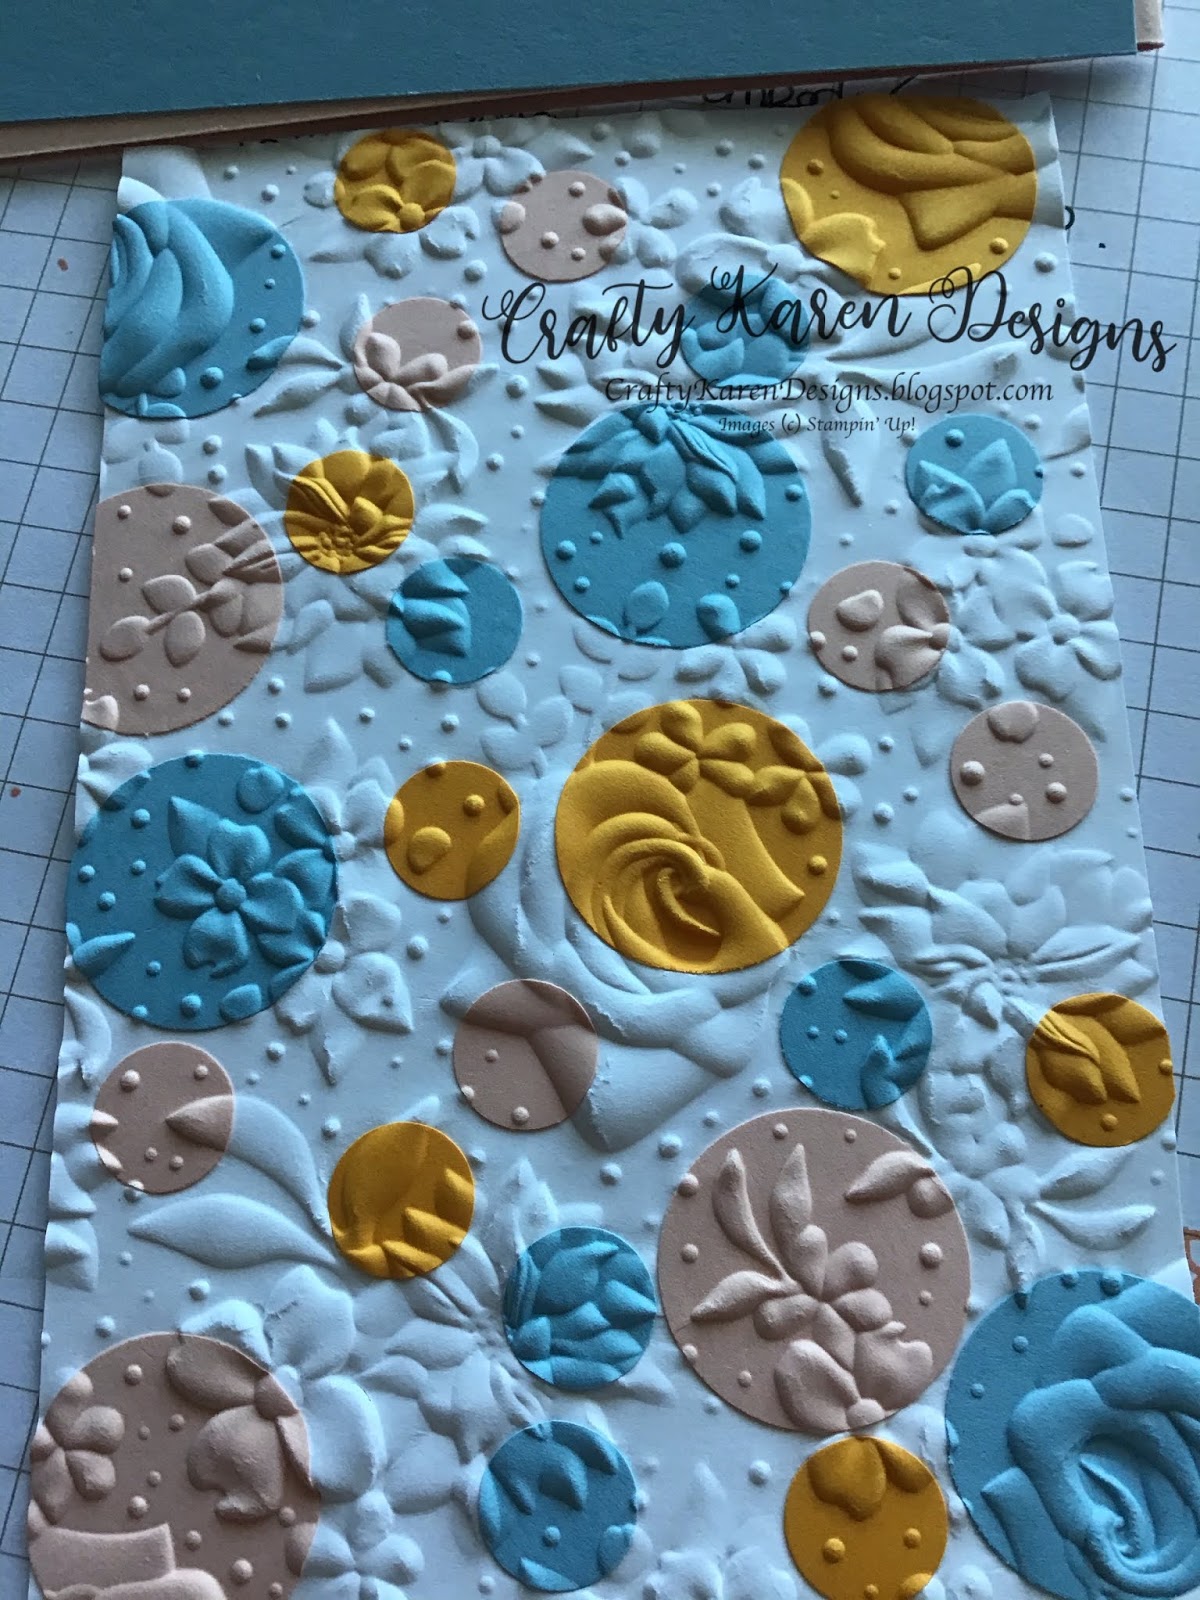
Adhere this piece to the card front.
Stamp and punch out some butterflies from scraps of card.
Cut a strip of petal pink card stock 3/4" x 3 3/4" and a strip of whisper white 1/2" x 3 3/4". Stamp the sentiment on the whisper white strip over towards the right hand side and then adhere the strip to the petal pink strip.
Add the strip to the card front using dimensionals, about 1/3 of the way up from the bottom of the card front. Add the two tiny butterflies to this strip and bend up their wings to give them some shape. Then adhere the larger butterflies to the card front in the same way.
I hope that you like this technique and will give it a try.
If you would like to see more of my Blog Posts, sign up to the email alert over in the right hand side bar of the page.
If you would like to join my Team or become one of my Discount Shoppers, you can message me on my Facebook Page at www.facebook.com/craftykarendesigns or via the Contact Me box below this Blog.
Happy Crafting,
Karen XX


 Circle Punch")


A gorgeous card and brilliant technique - take care and stay well xx:)
ReplyDeleteThis is so sweet, fabulous card xx
ReplyDeleteThanks Emma xx
ReplyDelete