
Hi Everyone,
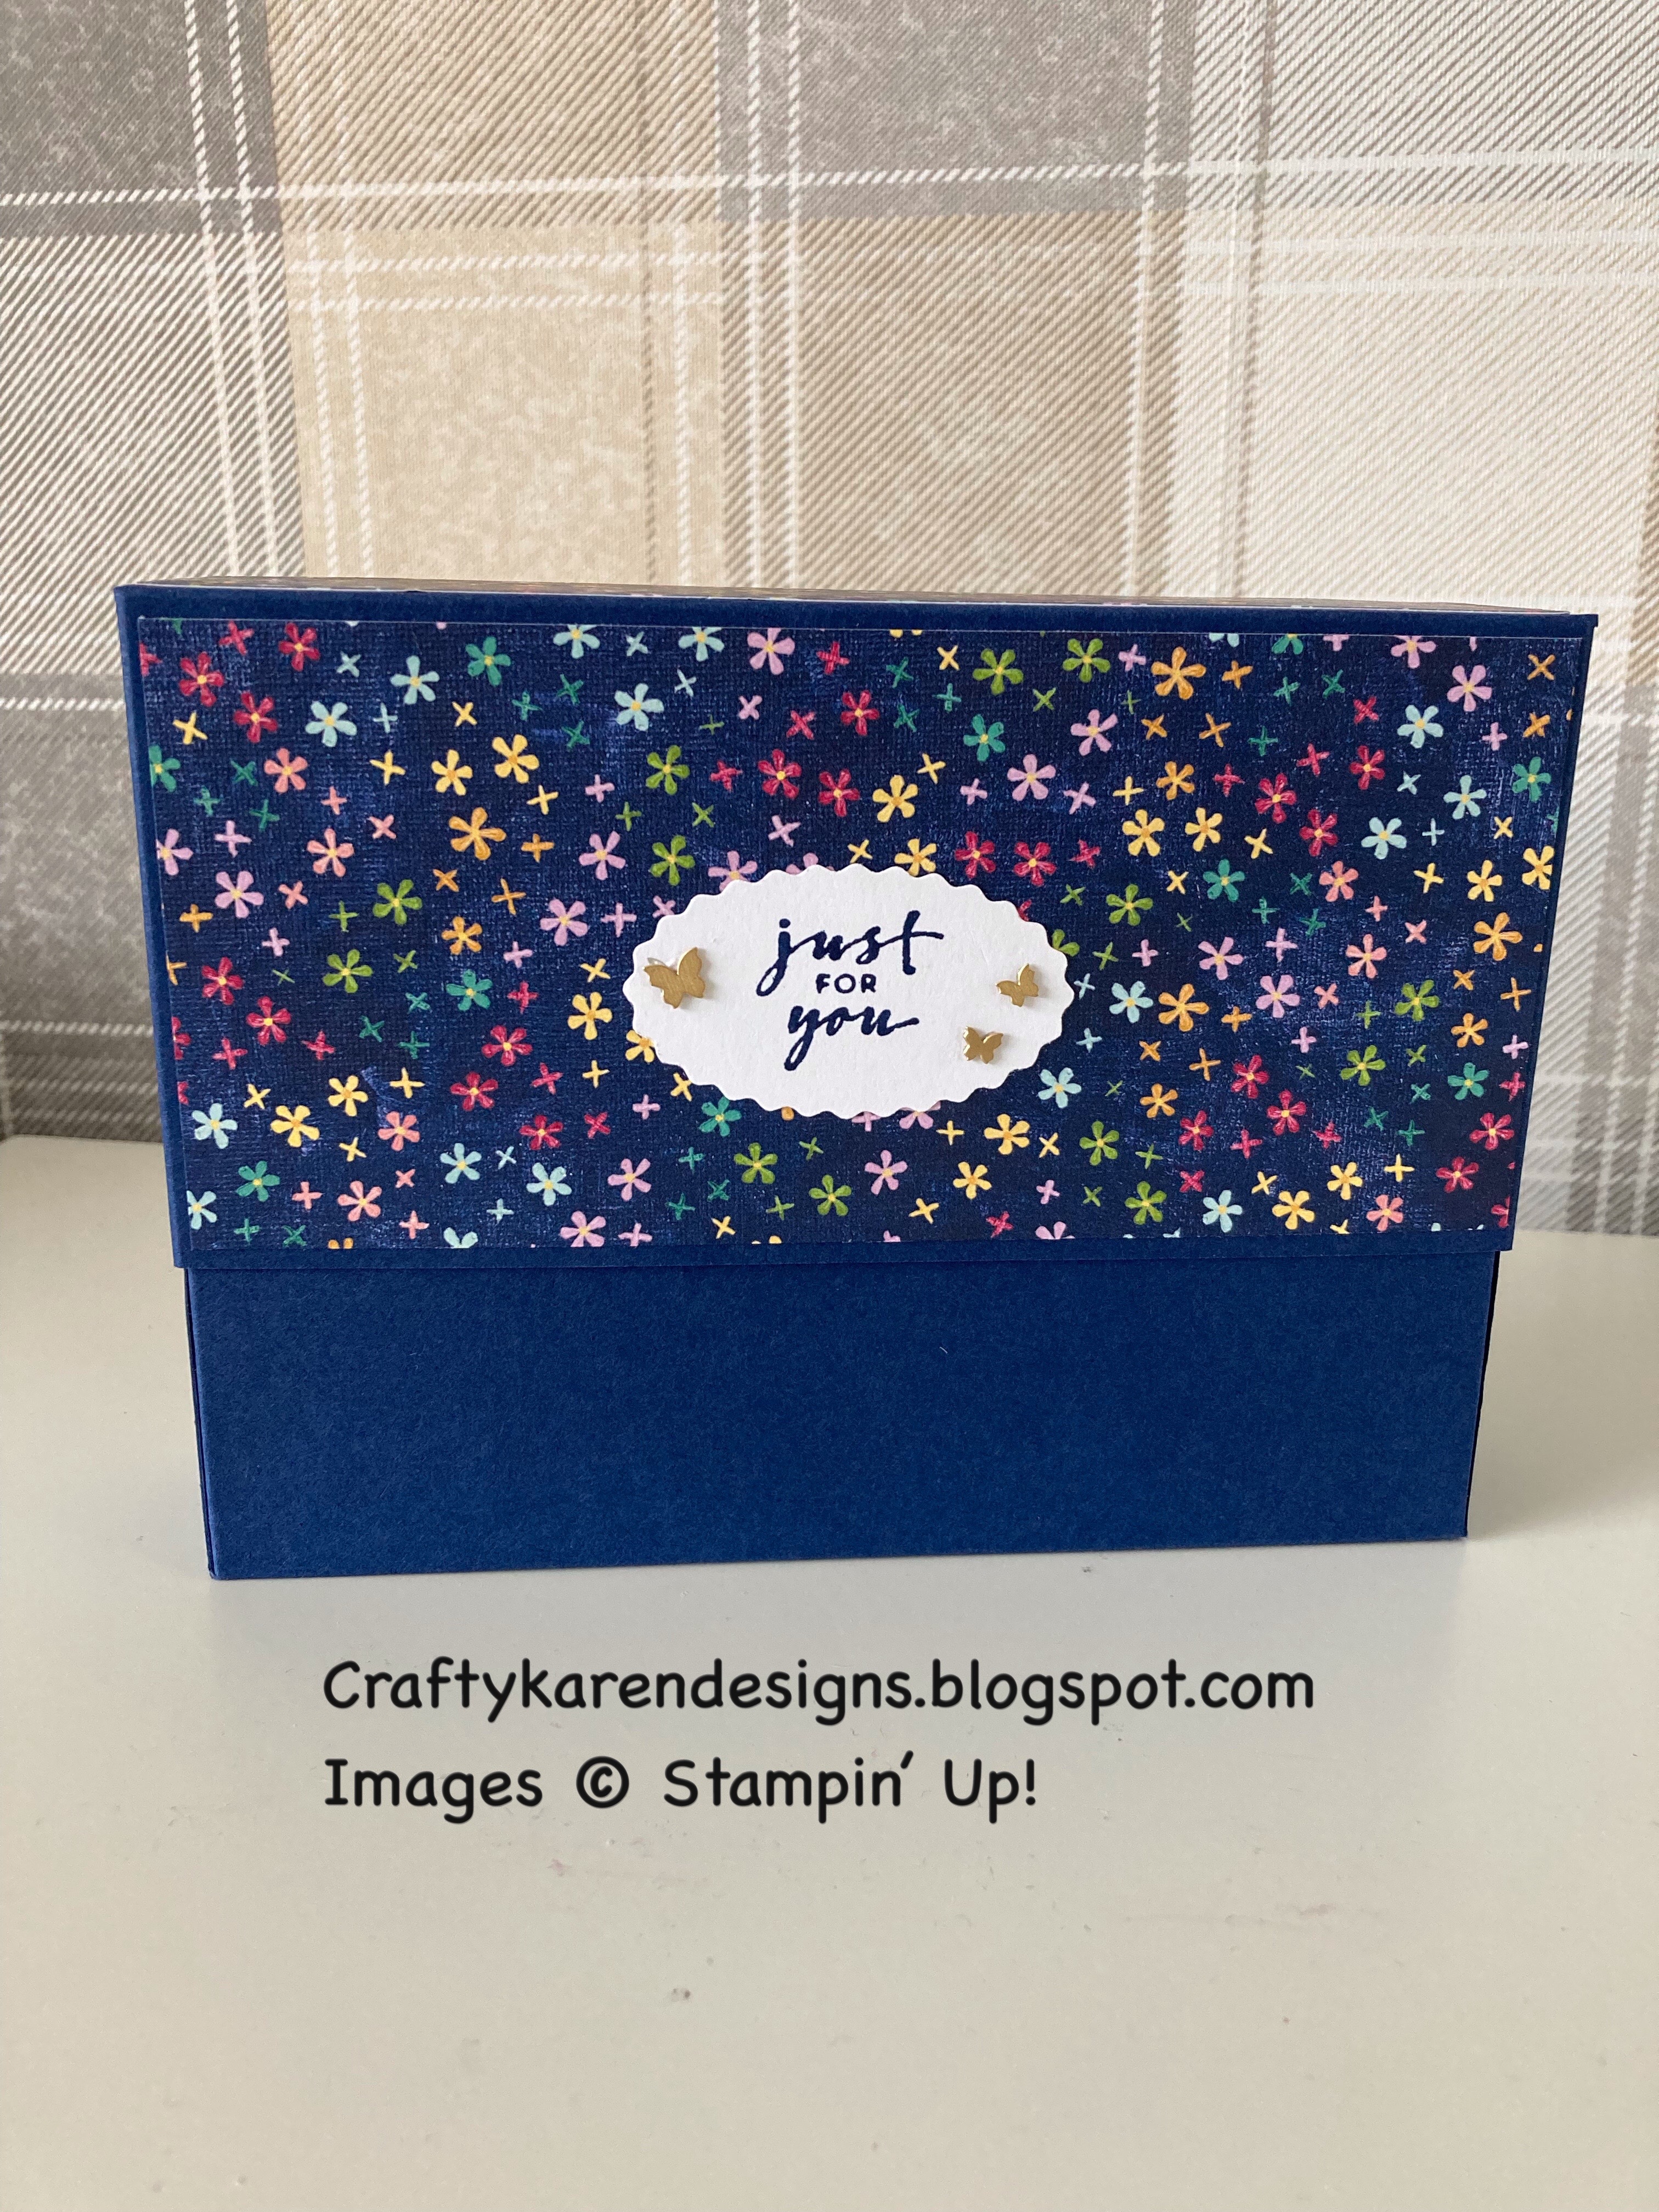

Today I have a Stationery Gift Box decorated with Hues of Happiness dsp which will contain 4 decorated notecards and envelopes, 4 small cards and 4 gift tags. I've made this as a gift for my Aunt who loves stationery sets like this. I got the idea from an old video by the very talented Crafty Caroline Creates. Caroline stamped her images but I decided to showcase this fabulous designer series paper. Let me show you how to make it the box. The blog post with the contains will follow soon.
Materials
1 piece of night of navy card stock 7 7/8" x 9 5/8", 1 piece 9 1/2" x 8 1/4", 1 piece 8" x 2" and 1 piece 6" x 2"
1 piece of dsp 1 1/2" x 6 1/2", 2 pieces 3" x 6 1/2"
Trimmer
Simply Scored
Bone Folder
Paper Snips
Multipurpose adhesive
Brushed Brass Butterflies
Night of navy ink
Double Oval Punch
Charming Sentiments stamp set
Take Your Pick Tool
Instructions
Lid - use the piece 7 7/8" x 9 5/8"
On the long side score at 1 1/2", turn and score at 3 1/8", turn and score at 1 1/2", then turn and score at 3 1/8", fold and burnish all the score lines.
Cut up the score lines as shown in the picture.


Adhere the dsp layers to the lid.

Add glue to the inside of the tab and fold on to the outside of one of the longer tabs.


For the Base - use the piece 9 1/2" x 8 1/4"
On the long side score at 1 1/2" and 8", turn to the short side and score at 2" and 3 1/2", fold and burnish all the score lines. Cut up the score lines as shown in the picture.

Glue and fold the side pieces as you did for the lid, enclosing the smaller tab between the others.


8" x 2" piece, score on the long side at 3 1/4", 3 3/4", 7" and 7 1/2", turn and score at 1/2" on the short side.
6" x 2" piece, score on the long side at 2 1/4", 2 3/4", 5" and 5 1/2", turn and score at 1/2" on the short side.

Cut the score lines as shown in the picture. Add glue to the side tabs and then bring the opposite side around to meet the fold line and glue in place. Fold the side tabs in and fold the two longer tabs over the top and glue them in place.

Add glue to the bottom and the front of each piece and adhere to the inside of the box, one at either side against the inside front.

Stamp the sentiment on a scrap of white and punch out with the scalloped punch and add to the front of the box as shown in the picture, add some butterflies.
I will show you how I made the contents in another blog but here is a sneak peek.

Please pop over and see what Donna and Victoria have made this week.
Donna Lester
Victoria Littlewood
If you would like to see more of my Blog Posts, sign up to my Weekly Newsletter.

New Class in the Mail
Click on the link in the side bar for more details.
If you would like to join my Team or become one of my Discount Shoppers, you can message me on my Facebook Page at www.facebook.com/craftykarendesigns or via the Contact Me box below this Blog.
If you are interested in taking part in some challenges and having crafty chats with like minded people and a bit of a laugh, pop over to Craft and Banter on Facebook (link in the side bar). This group is a collaboration with Taffy Crafting (Donna Lester) and Vickieloudesigns (Victoria Littlewood) and we would love you to join us.
If you are interested in taking part in some challenges and having crafty chats with like minded people and a bit of a laugh, pop over to Craft and Banter on Facebook (link in the side bar). This group is a collaboration with Taffy Crafting (Donna Lester) and Vickieloudesigns (Victoria Littlewood) and we would love you to join us.
Happy Crafting,
Karen X


 Designer Series Paper")
")


No comments:
Post a Comment