Hi Everyone,
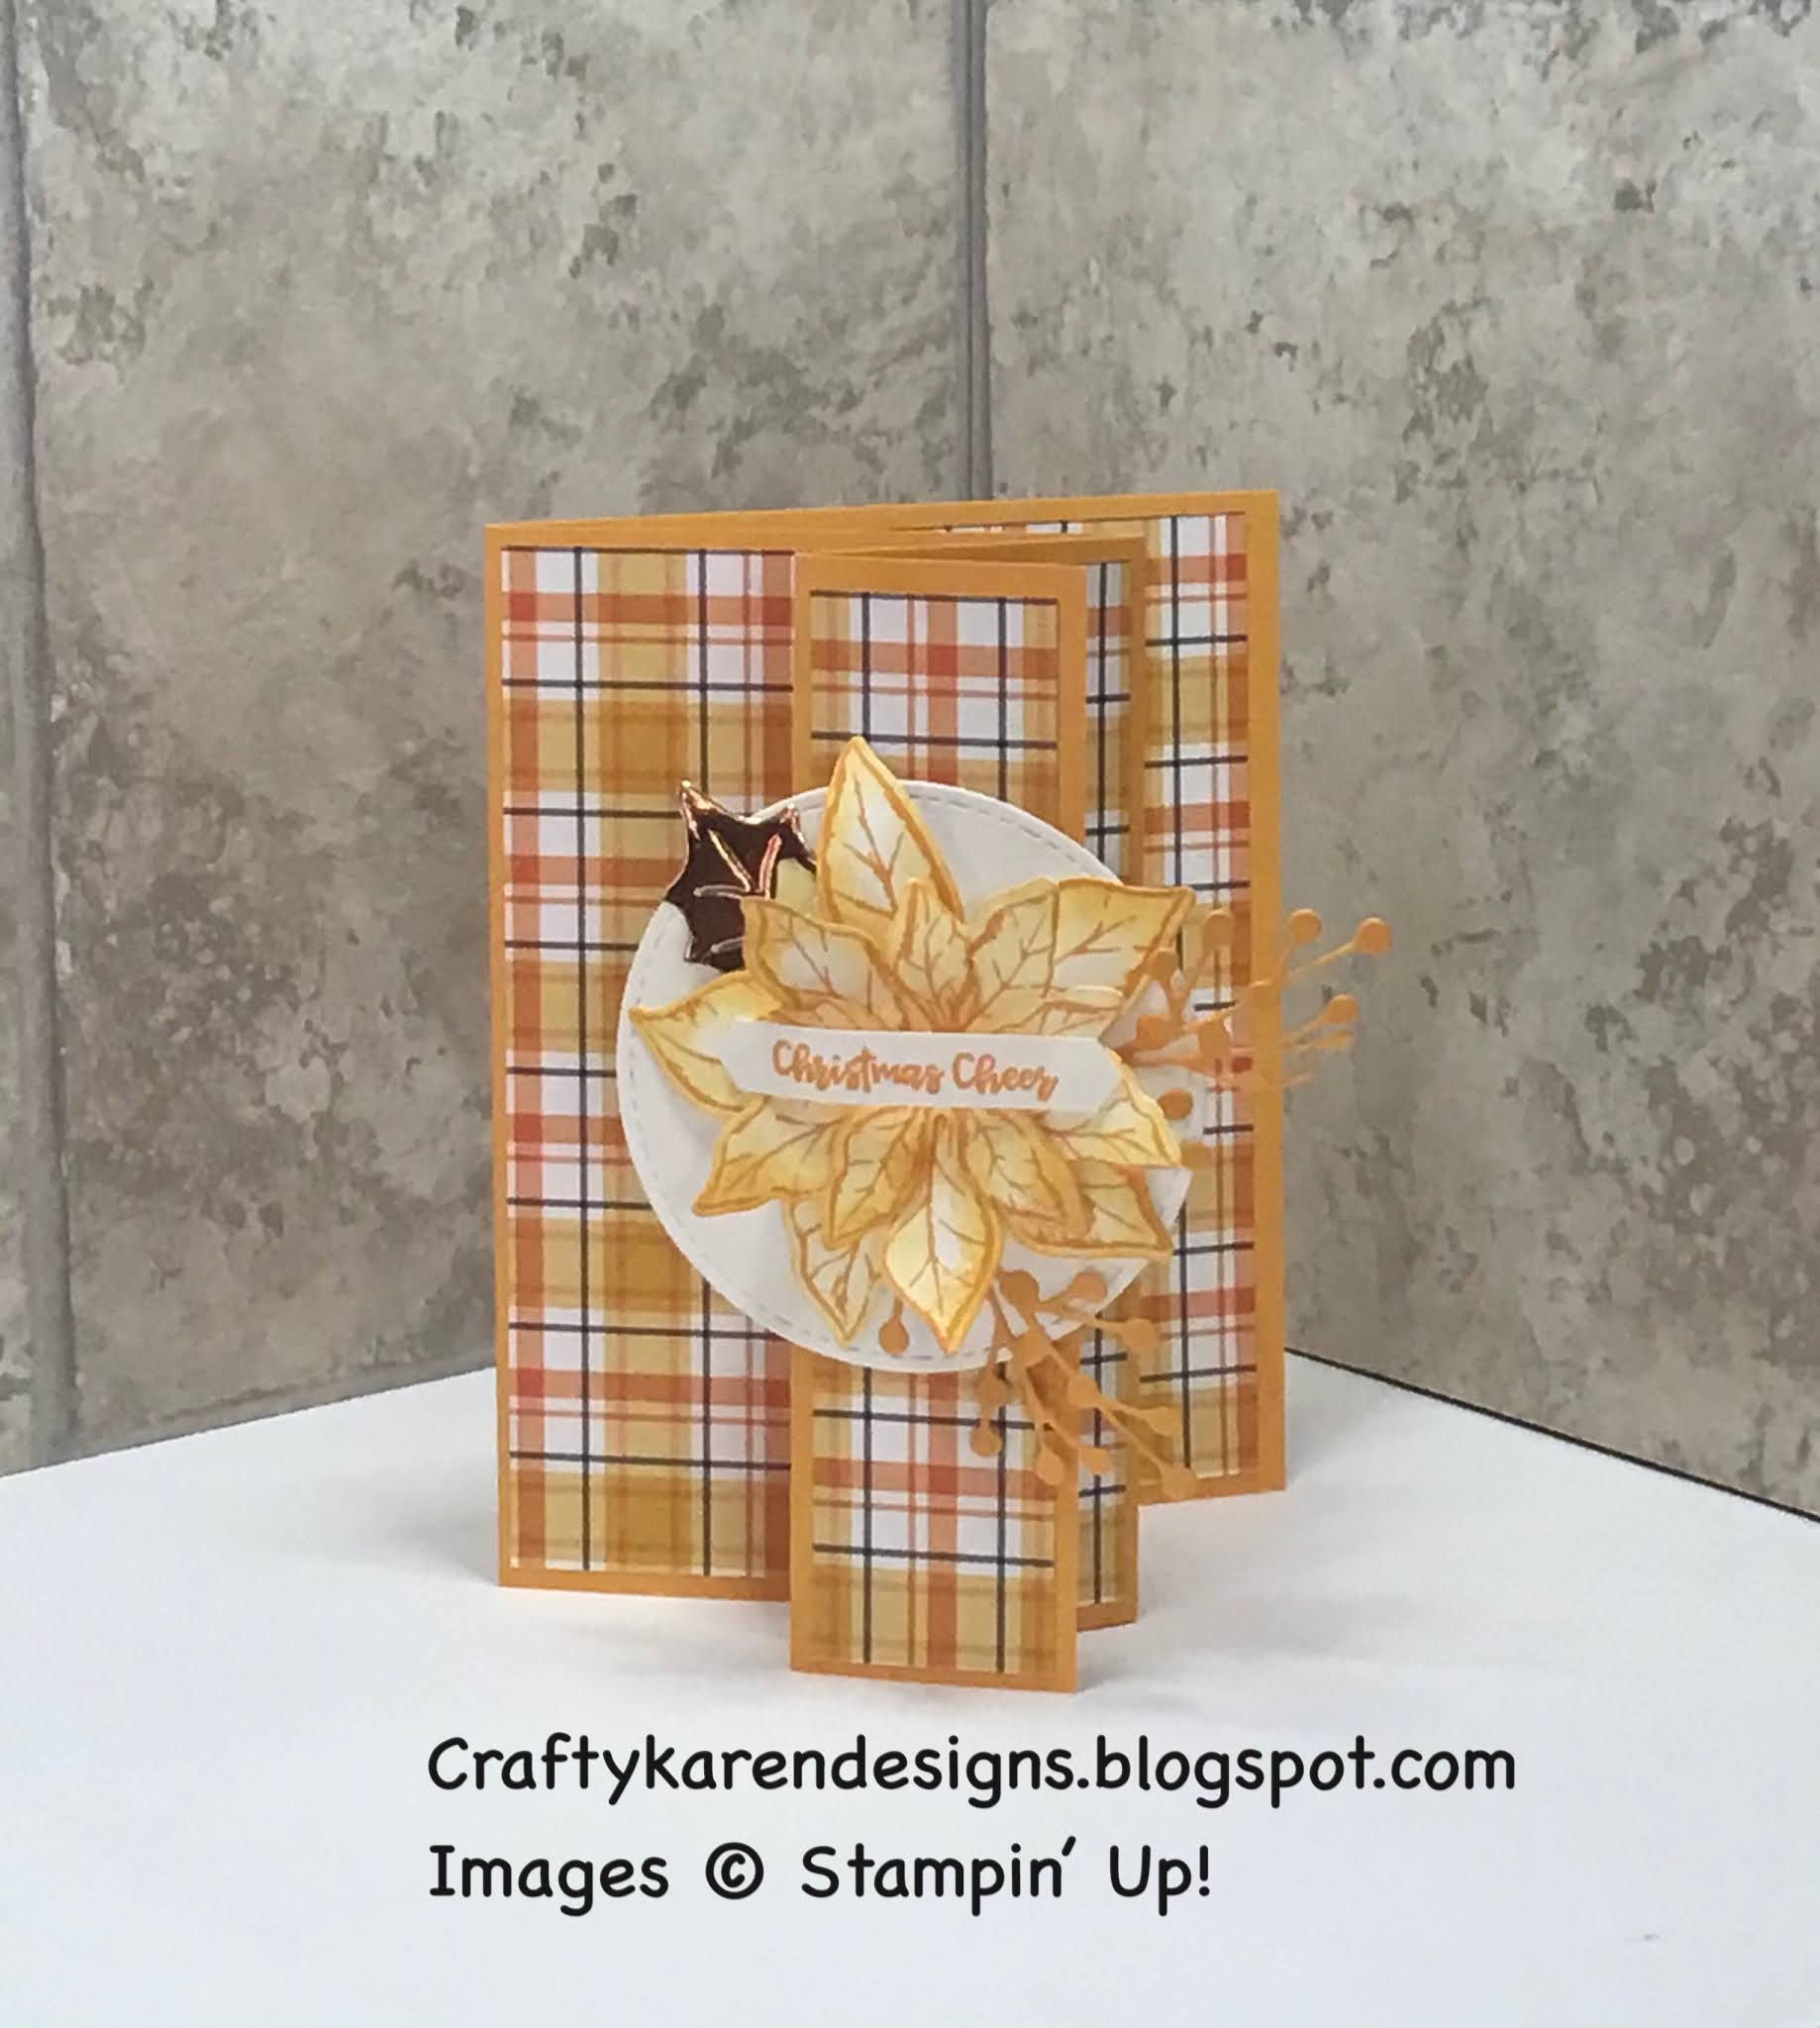
Welcome to my Fun Fold Friday series and this is week 45. This week I have made a panel fold card using the lovely Poinsettia Petals dsp, stamp set and dies as well as the lovely red velvet paper. At the end of the blog there are a series of other cards that I have made in this style for friends using the Plaid Tidings dsp instead and some of them in very non traditional colours. Click on the link below to see the video tutorial over on my YouTube channel.
Click here for the video
Materials
1 piece of real red card stock 5 3/4" by full length of A4 (approx 11 3/4")
DSP (Poinsettia Petals) - 2 x 1 1/4" x 5 1/2", 2 x 1 3/4" x 5 1/2",
1 x 3 1/4" x 5 1/2", 1 x 4 1/2" x 5 1/2"
1 piece of very vanilla 3 1/4" x 5 1/2" and 1 x 3" circle, scrap for the sentiment
Scraps of gold foil, red velvet paper for the flowers, leaves and berry twigs
Itty Bitty Christmas stamp set
Poinsettia Petals stamp set
Poinsettia dies
Stampin Cut and Emboss machine
Layering circle dies
Classic Label punch
Trimmer
Simply scored
Bone folder
Multipurpose adhesive
Dimensionals (both sizes)
Instructions
On the long side, score the real red card stock at 3 1/2" then flip it over and score at 1 1/2" and 7", fold and burnish the score lines so that the bump is on the inside of the score as the folds are going in two directions (see picture above).
Adhere all the dsp layers to the panels remembering to leave the inside 3 1/4" panel for the very vanilla which we will stamp on later.
Die cut 1 3" circle from the very vanilla card stock and three sets of the petals from the red velvet paper (remember to add the embossing die to the inside of the shapes before you cut them out), die cut two holly leaves with the gold foil and two sets of the berry twigs.
Curl the petals (leaves/bracts - whatever you call them) on the poinsettia, I have curled the largest and smallest ones down and the middle one up to give more dimension to the flower.
Adhere the three layers together offsetting the petals on each layer.
Add a mini dimensional to the base of each leaf and then fix to the back of the flower. Fix this now to the centre of the 3" circle with dimensionals. Add glue to the berry twigs and tuck them under the petals.
Stamp a sentiment for the inside of the card on the 3 1/4" x 5 1/2" piece of very vanilla and the sentiment for the front on a scrap and punch out with the classic label punch.
Adhere the sentiment layer to the inside of the card.
Add a mini dimensional to each end of the label and add to the flower as shown above.
Add some glue to the front centre panel of the card and then adhere the circle with the flower to the middle of the card.
There you are - a pretty Christmas card - here are some more that I have made.
If you would like to see more of my Blog Posts, sign up to the email alert over in the right hand side bar of the page.
If you would like to join my Team or become one of my Discount Shoppers, you can message me on my Facebook Page at www.facebook.com/craftykarendesigns or via the Contact Me box below this Blog.
If you are interested in taking part in some challenges and having crafty chats with like-minded people and a bit of a laugh, pop over to Crafty and Banter on Facebook (link in the side bar). This is a new group that some crafty friends and I are trying to get up and running and we would love your company.
Happy Crafting,
Karen XXX
Product List


")
")


No comments:
Post a Comment