
Hi Everyone,

I made this card as my contribution to a collaborative Fun Fold Tutorial Bundle containing 30 different projects from Stampin' Up! Demonstrators around the world. We each prepared a project and collectively they are offered as a PDF for making a purchase from my Online Shop. Let me show you how I made this very pretty card.
Materials
1 piece of thick basic white card stock 7" x 10" for the card base
1 piece of fresh freesia 2 3/8" x 2 7/8", 2 pieces 2 1/8" x 2 7/8", 1 piece 1 7/8" x 6 7/8"
DSP - 1 piece 2 1/4" x 2 3/4", 2 pieces 2" x 2 3/4", 1 piece 1 3/4" x 6 3/4"
Scraps of fresh freesia, basic white, soft succulent and evening evergreen for the decoration
Gorgeous Grape ink
Pansy dies
Pansy Patch stamp set
Stampin' Cut and Emboss machine
Stitched So Sweetly dies
Trimmer
Simply scored
Bone folder
Multipurpose adhesive
Basic Rhinestone jewels
Dimensionals
Instructions
Put the thick white card stock in the scoreboard with the short side at the top and make a pencil mark at 2 1/2" and 4 3/4" at both ends. Join the pencil lines with a ruler.
Turn on to the long side and score at 3" and 6" just to the first drawn pencil line, then at 8" to the second pencil line.
Then score between the two pencil marks at 4" and 7" (I use a ruler to mark the spot and then hover my stylus to the starting point and then score). Then score from the second pencil line to the bottom of the card at 5".
Put the card in the trimmer with the short side to the top and on the 2 1/2" pencil line, cut from 4" to 8", then move it over to the 4 3/4" pencil line and cut from 3" to 8". This will give you two slits in the card base (see template).

Fold and burnish the score lines to make the steps of the card, pinch them first to start them off and then they should just fold in the correct way, see picture.
Build up the small mats and layers by adding the dsp to the fresh freesia and then add to the card base leaving a small border all around.
For the long layer, I have reversed the dsp to use the gingham side, adhere this to the fresh freesia layer and add to the card front.
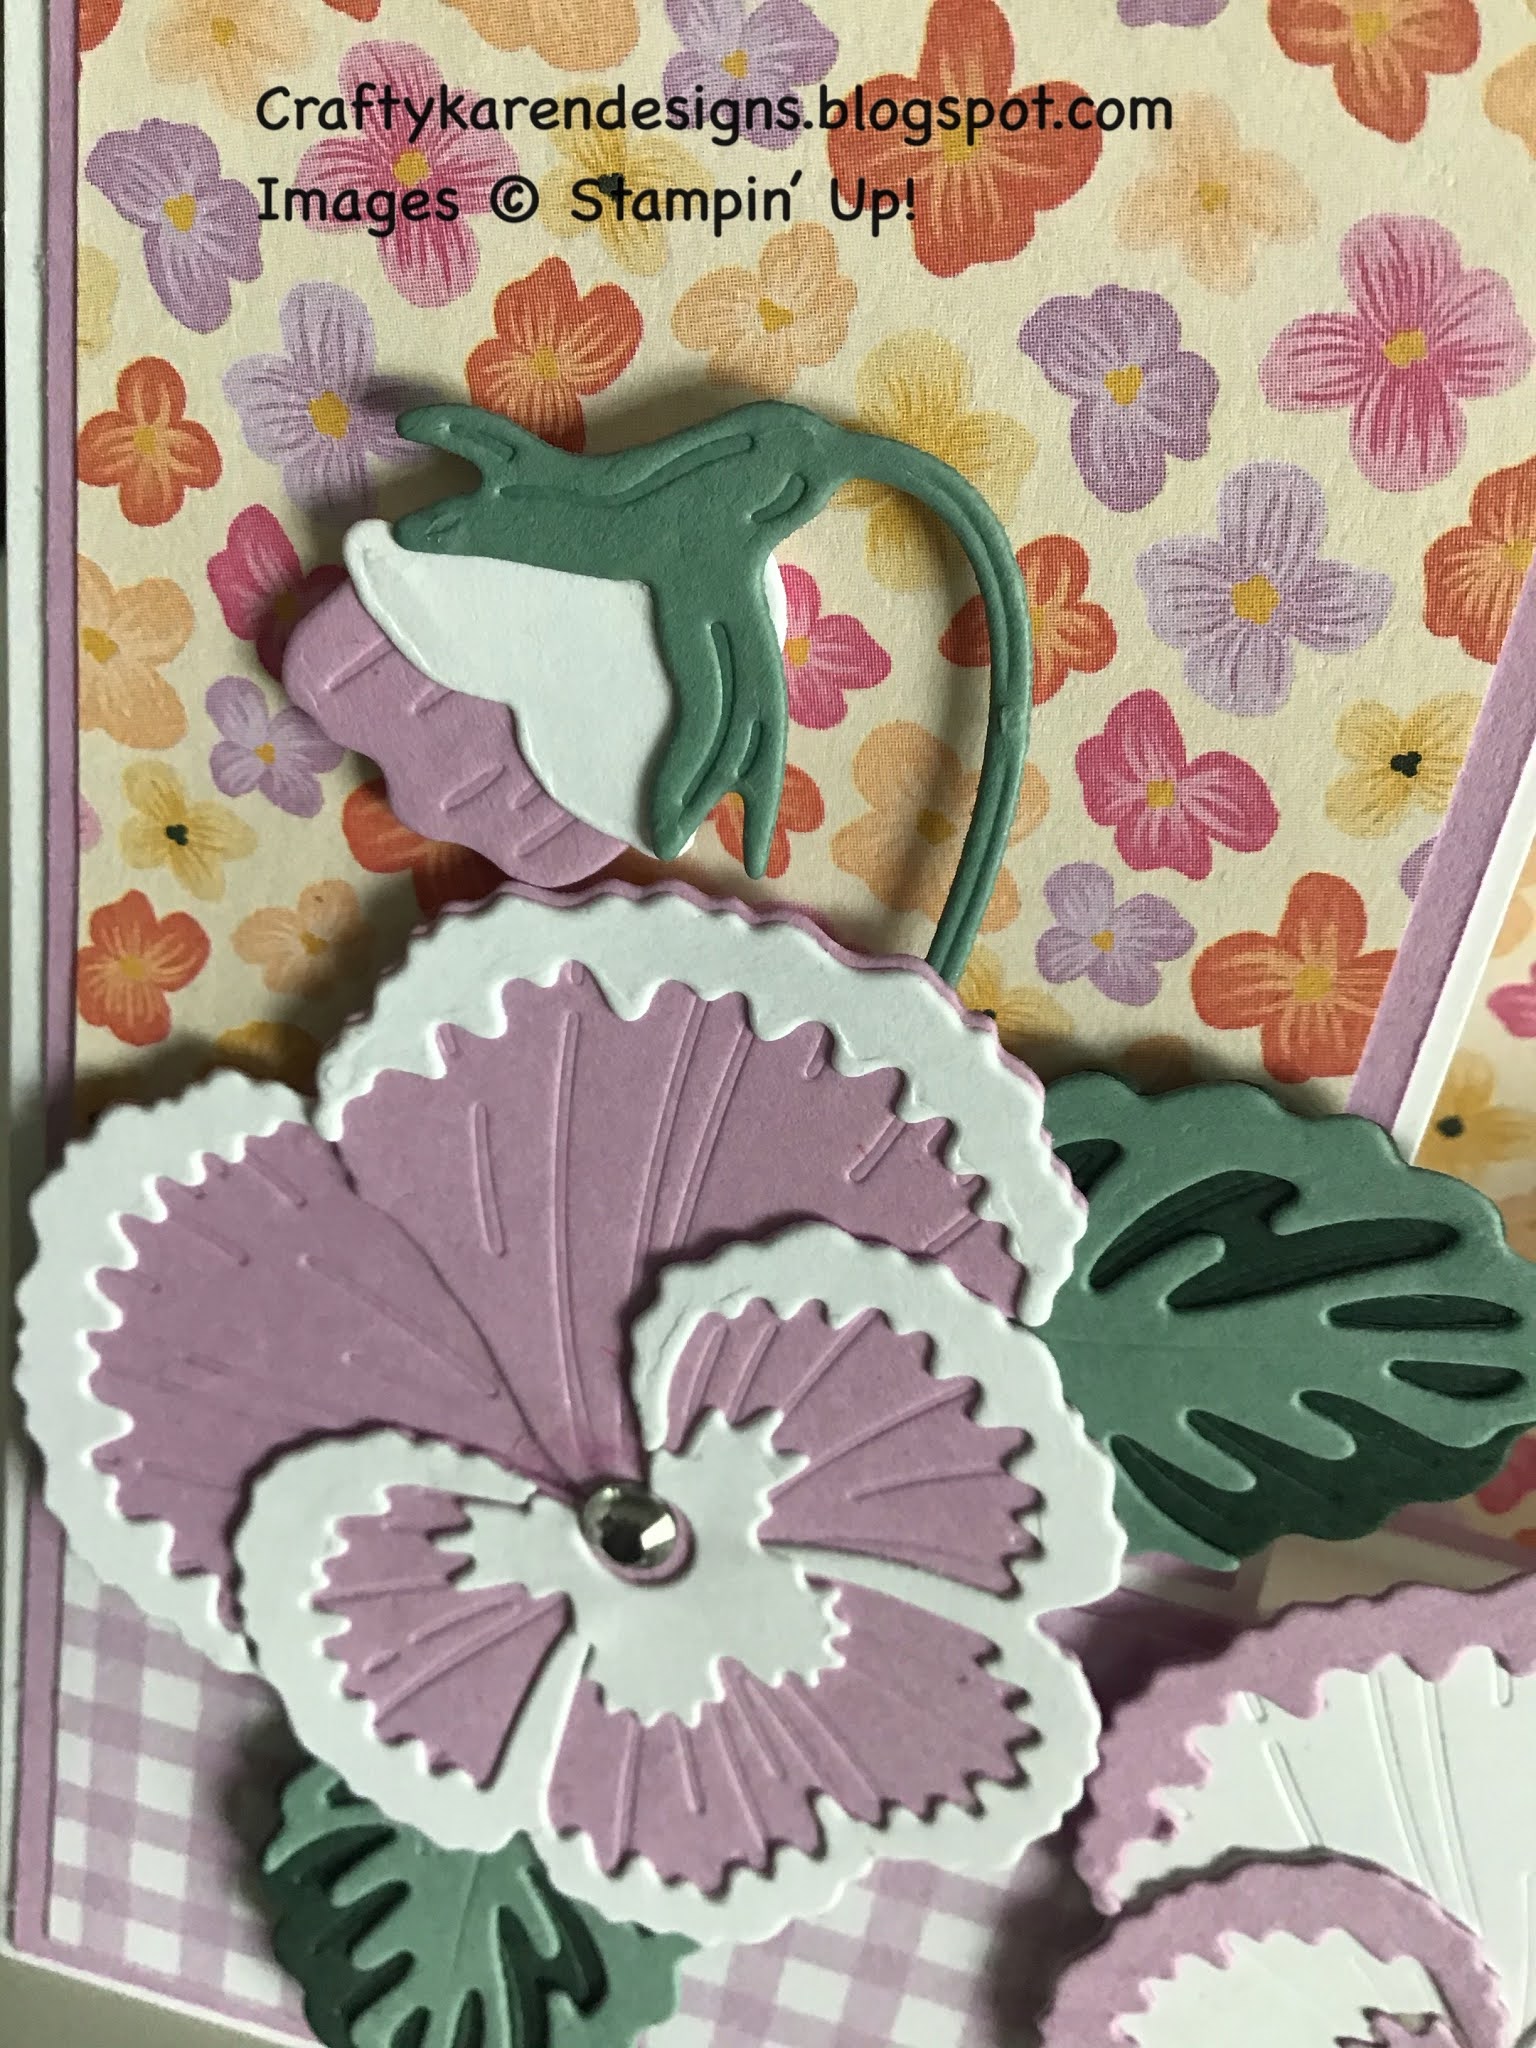
Die cut the pieces for two of the large flowers, 3 leaves and 2 buds. I have mixed and matched between white base and freesia edging and soft succulent leaf base and evening evergreen. The choice is yours in how you put them together. Have a look at the close up picture of the flowers to see how I have put them together.

Arrange the flowers, leaves and buds on the front side and lower sections with dimensionals.
Stamp the two sentiments in gorgeous grape and die cut with the two smallest stitched scalloped rectangles. Add to the card front as shown with dimensionals.
I hope that you like this card and will give it a try.
If you would like to see more of my Blog Posts, sign up to the email alert over in the right hand side bar of the page.
If you would like to join my Team or become one of my Discount Shoppers, you can message me on my Facebook Page at www.facebook.com/craftykarendesigns or via the Contact Me box below this Blog.
If you are interested in taking part in some challenges and having crafty chats with like minded people and a bit of a laugh, pop over to Crafty and Banter on Facebook (link in the side bar). This is a new group that some crafty friends and I are trying to get up and running and we would love your company.
If you are interested in taking part in some challenges and having crafty chats with like minded people and a bit of a laugh, pop over to Crafty and Banter on Facebook (link in the side bar). This is a new group that some crafty friends and I are trying to get up and running and we would love your company.
Happy Crafting,
Karen XXX


 Designer Series Paper")


")


A gorgeous card x
ReplyDeleteThanks Jane x
Delete