

Today I have been playing with a tri-fold card and thought I'd share the results with you, I hope you like it. I'll show you how to make it, its quite easy as long as you are careful when you make the cuts. Have a go, I'd love to see pictures of the cards that you create. Good luck xx
Materials
1 piece of whisper white cardstock 12" x 6" for the card base
2 sheets of 6" x 6" designer series paper
Scraps of balmy blue, daffodil delight, grapefruit grove, highland heather and lemon lime twist cardstock for the flowers and the sentiment
Ink pads to match
Tuxedo black memento ink
Pop of Petals stamp set
Four petal punch
Scrap of botanical butterflies dsp (free with Sale-a-bration)
Multipurpose glue
Dimensionals
Instructions
Score the 12" x 6" whisper white card at 4" and 8" on the long side.
On the short side, make a small mark on the short edge at 3".
On the trimmer, line up the 3" mark with the 2nd score line on the long side and cut off this triangular piece which goes across the first two panels (see two pictures below)


Fold and burnish the score lines, the centre one back and the front one forwards.

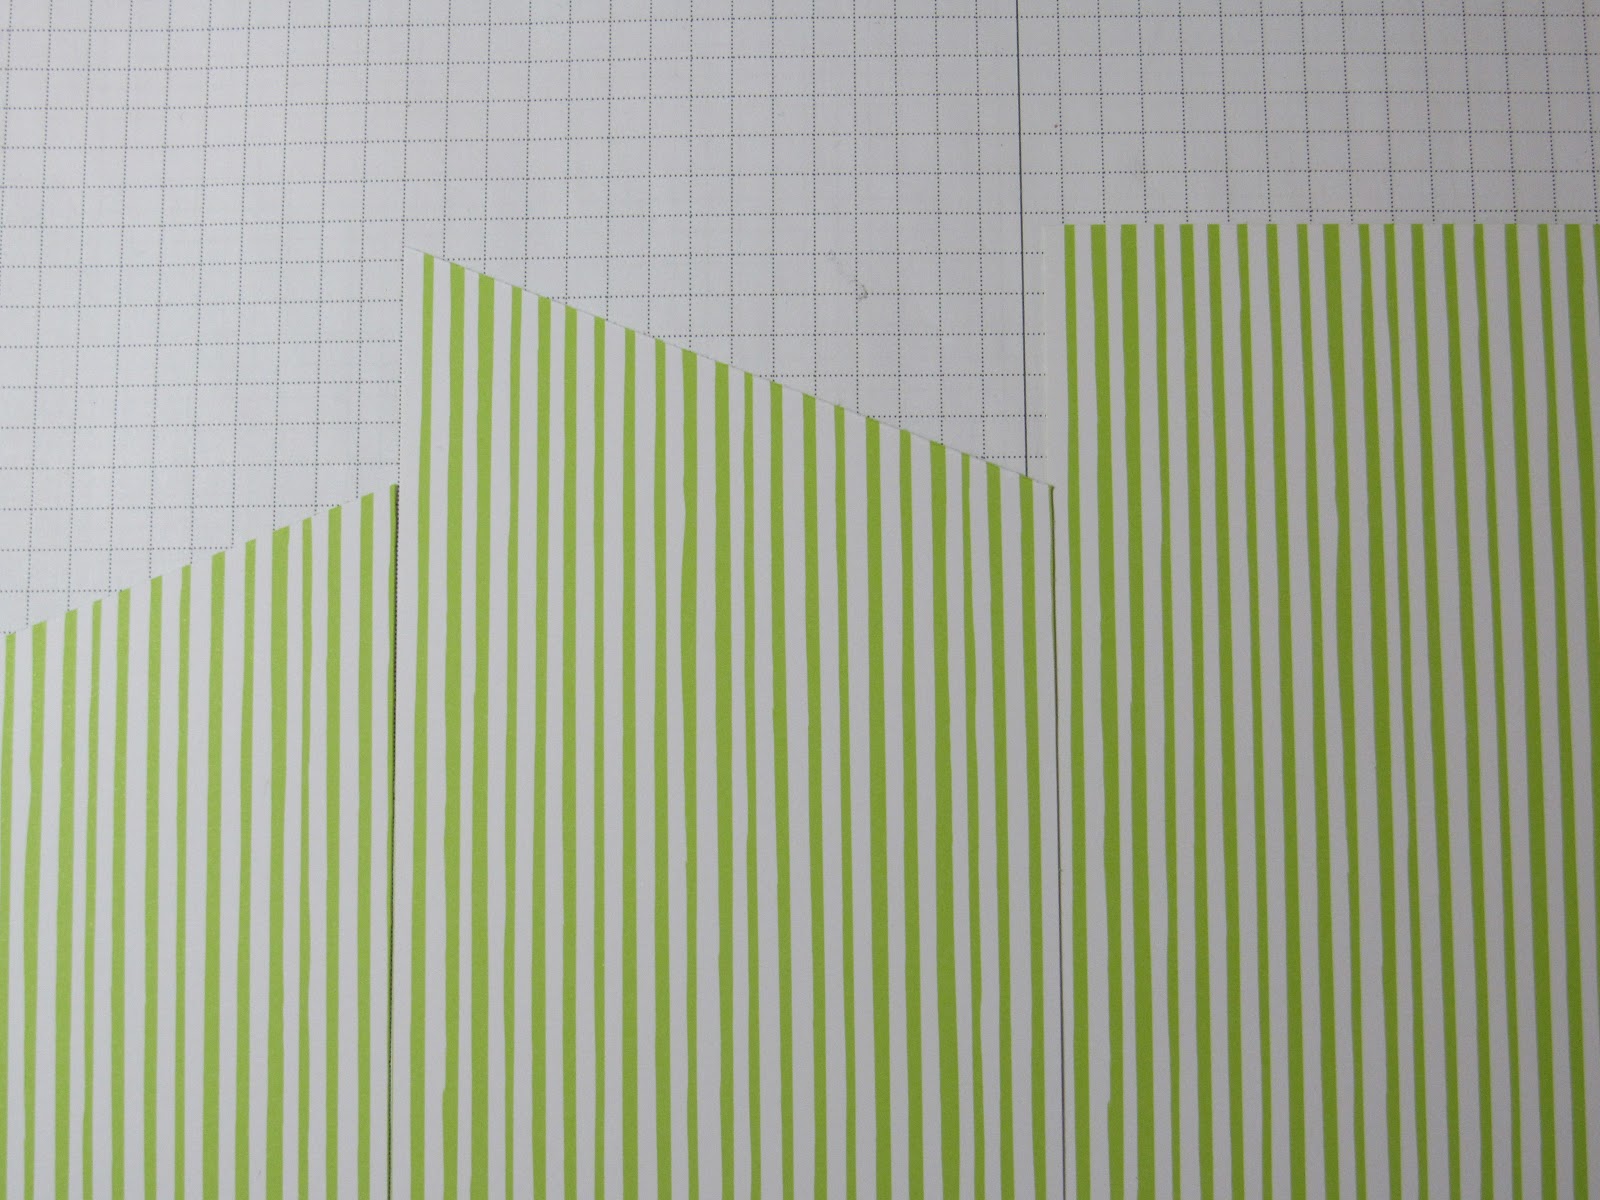 Cut the designer series paper to fit the three sections making sure that any directional patterns falls in the right direction and making sure that the diagonal cuts are done in the same way as above. As you can see from the picture below, the diagonals need to go in both directions depending on the piece.
Piece 1 - front - 2 7/8" on short side x 3 7/8" wide and 4 3/8" on long side
Piece 2 - middle section - 5 7/8" on long side x 3 7/8" wide and 4 3/8" on short side
Piece 3 - back section - 5 7/8" x 3 7/8"
Glue the designer series paper sections to the card base as shown below noting that one of the sections goes on the reverse side leaving the middle internal section blank to stamp your sentiment.

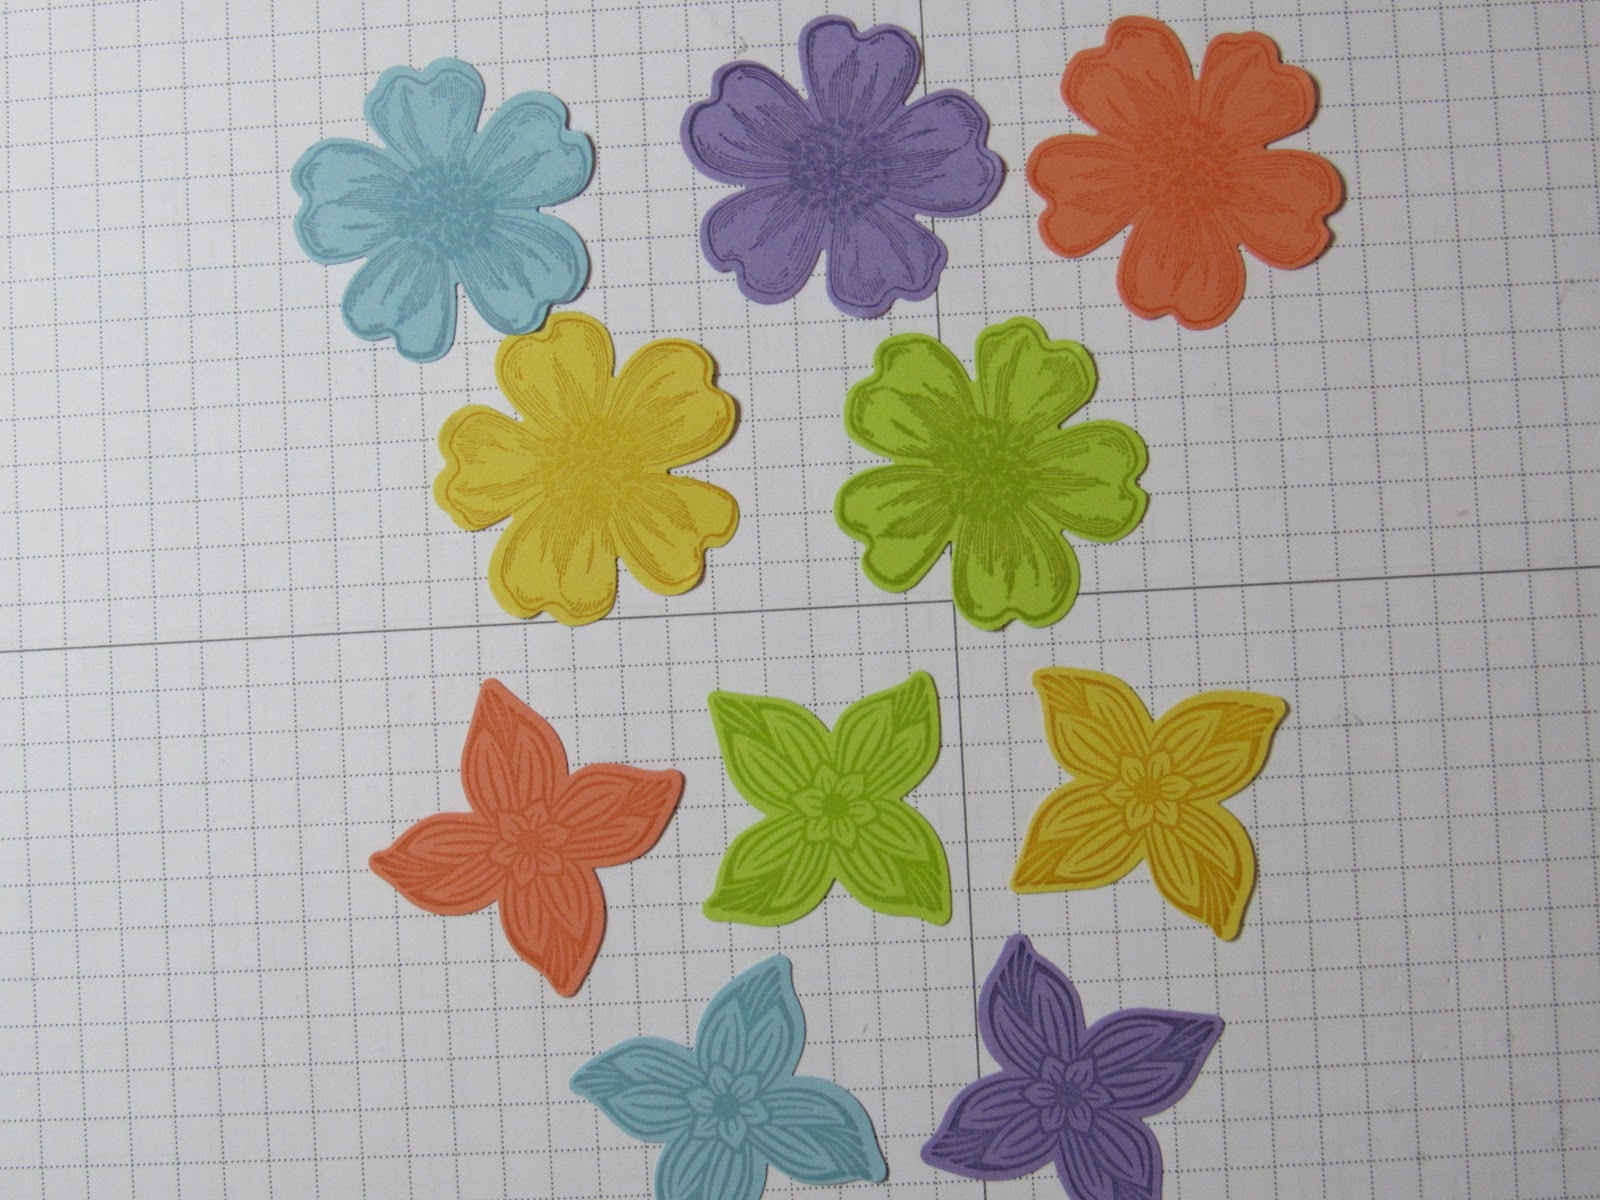
Stamp and punch out five flowers, one in each colour, I've used Pop of Petals on this card but I've also used Flower Shop (retired) to show you an alternative version (picture at the end of this tutorial).
Attach your sentiment to the front panel using dimensionals.
Punch out some of the tiny butterflies in the botanical butterflies designer series paper and attach to the card with a dab of glue, bending their wings up to give them some dimension.
There you go, simple wasn't it?
Here is a picture of the other version that I made

Good luck, I hope that you will give it a try and don't forget to post the pictures of your cards, I'd love to see them.
If you are interested in purchasing any of the products that I have used, pop over to my on line shop, the link is below.
Pop over to my Facebook page (link below) or my Pinterest pages (link in the side bar) for more inspiration.
Karen xx
Product List

 Designer Series Paper")


No comments:
Post a Comment