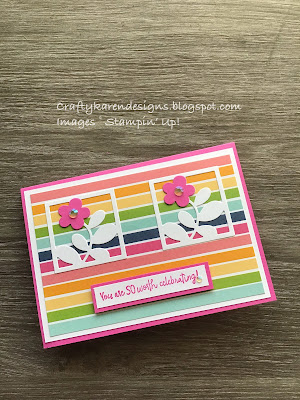
Hi Everyone,
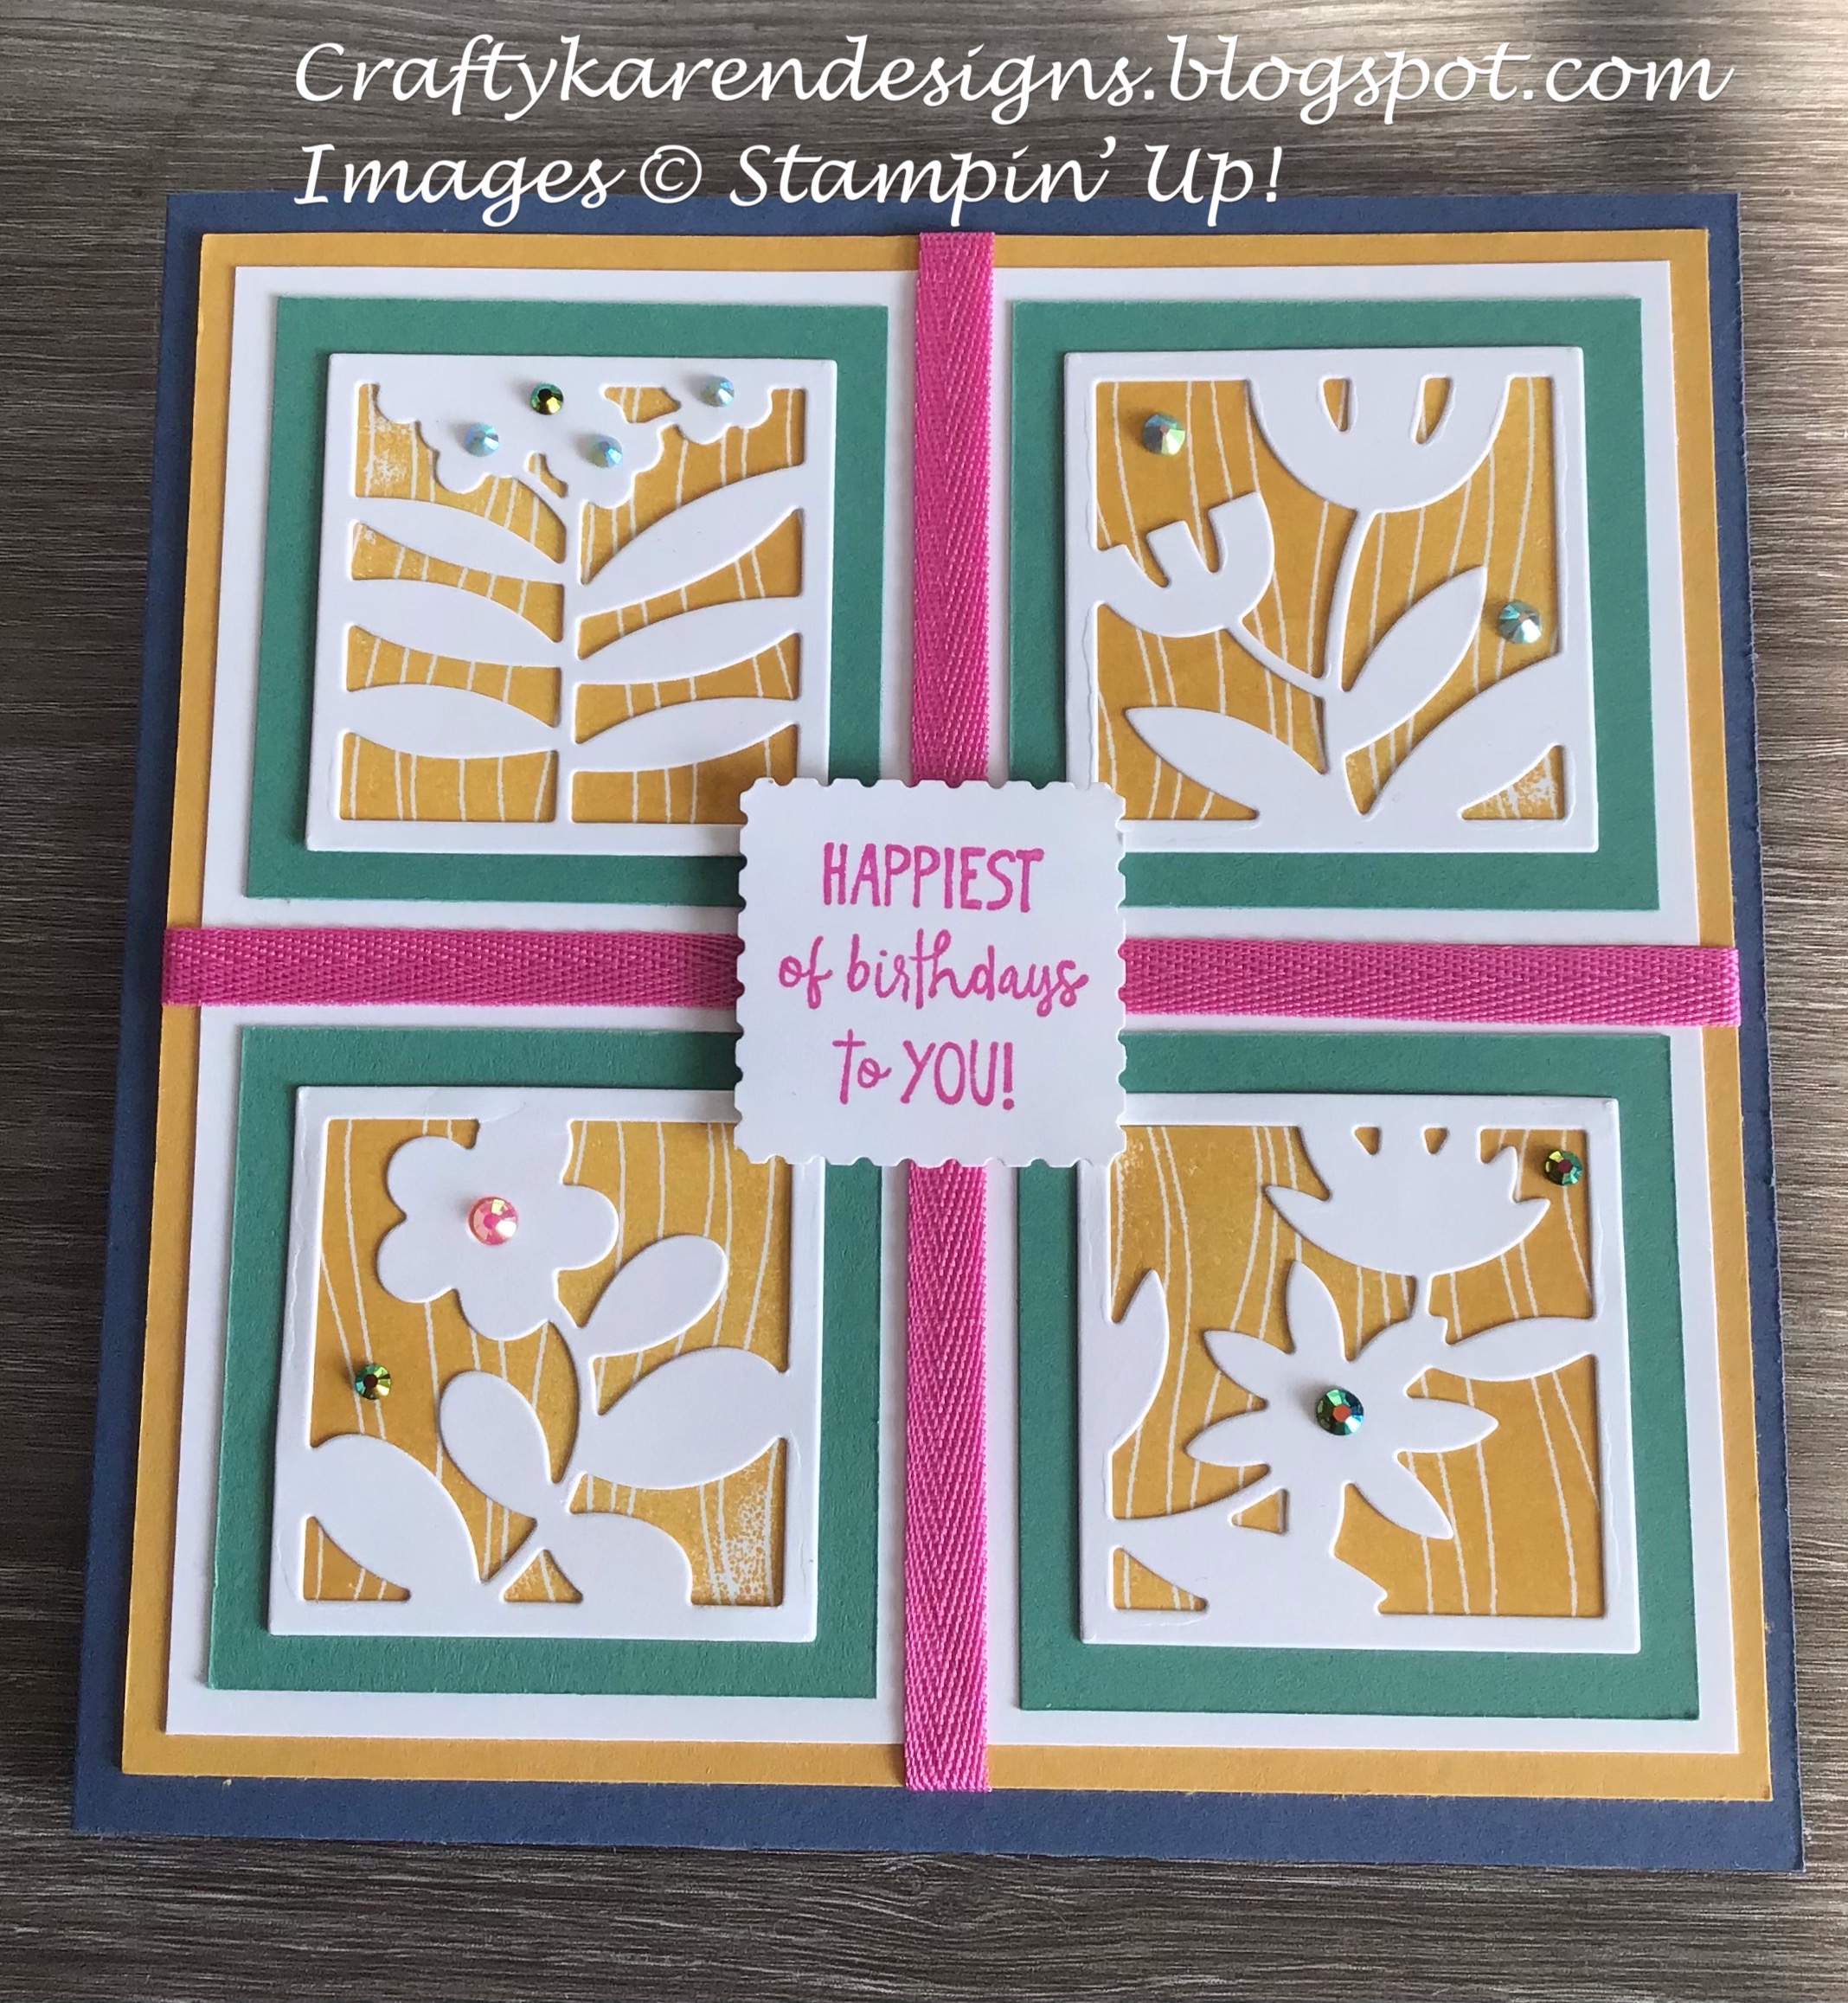

The theme for this Blog Hop with the lovely Stamping With Friends Group is the Retiring In-Colours 2020-2022 and I will be very sorry to see them go. They are lovely, bright, vibrant colours and I have used them a lot. I've also used the lovely All Squared Away bundle to make my pretty card. Let me show you how I made it.
Materials
1 piece of misty moonlight card 5 7/8" x 11 1/2"
1 piece of bumblebee card 5 1/2" square
4 pieces of basic white 2 1/2" square, 1 piece 5 1/4" square, scraps for die cuts and sentiment
4 pieces of just jade card 2 1/4" square
2 pieces of magenta madness ribbon 7" long
Magenta madness ink
Bumblebee ink
All Squared Away stamp set
Floral Square dies
Stampin' Cut & Emboss Machine
Rectangle Postage Stamp punch
In Colour Gems (2020-2022) or Rhinestones
Multipurpose adhesive
Dimensionals
Trimmer
Simply Scored
Bone Folder
Take Your Pick Tool
Paper snips
Instructions
On the long side score the misty moonlight card at 5 3/4" and fold and burnish to make a square card.
Die cut one of each of the four flowers from the scraps of basic white card.
Stamp the background stamp 4 times and cut out with the paper snips or the trimmer.
Adhere the just jade layer to the basic white and then add the stamped layer and then the floral die cut over the top. Do this with all four sets.
Arrange these layers on to the bumblebee layer and adhere in place leaving a small border.
Add a piece of ribbon horizontally and vertically through the images as shown on the card and fix in place on the back with sticky tape. Adhere this whole layer to the card front.
Stamp a sentiment on a scrap of white using the magenta madness and then punch out with the rectangle punch, I have fed one end of it back in again to make this a square. Add this to the centre of the card front using dimensionals.
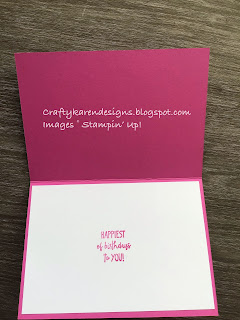
Stamp a sentiment on the remaining white piece and adhere to the inside of the card.

Sprinkle some gems/rhinestones around the card and it's finished.
Click on the links to see what everyone else has made too:

Roll Call
Tricia Butts
Betty Bickford
Mo Rootes (UK)
Mickey Moore
Linda Moore
Karen Egan
Diane Evans
Melva Peters
Kimberley Morris (procrastistamper)
Deborah Schultz
Caron Bailey
Helen Jennings
Vickie Littlewood
Libby Fens from libbystamps
Candi Suriano
Kelly Taranto
If you would like to see more of my Blog Posts, sign up to the email alert over in the right hand side bar of the page.
If you would like to join my Team or become one of my Discount Shoppers, you can message me on my Facebook Page at www.facebook.com/craftykarendesigns or via the Contact Me box below this Blog.
If you are interested in taking part in some challenges and having crafty chats with like minded people and a bit of a laugh, pop over to Crafty and Banter on Facebook (link in the side bar). This is a new group that some crafty friends and I are trying to get up and running and we would love your company.
If you are interested in taking part in some challenges and having crafty chats with like minded people and a bit of a laugh, pop over to Crafty and Banter on Facebook (link in the side bar). This is a new group that some crafty friends and I are trying to get up and running and we would love your company.
Happy Crafting,
Karen X
Product List