
Hi Everyone,

I've just come back from a retreat with the lovely Pootlers team so I can now show you the swap cards that I made for my team mates. I love making and receiving swaps, it's a great way of using up your stash and getting lots of inspiration for new projects. I would normally have made a 3D project but as I was travelling to Birmingham by train, I wanted something that wouldn't get squashed in my case. I'm using up dsp and bringing out stamp sets and dies that are retiring at the end of this annual catalogue. Let me show you how I made them.
Materials
1 piece of coloured card stock 5 7/8" x 8 1/4", 1 piece 2 1/2" x 3 1/2" for the sentiment and scraps for the flowers
1 piece of basic white 3 7/8" x 5 5/8", 1 piece 1 3/4" x 2 3/4" for the sentiment and scraps for the flowers
1 piece of dsp 3 7/8" x 5 5/8" (I used Abstract Beauty)
Ink to match the coloured card
Flowers & Leaves Punch
Stitched So Sweetly dies
Stampin' Cut & Emboss Machine
Gilded Gems
Flowers of Friendship stamp set
Create With Friends stamp set
Trimmer
Simply Scored
Take Your Pick Tool
Multipurpose Adhesive
Dimensionals
Instructions
On the long side score the coloured card at 4 1/8" and fold and burnish to make the card base.
Adhere the dsp to the card front.
Dies cut the two rectangles for the sentiment.
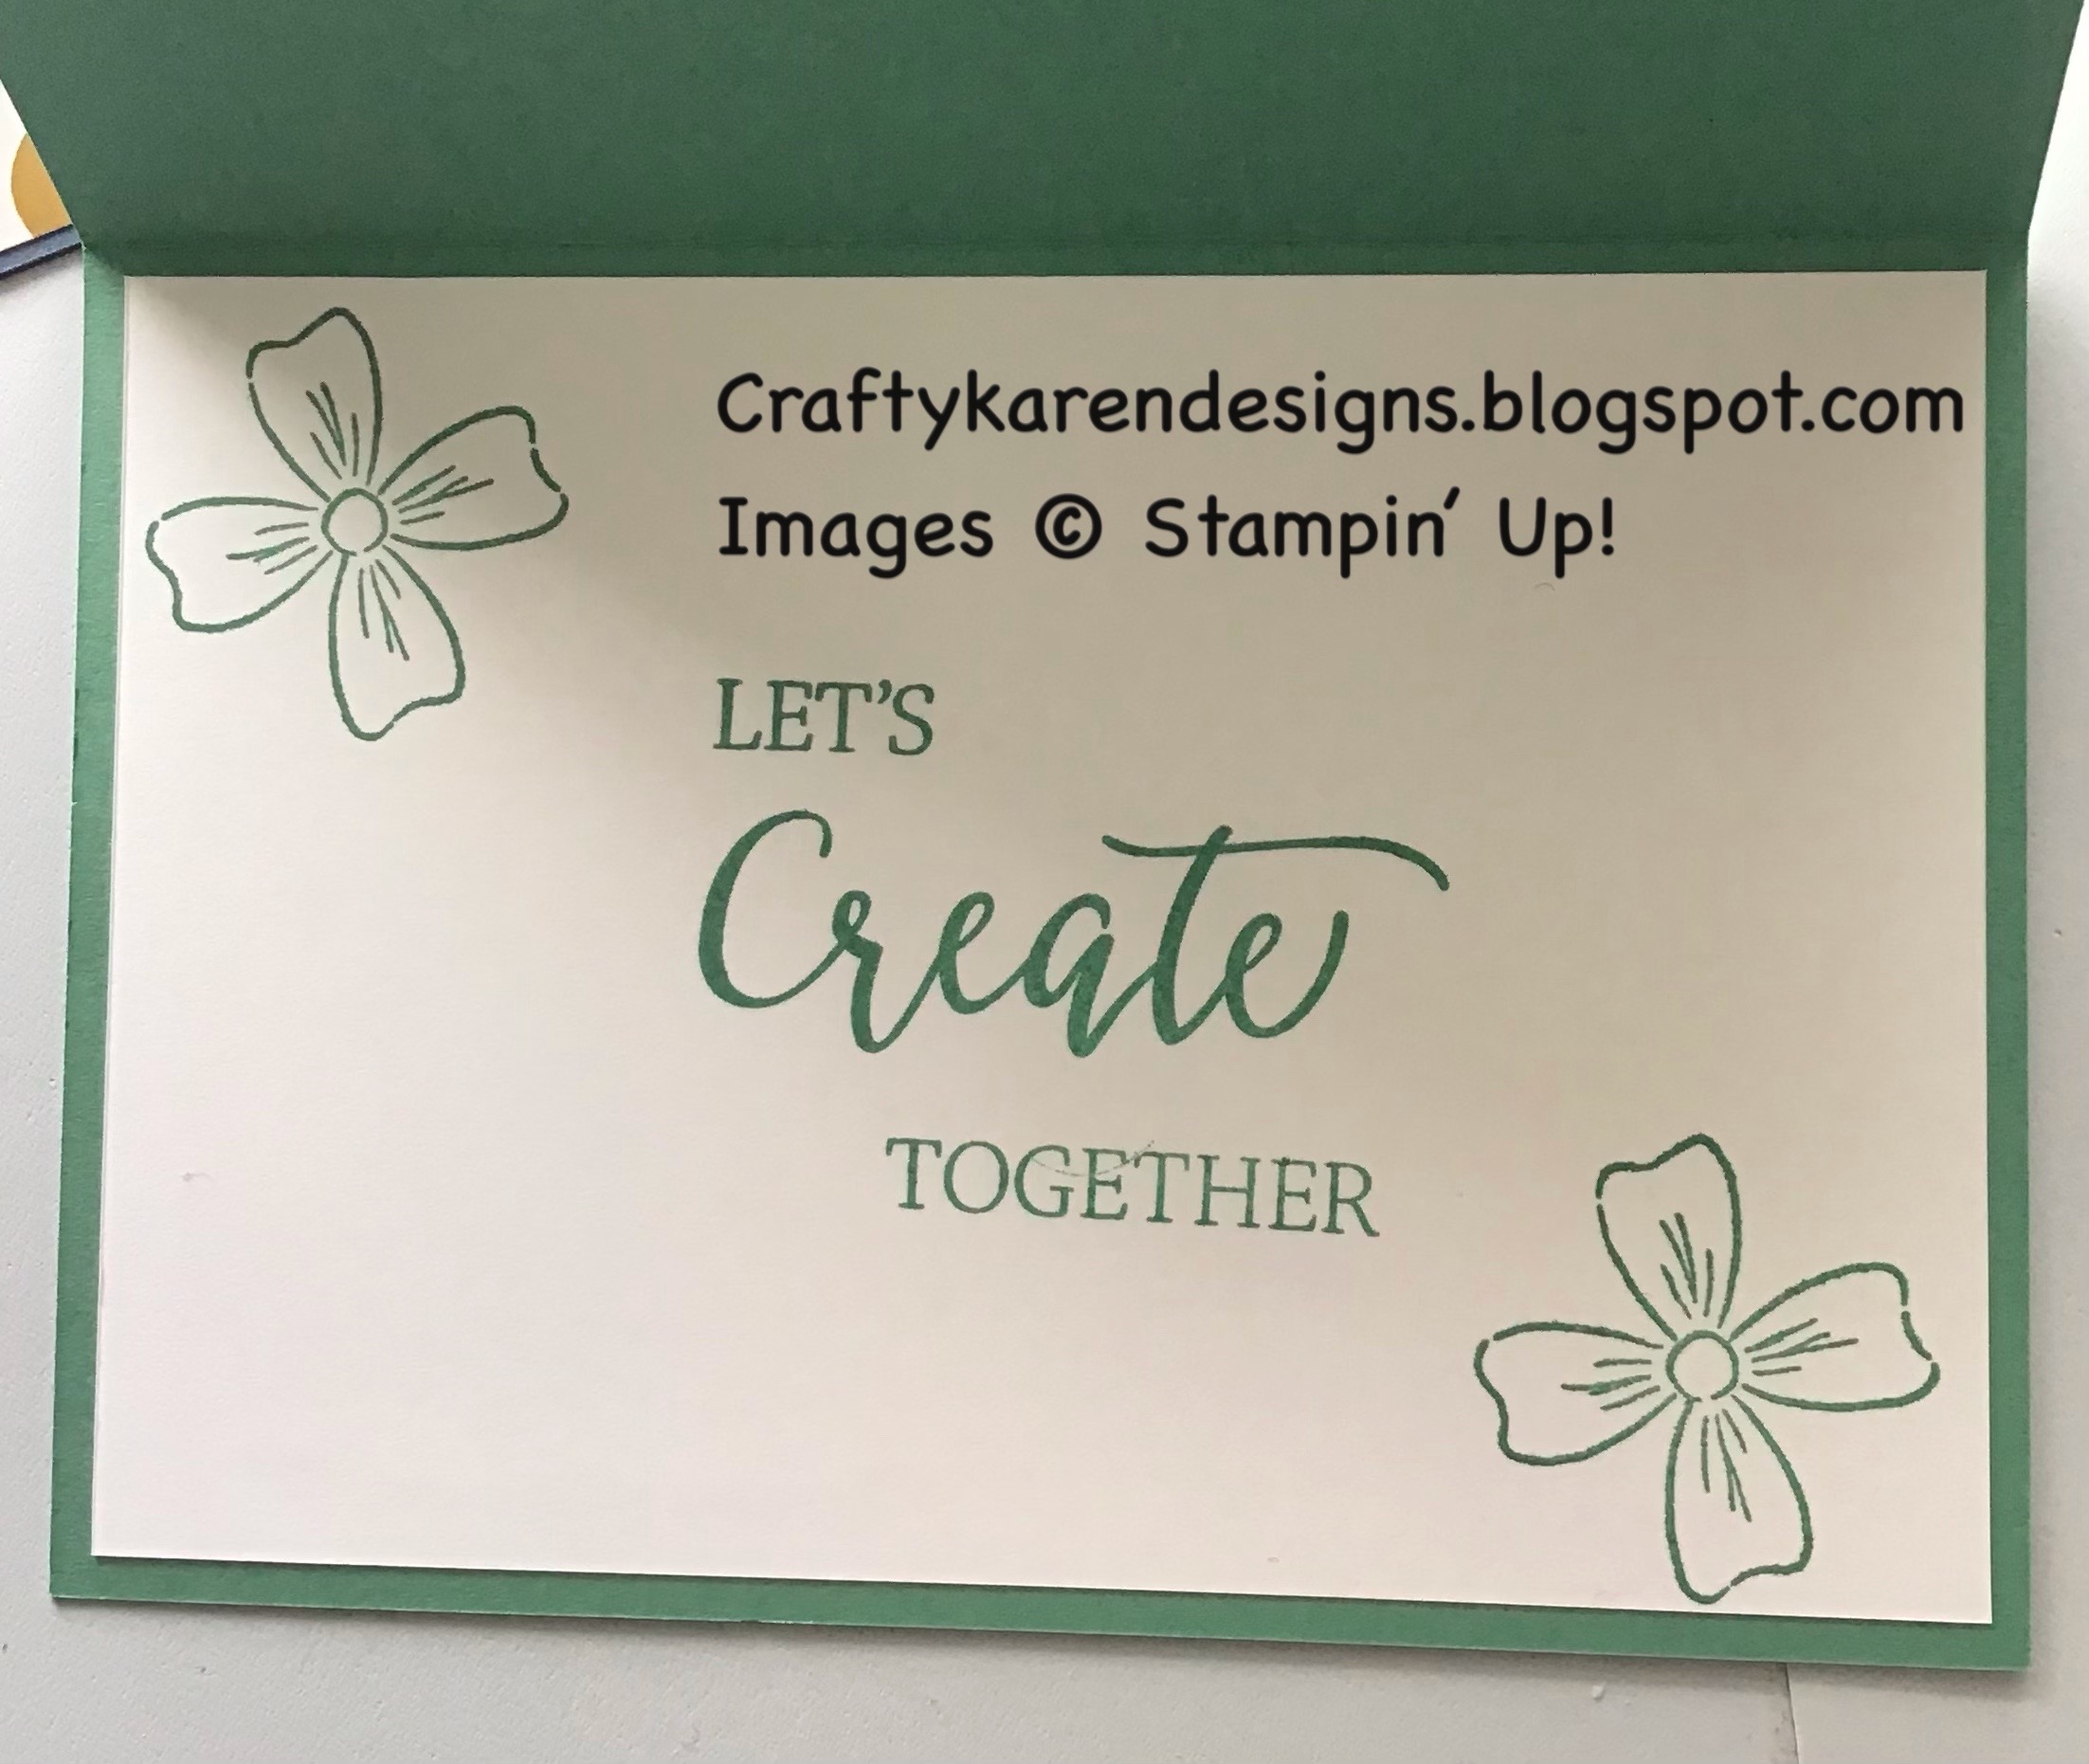
Stamp the sentiment on the white card for the inside of the card and add two flowers. The sentiment I have used is three separate words which I have arranged on a block. Adhere this to the inside of the card.
Stamp a sentiment on the smaller white rectangle and then layer that up on the coloured one and adhere to the front of the card, at an angle, using dimensionals.
Stamp a small flower and a large flower on the scrap of white using ink to match the card base and punch out, then punch out matching ones from coloured card. Scrunch them up a little bit to give them some dimension and then add a spot of glue to the centre of the coloured card one and then add the stamped one, offsetting the petals on top. Adhere them around the sentiment on the card front and add gilded gems to the centre.
I hope you will agree that these are great cards to use for batch making, I really enjoyed making them and the best thing was, I used up loads of my stash. They work with any colour and any dsp and stamp set.
If you would like to see more of my Blog Posts, sign up to the email alert over in the right hand side bar of the page.
If you would like to join my Team or become one of my Discount Shoppers, you can message me on my Facebook Page at www.facebook.com/craftykarendesigns or via the Contact Me box below this Blog.
If you are interested in taking part in some challenges and having crafty chats with like minded people and a bit of a laugh, pop over to Craft and Banter on Facebook (link in the side bar). This is a new group that some crafty friends and I are trying to get up and running and we would love your company.
If you are interested in taking part in some challenges and having crafty chats with like minded people and a bit of a laugh, pop over to Craft and Banter on Facebook (link in the side bar). This is a new group that some crafty friends and I are trying to get up and running and we would love your company.
Happy Crafting,
Karen X


