Showing posts with label Basic Border Dies. Show all posts

Saturday, 3 September 2022

Basic Borders Meets True Beauty - Stamping With Friends Blog Hop - Stand Alone Dies

 Hi Everyone,


Today I have been playing with the Basic Border dies and  the True Beauty Bundle and made a pretty card using some of my favourite colours, Tahitian Tide and Starry Sky.

Materials

1 piece of Starry Sky card stock 5 7/8" x 8 1/4", scrap for the sentiment
1 piece of basic white card stock 4" x 5 7/8", 1 piece 2" x 5 7/8", scraps for the sentiment and stamping
1 piece of Tahitian Tide 3 1/2" x 5 7/8"
True Beauty stamp set
Organic Beauty dies
Basic Border dies
Stampin' Cut & Emboss machine
Best Label Punch
Starr Sky ink
Tahitian Tide ink
Parakeet Party ink
Opal Rounds
Trimmer
Simply Scored
Bone Folder
Multipurpose adhesive
Dimensionals

Instructions

On the long side score the Starry Sky card at 4 1/8" and fold and burnish to make the card base.

Run the front edge of this card base through the Cut & Emboss machine with the chosen die in place, any of the dies in this set will work in the way that I have made my card.


Run the Tahitian Tide and basic white piece through using the same die so that all of the centre points will line up as in the photo. Adhere them in place.

Stamp several flowers and leaves (I've chopped the leaves apart to make single ones) and die cut them.  Arrange these on the card front and fix in place, I've used dimensionals on some of them.  Add opal rounds to the flower centres.

On the remaining piece of white card, stamp a flower and then adhere in place on the inside of the card.  Stamp a sentiment on a scrap of white and punch out with the Best Label Punch, add a contrasting colour one too and add them to the card front as shown.


Please click on the links below to see what everyone else has been making.

My latest Class in the Mail is now available to order - click on the link in the side bar for more information.


If you would like to see more of my Blog Posts, follow me on Facebook or sign up for a copy of my Weekly Newsletter (emailed out every Monday morning and link copied to my Facebook Pages).

If you would like to join my Team or become one of my Discount Shoppers, you can message me on my Facebook Page at www.facebook.com/craftykarendesigns or via the Contact Me box below this Blog.

f you are interested in taking part in some challenges and having crafty chats with like minded people and a bit of a laugh, pop over to Crafty and Banter on Facebook (link in the side bar). This is a new group that some crafty friends and I are trying to get up and running and we would love your company.

Happy Crafting,

Karen XXX


Product List

Wednesday, 22 June 2022

Hues of Happiness with Basic Borders

 Hi Everyone,


Today I've made a pretty thank you card with the Hues of Happiness dsp and the Basic Border dies. It's so easy to make pretty cards with this paper and adding a fancy edge, just takes it up a notch too. Let me show you how I made it.

Materials

1 piece of thick white card stock 5 7/8" x 8 1/4"
Strip of dsp 1 1/2" x 5 7/8"
Flowers and leaves cut from the dsp
Happiness Abounds stamp set
Starry Sky ink
Blossoming Happiness dies
Stampin' Cut & Emboss Machine
Basic Border dies
Trimmer
Simply Scored
Bone Folder
Multipurpose adhesive
Dimensionals
Glossy Dots
Paper Snips
Take Your Pick Tool

Instructions

On the long side score the thick white card at 4 1/8" and fold and burnish to make the card base.

Cut a border along the front edge of the card with one of the basic border dies. I taped the centre bit in place when I put it on the plate to die cut so that I could make sure that it was in the centre of the edge and symmetrical.


Add the strip of dsp to the inside of the card so that it butts up to the three edges of the card as shown.

Stamp a sentiment on the front and inside the card using the Starry Sky ink ad the Happiness Abounds stamp set.


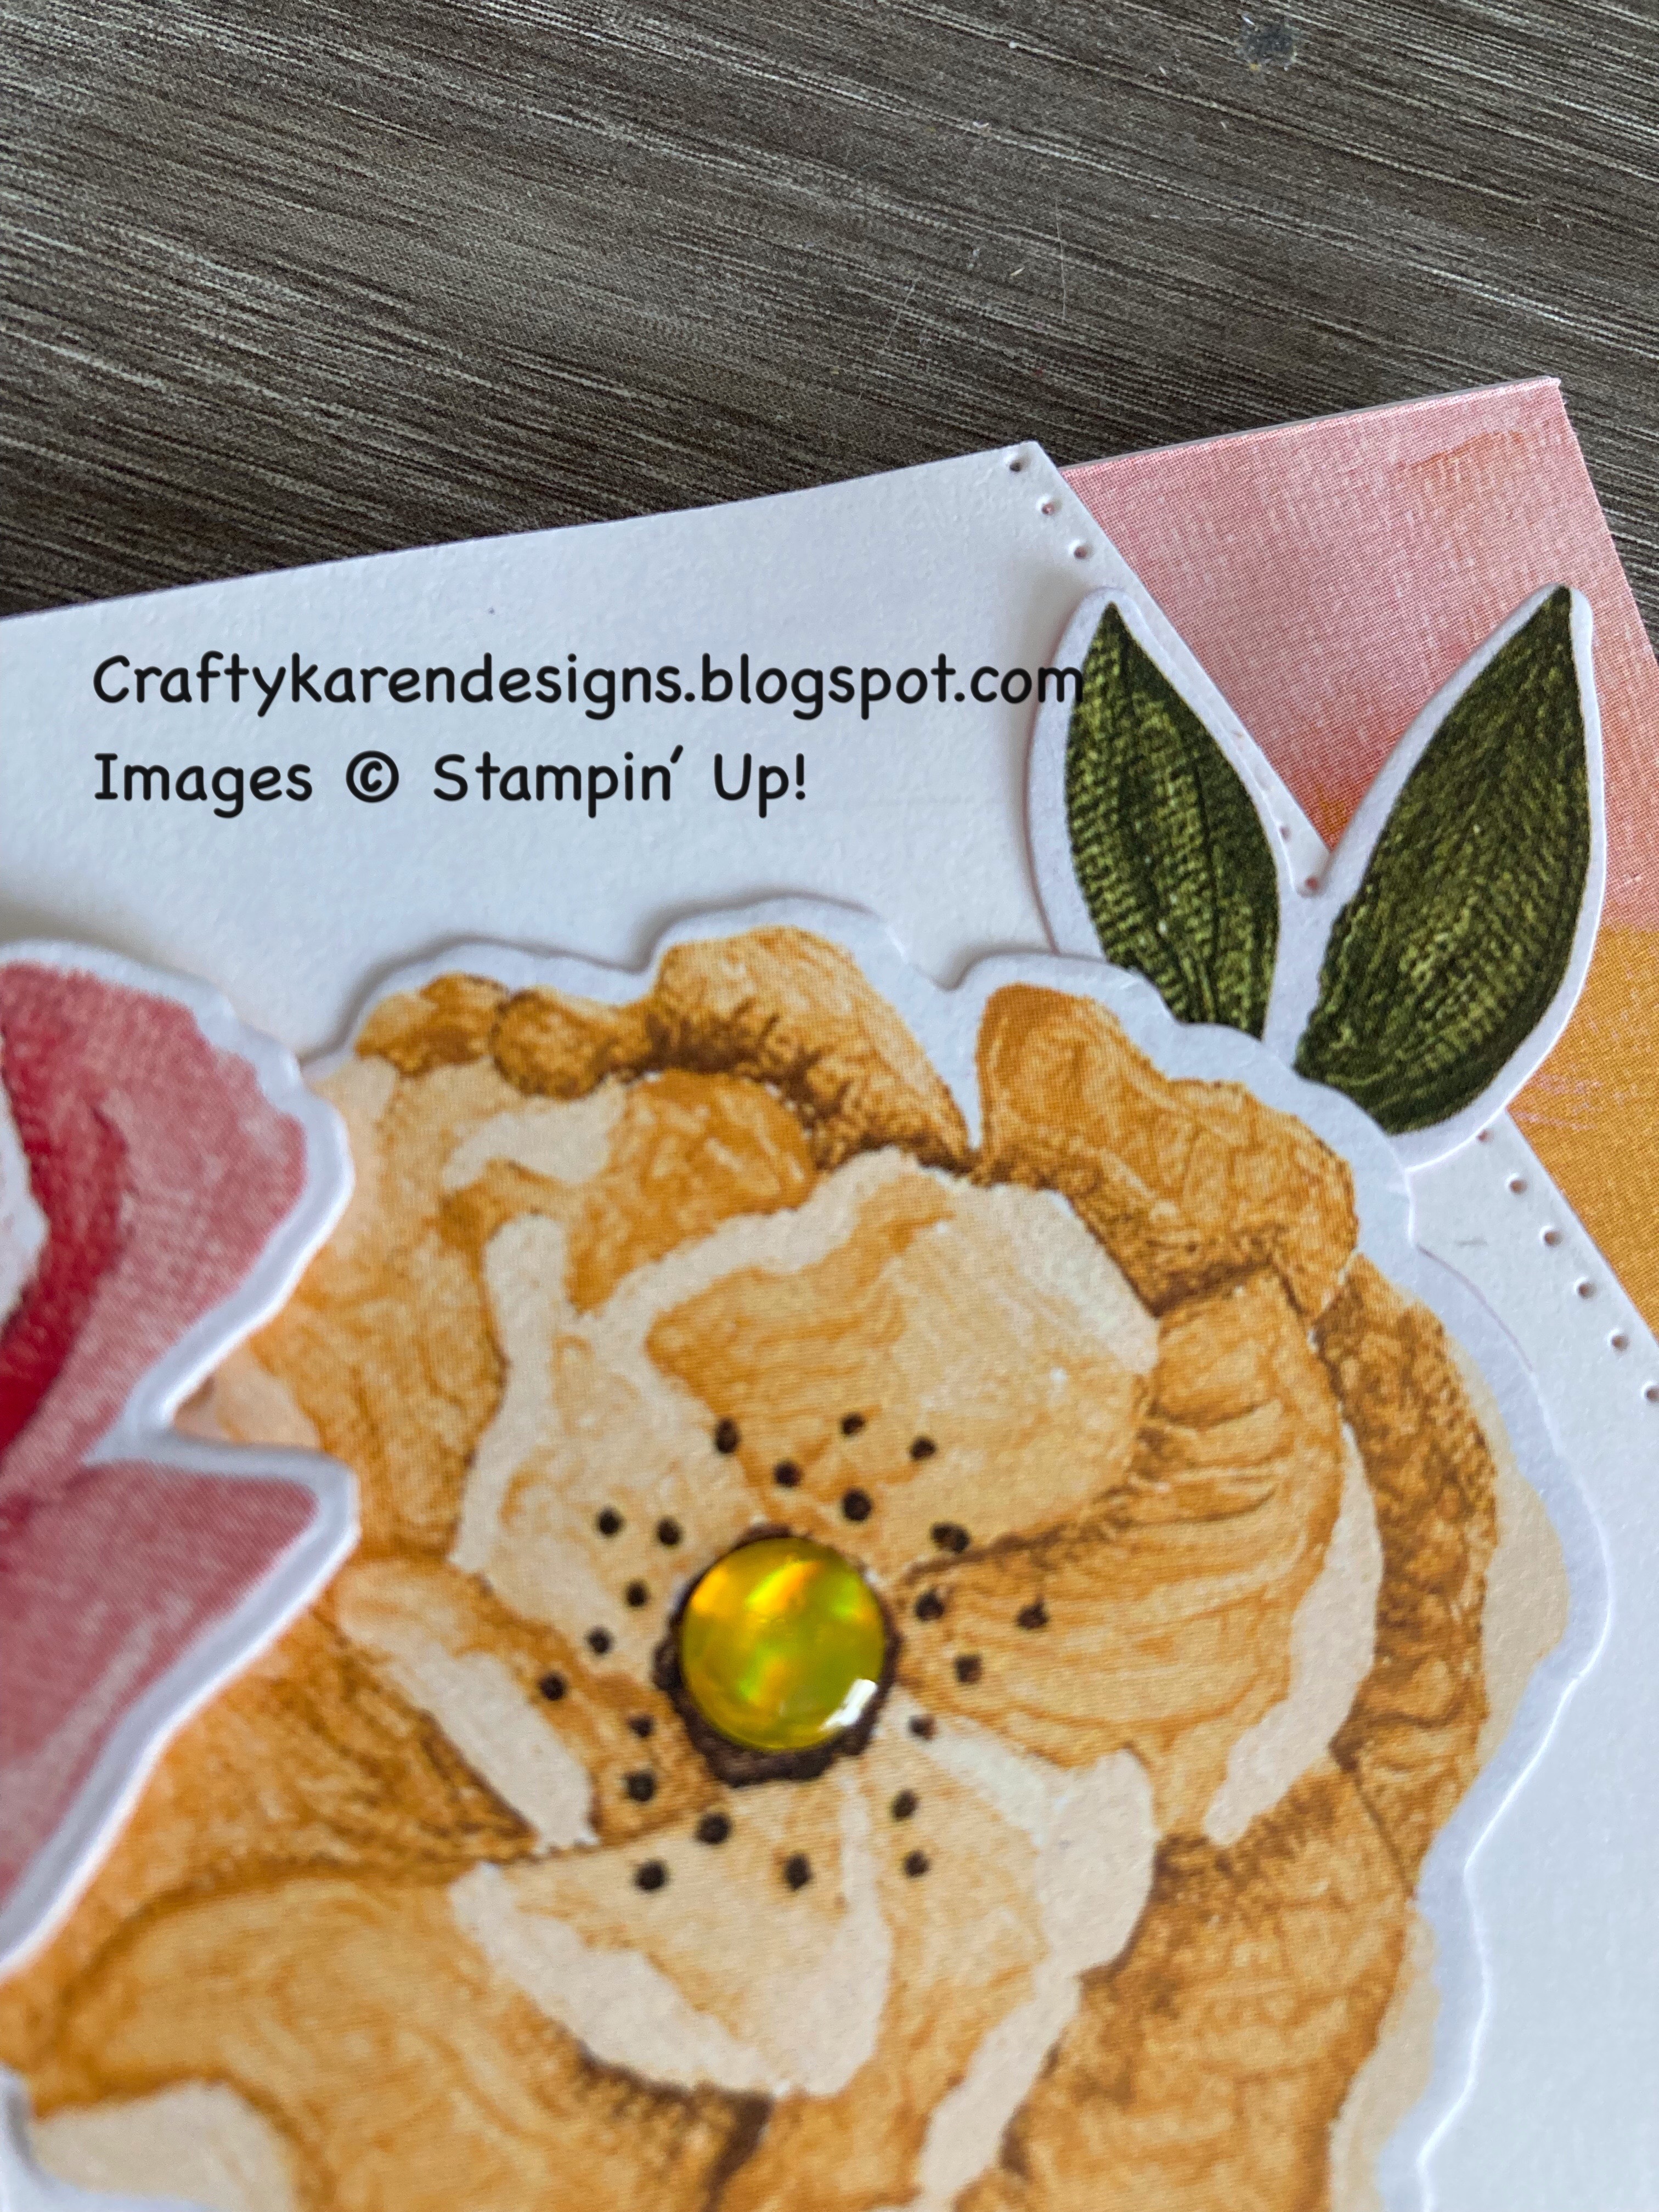
Arrange the die cut flowers and leaves on the card front, above and below the sentiment. I've added some on dimensionals to give a little bit of added interest. Decorate with Glossy Dots.


A quick and easy card using minimal supplies, I hope that you like it and will give it a try. You can access 6 more designs for this pretty set with my Class in the Mail, these are exclusive designs that won't appear on my Blog. Click on the link in the side bar to get all the Options and details.


New - Class in the Mail - Happiness Abounds


I am very excited to be offering my first Class in the Mail using the fabulous Happiness Abounds Bundle and the Hues of Happiness designer series paper, click on the link in the side bar to get details.

If you would like to see more of my Blog Posts, sign up to the email alert over in the right hand side bar of the page.

If you would like to join my Team or become one of my Discount Shoppers, you can message me on my Facebook Page at www.facebook.com/craftykarendesigns or via the Contact Me box below this Blog.

If you are interested in taking part in some challenges and having crafty chats with like minded people and a bit of a laugh, pop over to Craft and Banter on Facebook (link in the side bar). This group is a collaboration with Taffy Crafting (Donna Lester) and Vickieloudesigns (Victoria Littlewood) and we would love you to join us.

Happy Crafting,


Karen X


Product List

Friday, 1 April 2022

Spring Tulips Birthday Card

 Hi Everyone,


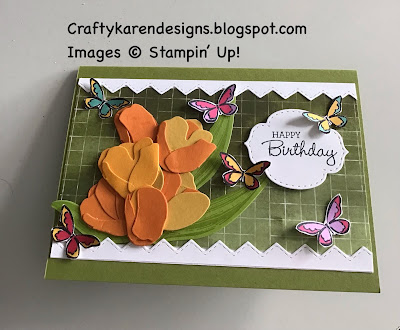
Today I have brought you a little bit of Spring cheer. I love Spring flowers especially Tulips, they come in so many bright and cheery colours. I've also sprinkled some brightly coloured butterflies around too, so maybe it's late Spring and lovely and warm - we can live in hope here in cold, wet, Manchester. I've used several sets of dies and stamp sets and mixed and matched them all together to make a pretty card.

Materials

1 piece of old olive card 5 7/8" x 8 1/4"
Scraps of pear pizzazz, pumpkin pie, mango melody and white card for the decoration
Fresh Freesia Stampin' Blends
Daffodil Delight Stampin' Blends
Real Red Stampin' Blends
Bermuda Bay Stampin' Blends
Polished Pink Stampin' Blends
1 piece of Flowering Fields dsp 3 1/2" x 5 5/8"
1 piece of basic white card 3 7/8" x 5 5/8"
Daffodil Daydream stamp set
Flowering Tulips stamp set
Pansy Patch stamp set
Tulip dies
Stampin' Cut & Emboss Machine
Paper snips
Mini Glue Dots
Multipurpose Adhesive
Dimensionals
Memento Black ink
Pear Pizzazz ink
Basic Border dies
Stitched So Sweetly dies
Trimmer
Bone Folder

Instructions

On the long side score the card at 4 1/8" and fold and burnish to make the card base.

Adhere the dsp as a central strip across the card, I wanted it to be a panel.

Die cut a 1" strip of basic white with the basic border die (this will effectively cut it into two and you can use both pieces). Adhere one along the top and one along the bottom of the dsp to frame it.

Die cut several tulips using a mix of mango melody and pumpkin pie card stock and add some pear pizzazz leaves. Stamp the leaf image onto the die cut after you have die cut it, I have found this to be easier.

Put the flowers together using mini glue dots to hold them together and then arrange on the dsp as in the picture to make a bunch.  Tuck the leaves in and around them.

Stamp some butterflies on the white card and then colour in with the Stampin' Blends and then fussy cut them (you can use the dies but it was very quick to fussy cut them).

Stamp the sentiment on a scrap of white and then die cut and add to the card front using dimensionals.  Sprinkle the butterflies (I've added them using mini glue dots), you don't have to use so many, it's up to you.

Stamp a sentiment on the remaining piece of white and add to the inside of the card.

If you would like to see more of my Blog Posts, sign up on the pop up form and you will get my weekly Newsletter with all the details of my latest projects and news from Stampin' Up!

If you would like to join my Team or become one of my Discount Shoppers, you can message me on my Facebook Page at www.facebook.com/craftykarendesigns or via the Contact Me box below this Blog.

If you are interested in taking part in some challenges and having crafty chats with like minded people and a bit of a laugh, pop over to Craft and Banter on Facebook (link in the side bar), we would love your company.

Happy crafting,


Karen X

Product List