Showing posts with label pansy dies. Show all posts

Friday, 7 October 2022

PansyPetals Hexagon Pop Up Spring Box Card - Fun Fold Friday

 Hi Everyone, 


For this weeks Fun Fold Friday, I have tried a design by Sam Calcott (Mixed Up Crafts) and combined it with some Winter Pansies (Just bought some for the garden.) and Pacific Point which is not a colour I use very often but I do like it.

Materials

1 piece of Pacific Point card stock 10 1/2" x 3", 1 piece 6" x 1 1/2", 2 pieces 9 1/2" x 2 1/2", 1 piece 4 1/2" x 5 1/2"
1 piece of basic white 4" x 5", 2 pieces 1 1/4" x 2 3/4", 4 pieces 1 1/2" x 2 3/4"
2 pieces of dsp 1" x 2 1/2", 4 pieces 1 1/4" x 2 1/2"
Scraps of Daffodil Delight, Old Olive and Basic White for the flowers
Daffodil Delight ink
Pacific Point ink
Pansy Patch stamp set
Quiet Meadow stamp set
Scalloped Contour dies
Pansy dies
Stampin' Cut & Emboss Machine
Trimmer
Simply Scored
Bone Folder
Opal Rounds
Multipurpose Adhesive
Dimensionals

Instructions

On the long side score the largest piece of Pacific Point at 1 3/4", 3 1/4", 5", 6 3/4", 8 1/4", 10"

On the long side, score the 6" piece at 1/2", 3", 5 1/2"

On the long side, score the 2 9" pieces at 1 1/2", 2 1/4", 3", 3 3/4", 4 1/2", 6", 6 3/4", 7 1/2", 8 1/4", 9"

Fold and burnish all of the pieces and cut a small wedge from the top and bottom on the 1/2" tab on the longest piece (see picture)


Add glue to the tab and fold over to meet the other end to join up the hexagon. If you fold it flat with the tab and 1st section on the top at the left and then bring over the other end, they will meet and you can seal up the hexagon.


Add glue to the 2 small tabs on the 6" piece and adhere the tabs to the inside of the centre section so that that tabs are inside the hexagon and the tall easel piece sticks up.


Fold the remaining two pieces as shown in the picture below and add glue to the 1/2" tab and seal to make the two springs. 

Then adhere these two together to make the central spring and fix inside the hexagon in the section below the easel.


It's a bit fiddly but just take your time, as you will see from the pictures, mine isn't perfect.

Add the dsp to the mat layers and adhere in place around the hexagon.

Die cut the two largest rectangles from the Scalloped Contour dies. 

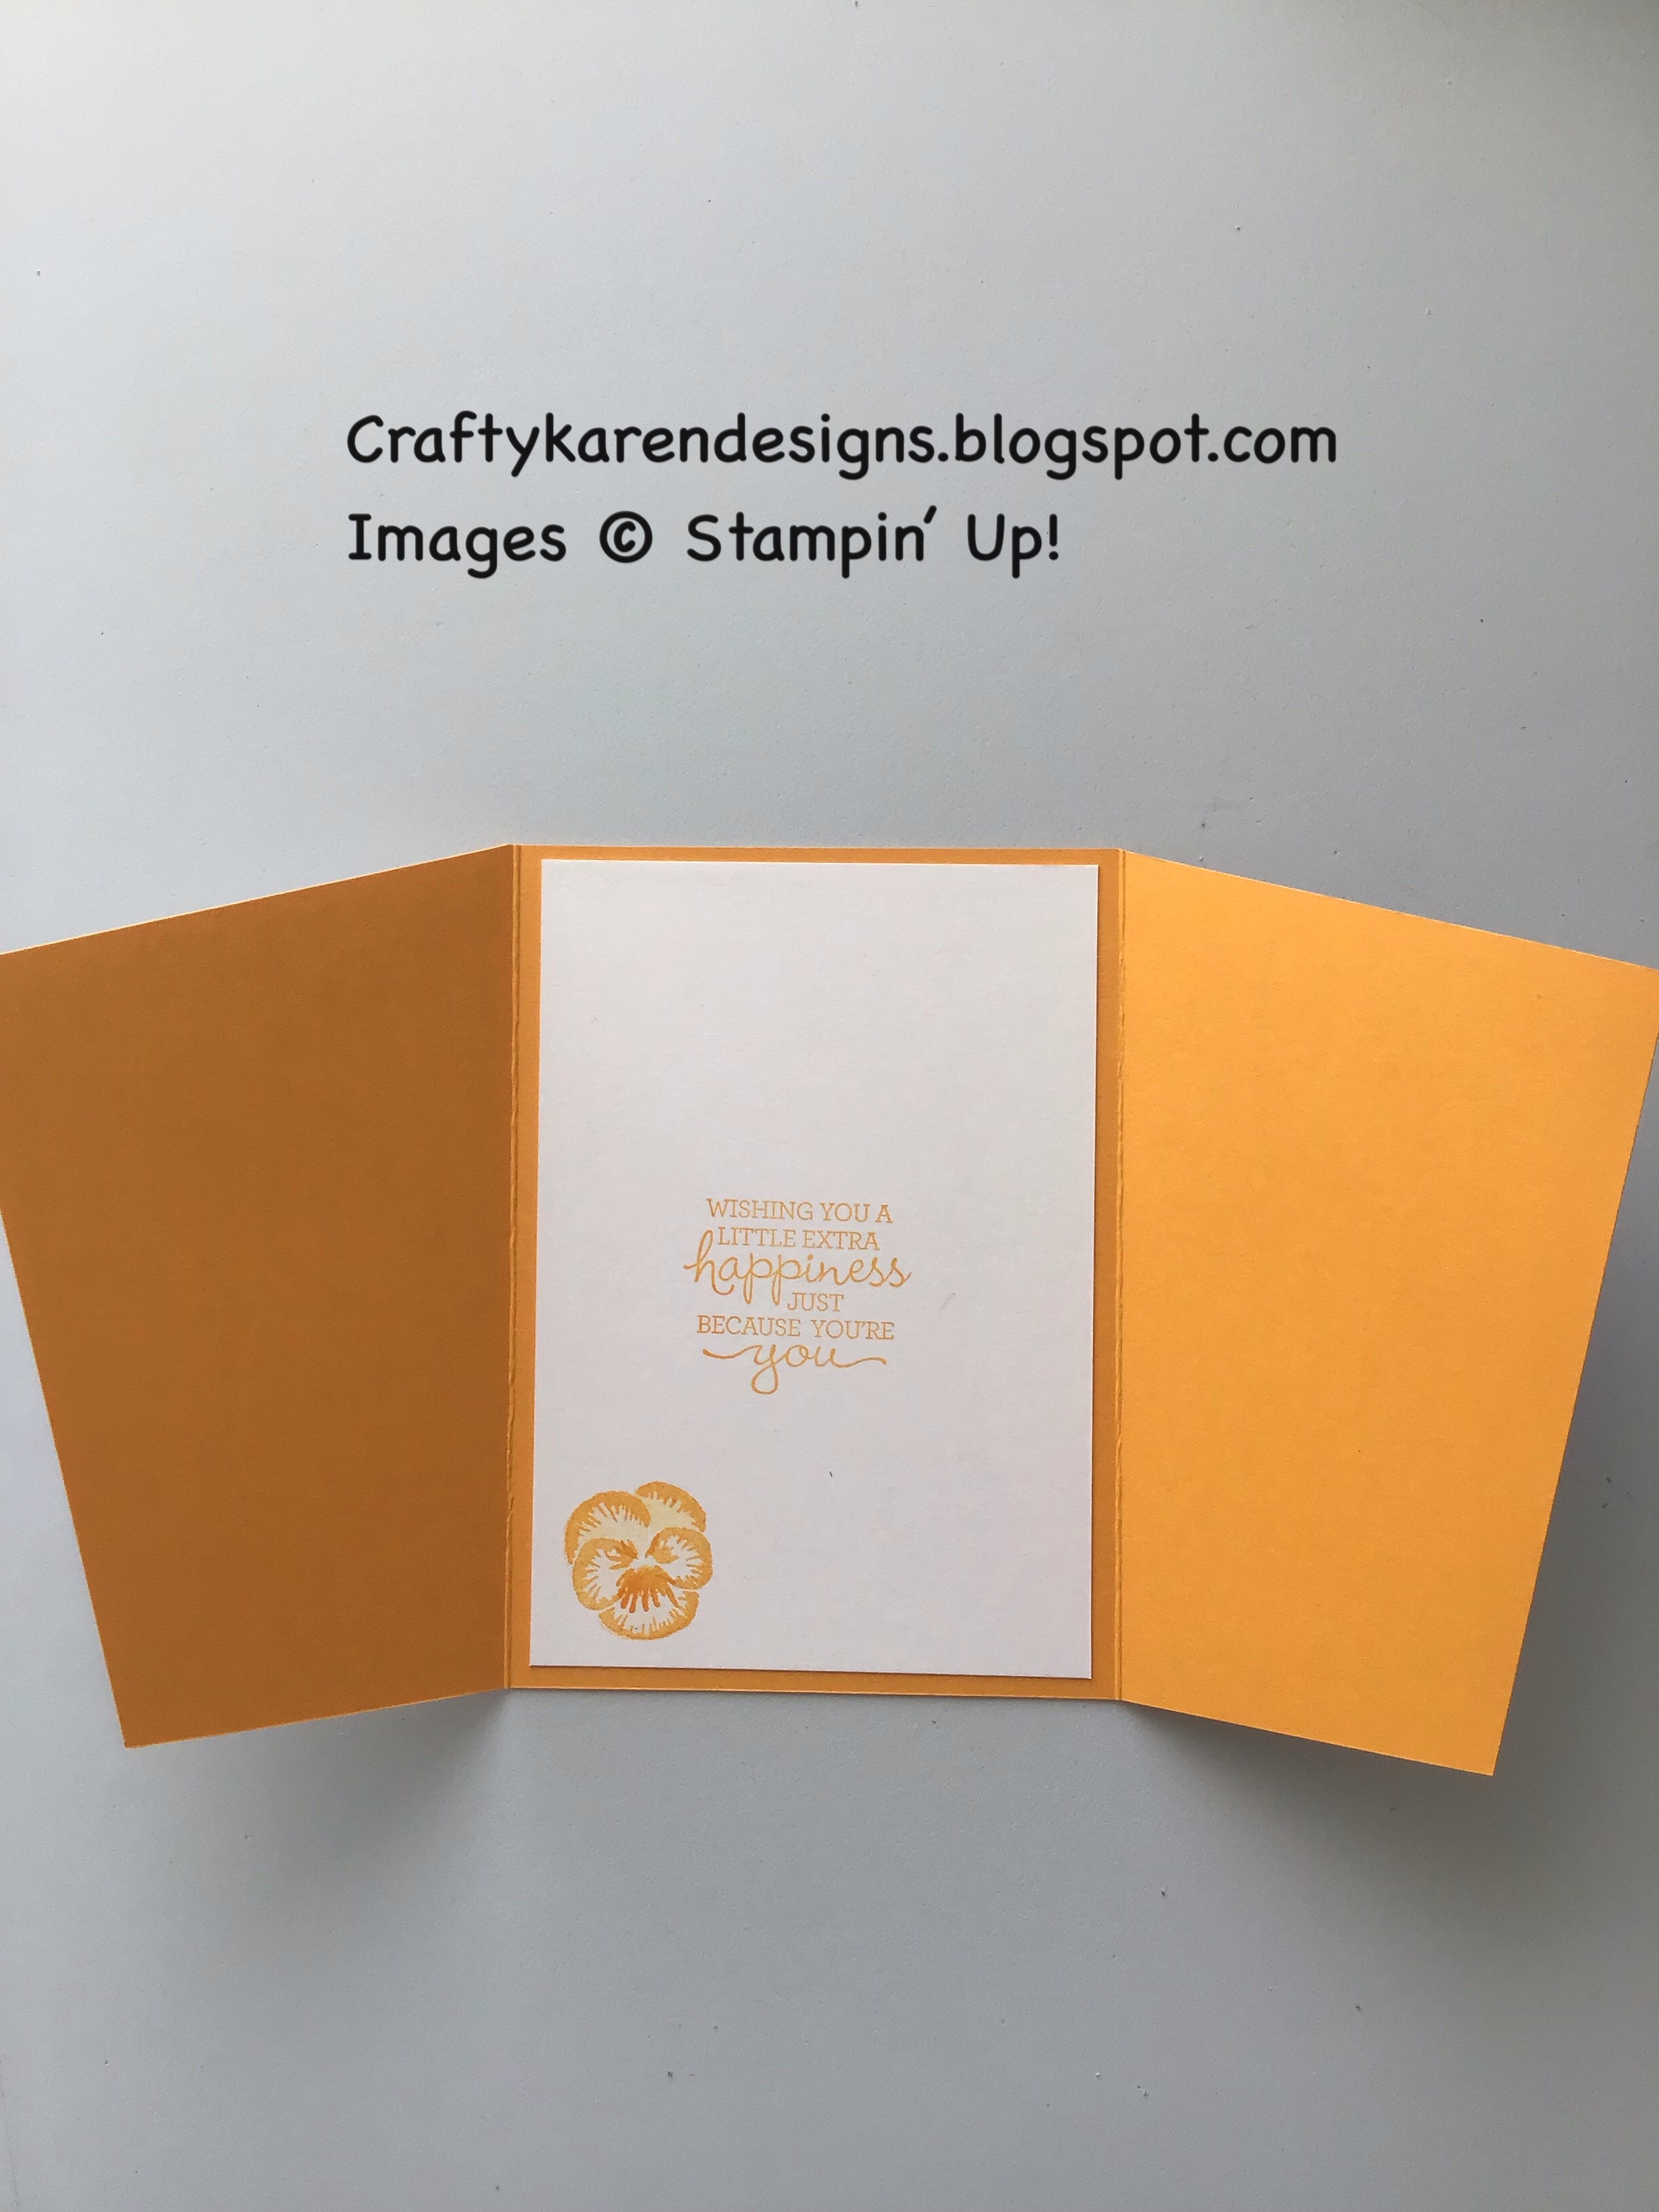
Stamp the sentiment in the centre of the white layer using Pacific Point ink and a sentiment from Pansy Patch. Then add some sprinkles with the Daffodil Delight splodge from the Quiet Meadow stamp set. Add this layer to the Pacific Point. Lay then card down flat next to a ruler and put adhesive on the front of the easel and lay this sentiment section down making sure that it stays within the 5" x 7" size.

Die cut two large pansies and some leaves and add them to the sentiment layer with dimensionals. Add some Opal Rounds as the centre of the flowers.

I love how this card turned out but it needs a box or a bag to gift it in so would be better hand delivered. You could add a layer of white on the back to write your message but I didn't like how that looked so I think I would make a gift tag to enclose with the card for my message, but you can see for yourself what you would prefer.  Sam has done a video showing how to put these cards together on her YouTube channel so check that out, she also has tutorials for box envelopes too which I will follow when I am ready to gift this card.

If you would like to see more of my Blog Posts, follow me on Facebook or sign up for a copy of my Weekly Newsletter (emailed out every Monday morning and link copied to my Facebook Pages).

If you would like to join my Team or become one of my Discount Shoppers, you can message me on my Facebook Page at www.facebook.com/craftykarendesigns or via the Contact Me box below this Blog.

f you are interested in taking part in some challenges and having crafty chats with like minded people and a bit of a laugh, pop over to Crafty and Banter on Facebook (link in the side bar). This is a new group that some crafty friends and I are trying to get up and running and we would love your company.

Happy Crafting,

Karen X


Product List

Wednesday, 11 May 2022

Perfectly Pencilled Pansy Angled Tri Fold Card - Touches of Ink Blog Hop

 Hi Everyone,


Today I have made a fun fold card inspired by Wendy Cranford's recent card on her channel. Wendy chose a masculine theme but I've gone for my favourite florals and used the Pansy Patch stamp set and Pansy Dies and teamed it with the lovely new Perfectly Pencilled designer series paper. I know that the flower on the dsp is probably not a pansy but the shape kind of reminded me of one. Let me show you what I did.

Materials

1 piece of mango melody card stock 5 7/8" x 11", 1 piece 1" x 9", scraps for the pansy and sentiment
1 piece of basic white card 4" x 5 5 /5", scraps for the pansy and sentiment
2 pieces of dsp 3 1/2" x 5 5/8"
Scraps of old olive and pear pizzazz card for the leaves
Mango Melody ink
Memento Black ink
Iridescent Rhinestones
Pansy Patch stamp set
Pansy dies
Stampin' Cut & Emboss Machine
Trimmer
Simply Scored
Bone Folder
Painted Label dies
Multipurpose adhesive
Dimensionals
Mini Glue Dots

Instructions

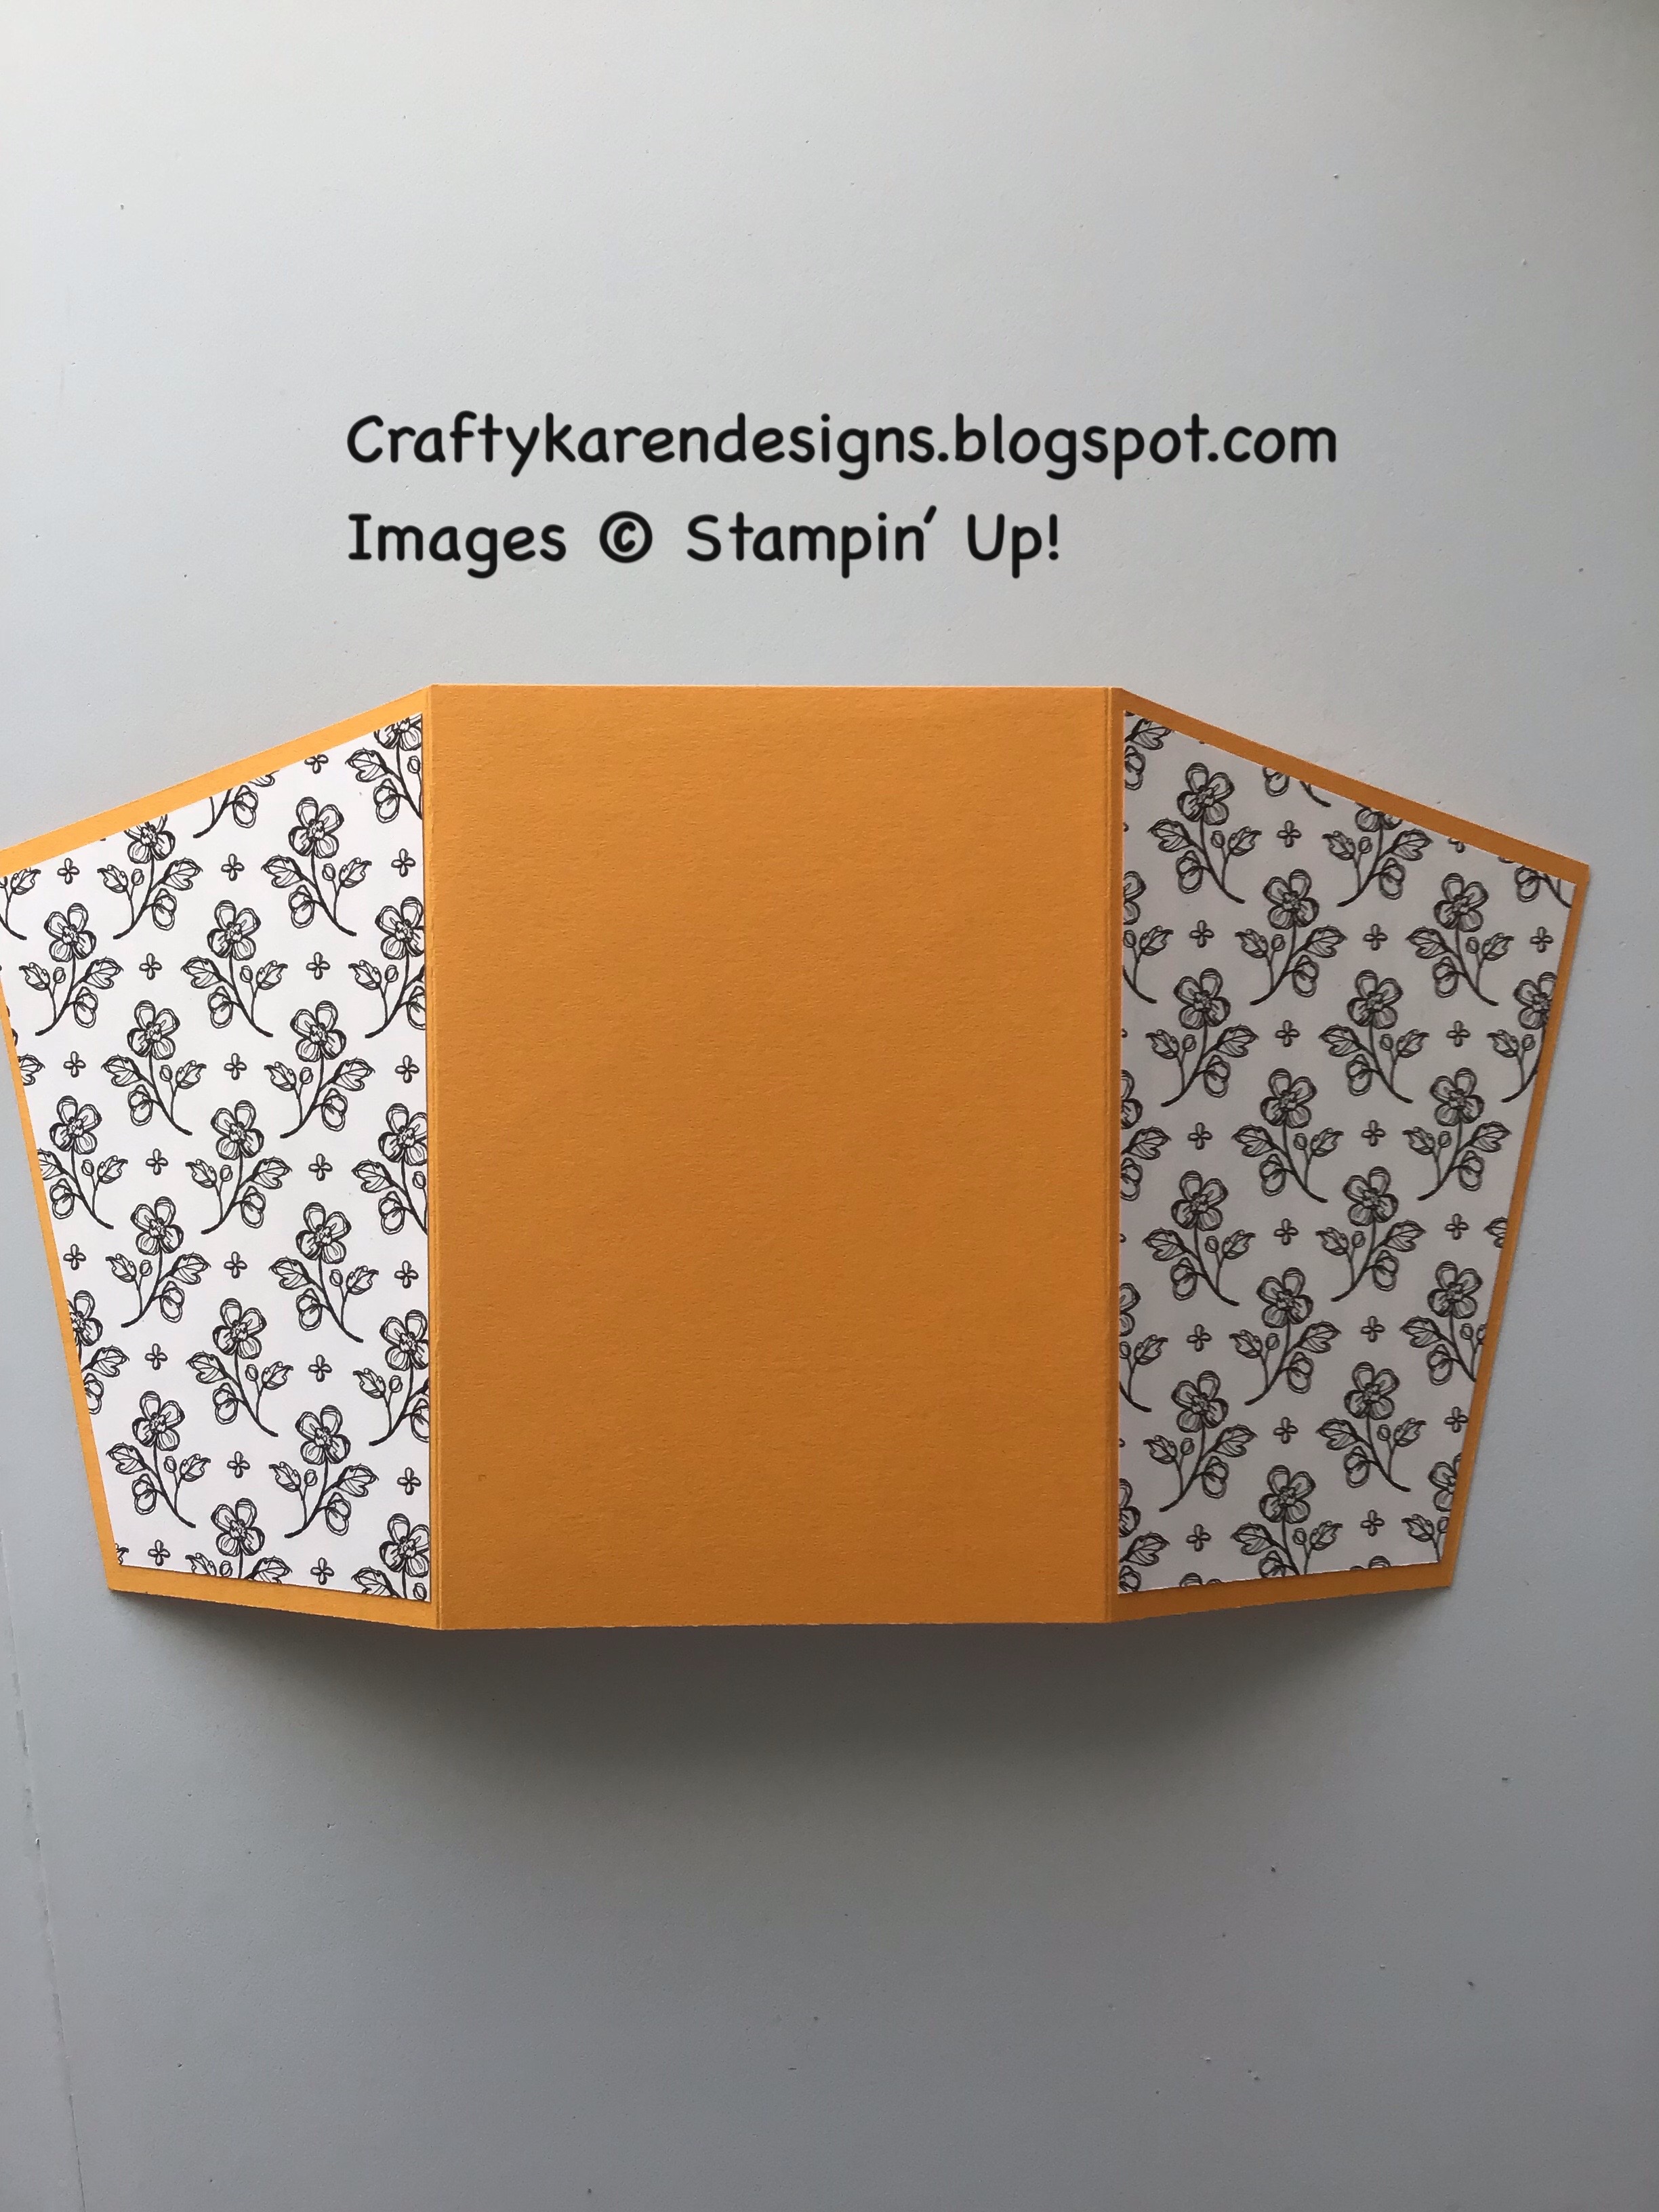
Score the card on the long side at 3 5/8" from each side.

Make a pencil mark 1" down on either end and 1" in along the bottom on either side. Cut from the score line to the 1" mark on both sides and then cut from the 1" in along the bottom to the outer point (where you have just trimmed). See the shape in the picture.


Repeat this procedure with the designer series paper, taking care if it's a directional print. I cut them one on top of the other, right sides together. Adhere these to the card front.


Stamp a sentiment and a pansy on the large piece of basic white and adhere to the inside of the card.

Die cut a large pansy in mango melody and white and two leaves in old olive and pear pizzazz. Then die cut the larger sentiment label die in mango melody and the smaller one in white.

Wrap the belly band around the card, but not too tight and adhere the two ends together, overlapping one over the other.

Put the pansy and the leaves together and stamp a sentiment to the right of the white label layer.  Add the white label to the mango melody one and add to the belly band, then add the pansy to the right hand side and tuck the leaves underneath the petals.


Add a couple of rhinestones and the card is finished. I hope that you like it.

Please click on the links and see what everyone has made.  Nina is next up


Simone Kleine - derdiedasKleine bastelt

Karen Egan - Craftykarendesigns - UK

Nina Unbehau - NiNa’s Kreative Welt

Anja Ehmann - Bastelanja

Sandra Nitschke - Gelettertundgestempelt

Katja Martins - Stempelpfau 

Sonja Kindler - kreativ-mit-sonja

Iris Philipps - iriStempelt

Daniela Klotzsch-Fiehn - Kreativierend

Vickie Littlewood - Vickie Lou Designs - UK

Liane Gorny - Jungle Cards

If you would like to see more of my Blog Posts, sign up to the email alert over in the right hand side bar of the page.

If you would like to join my Team or become one of my Discount Shoppers, you can message me on my Facebook Page at www.facebook.com/craftykarendesigns or via the Contact Me box below this Blog.

If you are interested in taking part in some challenges and having crafty chats with like minded people and a bit of a laugh, pop over to Craft and Banter on Facebook (link in the side bar). This is a new group that some crafty friends and I are trying to get up and running and we would love your company.

Happy Crafting,


Karen X
Product List

Saturday, 23 April 2022

Pretty Pansy Flower Card - Ink, Stamp, Share Blog Hop - Colour Challenge

 Hi Everyone,


The theme for this blog hop is a Colour Challenge and happens to be some of my very favourite colours, really bright and cheerful. I thought now that Spring is here I would bring out the lovely Pansy dies too as I haven't used them in a while. Let me show you how I made it.

Materials

1 piece of thick basic white 5 7/8" x 8 1/4"
Scraps of basic white to die cut 3 of the 2nd largest hexagons
1 piece of granny apple green card stock 3 7/8" x 5 5/8"
Scraps of melon mambo, so saffron and granny apply green for the die cuts
Stampin' Cut & Emboss Machine
Gingham Embossing Folder
Pansy Dies
Beautiful Shapes Dies
Scrap of black & White gingham ribbon
Brushed Brass Butterflies
Gilded Gems
Trimmer
Simply Scored
Bone Folder
Take Your Pick Tool
Multipurpose Adhesive
Dimensionals
Pansy Patch stamp set
Granny Apple Green ink
Melon Mambo ink
Mini Glue Dots

Instructions

On the long side, score the thick white card at 4 1/8" and fold and burnish to mke the card base.

Run the granny apple green layer through the machine in the Gingham Embossing Folder ads then adhere to the card front.

Die cut 3 white hexagons, 2 sets of leaves (there are two layers) and 2 sets of pansies, one in melon mambo and one in so saffron. I have mixed and matched the pieces to give the two colour effect (see picture).

Stamp a sentiment in melon mambo ink across one of the hexagons and then adhere them to the card front as shown  Stamp a sentiment on the inside of the card using the granny apple green ink.


Layer up the flowers, adding the opposite colour trims to the basic petals (see picture above). Adhere the detailed tops to the leaves.  Arrange the flowers on dimensionals over the top of the hexagons and tuck the leaves in underneath them.

Make a bow with the gingham ribbon and add to the sentiment hexagon with mini glue dots.  Add gilded gems to the centres of the flowers and add some butterflies too.

I hope that you like my pretty card. Please pop over and see what everyone else has made, you are sure to be inspired, I always am.

If you would like to see more of my Blog Posts, sign up to the email alert over in the right hand side bar of the page.

If you would like to join my Team or become one of my Discount Shoppers, you can message me on my Facebook Page at www.facebook.com/craftykarendesigns or via the Contact Me box below this Blog.

If you are interested in taking part in some challenges and having crafty chats with like minded people and a bit of a laugh, pop over to Craft and Banter on Facebook (link in the side bar). This is a new group that some crafty friends and I are trying to get up and running and we would love your company.

Happy Crafting,


Karen X


 Product List