Hi Everyone,
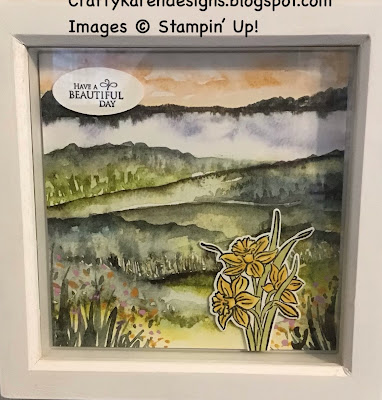
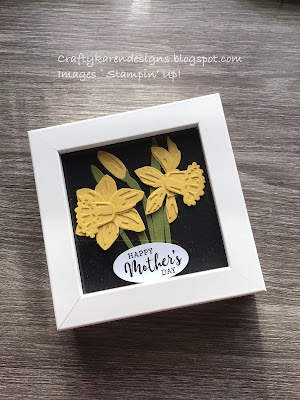
Today I am hopping with the Crafty Collaborations Group and the theme is 'Home Decor'. I've used the beautiful New Horizons designer series paper and the Daffodil Daydream stamp set and dies with a sentiment from Very Versailles to make a really pretty picture for my craft room. Let me show you how I made it.
Materials
1 piece of New Horizons dsp 6" x 6"
Scrap of basic white to stamp the flowers and sentiment
Daffodil Daydream stamp set
Very Versailles stamp set
Double Oval Punch
Stampin' Cut & Emboss Machine
Daffodil Dies
Memento black ink
Daffodil Delight Stampin' Blends
Old Olive Stampin' Blends
Multipurpose adhesive
Dimensionals
6" x 6" Shadow Box Frame
Instructions
This has to be one of the quickest and easiest home decor projects I have ever made. Every time a new catalogue comes out, I choose one of the designer series papers and I make a picture for my craft room. This dsp is so pretty and lends itself to this beautifully and the sheet that I chose looks like a countryside scene and I combined it with the gorgeous daffodils from the Daffodil Daydream bundle.
The frame has a plain white card insert which I used as my backing layer and I added the full sheet of dsp to this using dimensionals to raise it up and give the picture some dimension.
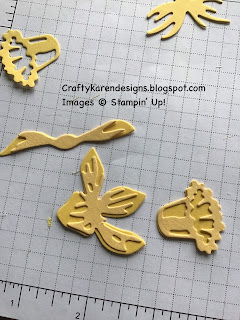
I stamped the floral image and then die cut it and coloured it with Stampin' Blends. I've chopped off the bottom of the stems so that I could bring it lower down into the picture. Add the image to the bottom right hand corner of the picture on dimensionals.
Stamp a sentiment on a scrap of basic white and punch out with the smaller oval in the punch and add that to the top left of the picture with dimensionals.
Put it inside the frame and job done. I really love this little picture, I hope that you do too.
Please pop over and see what everyone else has made too.
If you would like to see more of my Blog Posts, sign up on the pop up form and you will get my weekly Newsletter with all the details of my latest projects and news from Stampin' Up!
If you would like to join my Team or become one of my Discount Shoppers, you can message me on my Facebook Page at www.facebook.com/craftykarendesigns or via the Contact Me box below this Blog.
If you are interested in taking part in some challenges and having crafty chats with like minded people and a bit of a laugh, pop over to Craft and Banter on Facebook (link in the side bar), we would love your company.
If you are interested in taking part in some challenges and having crafty chats with like minded people and a bit of a laugh, pop over to Craft and Banter on Facebook (link in the side bar), we would love your company.
Happy crafting,
Karen X